I had to get a little creative this year on my front porch, because sometimes that is just what you have to do when you want a space to look cute! I’m using navy, blues, yellow and white (with a splash of lemon) for Spring and Summer and I needed a few new things to complete this look!
Here are 2 easy hacks to create cute outdoor planters that you could easily do at your own home! Sometimes you have to get creative to get the look!

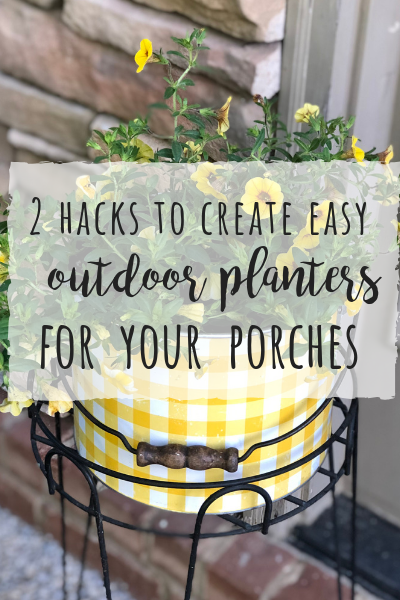
When I saw these little yellow gingham buckets at Kirkland’s, I knew they had to be mine! I had a vision of them on the front porch to hold some flowers. Only problem…they weren’t for flowers! No problem at all though really!
I had a couple of ideas and I’ll share them both with you.
- I had thought about buying some inexpensive little plastic pots to put down into the gingham buckets. If I did that, I knew each time I had to water them I would need to pull the plastic pot out to do so. It wasn’t my preference, but it would have worked.
- My other thought involved my handy dandy husband! I can usually get him on board with things very quickly. So, I showed him my buckets and asked him if he could drill some holes in the bottom for drainage for me. Away he went to the garage and there we had it! A bucket with some holes for drainage. Yay!!


Look how CUTE these look! Now, I have no idea how they will hold up. But, my porch is covered so I’m hoping they do just fine and at least last me a season if not more!
Next up…I’ve had these urns for years that I usually plant ferns in. I had my husband pressure wash them to try and clean them up, but they had honestly seen their better days! I didn’t want to just toss them though. So, I did what I do best. I slapped some paint on them!
I used my go to favorite paint for furniture and lots of projects…Blackberry House Paint. This is the same paint I used on my back door, so I know it stands up to the outdoors (it is made for indoor and outdoor projects)! The color I used is called Sunday Suit, which is kind of a brighter shad of navy.
One pretty thick coat is all it took because I kind of liked the crackled look of some of the original pot coming through.
What a difference it made!
I hope these 2 easy hacks for creating cute outdoor planters helped spark an idea in you! The main thing is to think outside the box. It would have cost me a lot more to go out and try and find some navy planters, and I’m so glad I used what I already had!
Here’s another little pot that I painted in the same color for the back deck! Haven’t used this one in years, but now I LOVE it! Don’t forget the code wilshire at checkout to get 10% off when you get yourself some paint! 

How will you be doing your Spring and Summer porch this year?! I would love to hear the colors you are using. I will be sharing my FULL porch reveal soon!
Until next time…
Stacey


What a great paint job!!!! I love the blue and yellow and can hardly wait to see what you have done for us with your front porch. I have some planters made out of the light-weight material you can carry but I just forgot what it’s called. My brain is not working!!!!! I guess I can paint them so I won’t have to buy something new. they are in good shape; just need painting. You see lemons everywhere this spring and summer. Are your cushions on the settee (on the back deck) able to withstand rain or do you have to bring them in when the weather gets bad? The blue is so pretty. Looking forward to seeing what you have done.
jean
We leave them out unless we think to remember to bring them in. They are outdoor cushions, so hold up pretty well. And thanks for the sweet words!
Beautiful! Love the ideas!❤
Thanks!! 🙂
What kind of paint did you use on your flower pots?
Blackberry House. It’s linked in the post!
What a GREAT idea Stacey!! You’re truly a mater crafter!! I’m totally going to paint my planters this weekend!!!!
aww, thanks friend! You totally should!