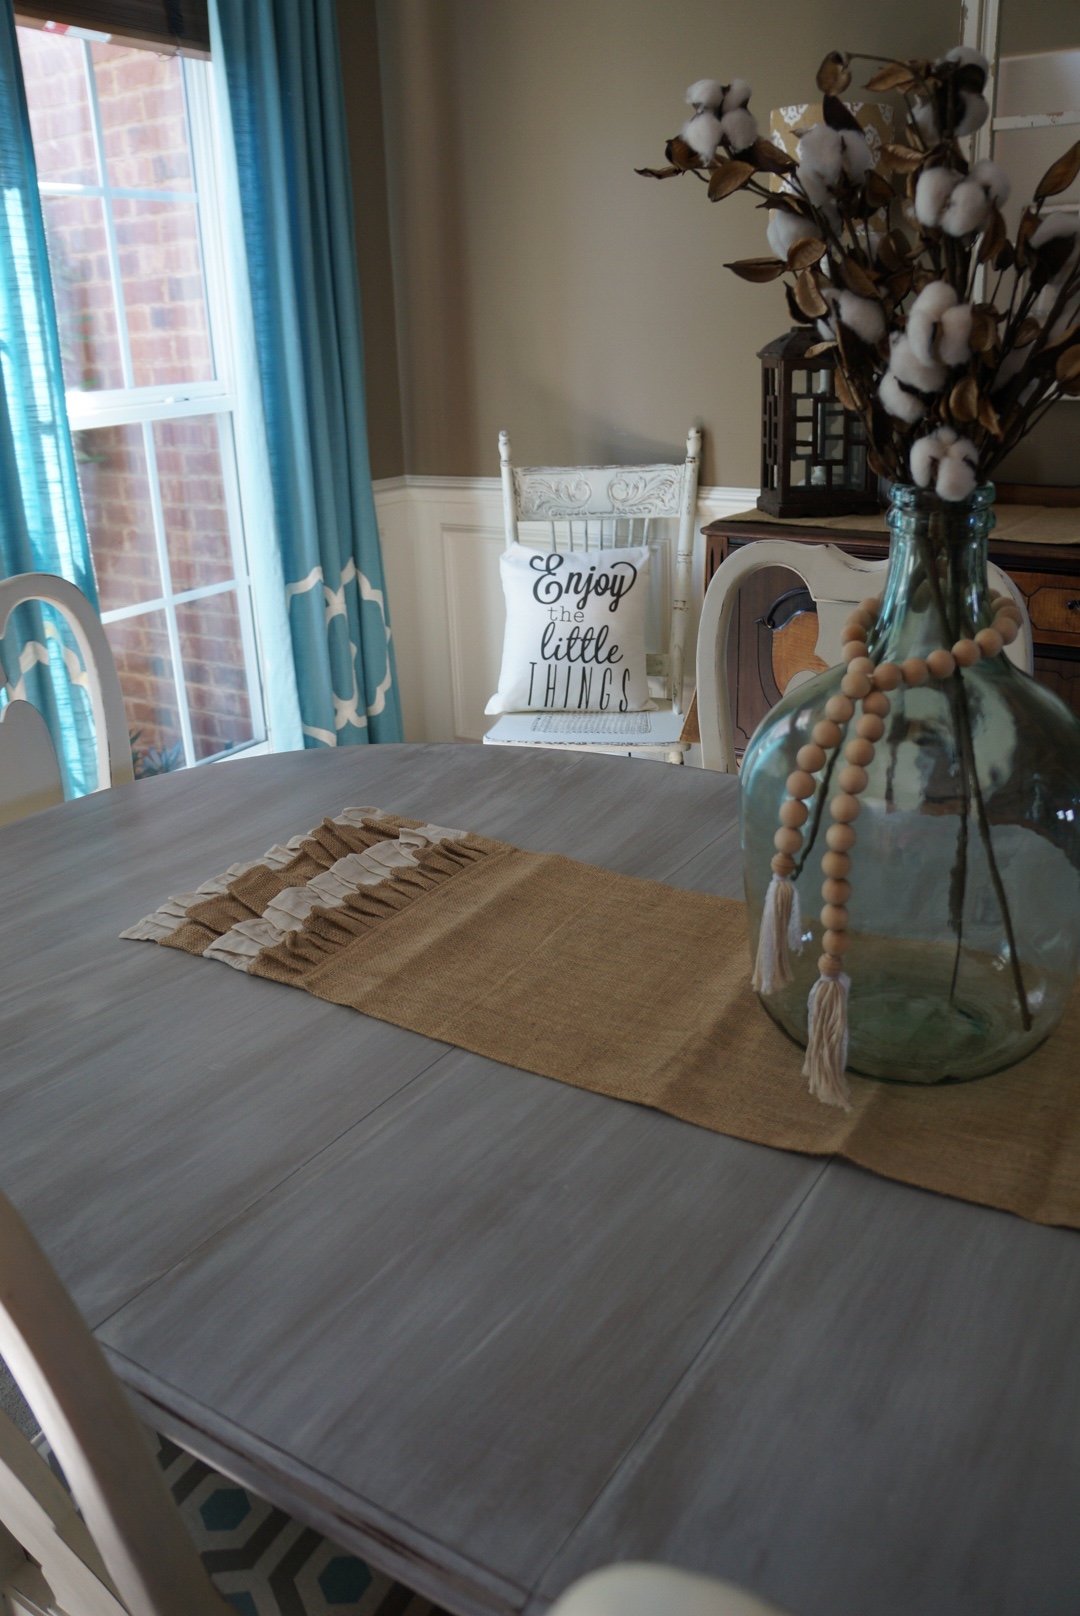
I am slowly starting a little mini makeover in my Dining Room. While I would love a beautiful farmhouse table, the set that I have in there was my grandmothers…so, it stays! I painted it a few years ago, and it definitely made a huge difference in the room. However, now that we have gone more gray in the house…it’s time for a change again.
Check out the first transformation when I originally painted this set.

I moved this rug in there which was the first step in the new direction. We plan on painting the walls, and I’m thinking about white to really brighten it up. But, the top of my table is not working anymore with my rug, so I knew that repainting it with a wash would be a quick and easy thing to fix!
Here is a quick little video pieces together from my InstaStory explaining my plans and thought process behind this project!


That’s the beauty of paint, my friends! It can transform a space in a matter of hours. I am going to walk you through how I achieved this wash look, which I feel gives it a Restoration Hardware type finish without the Restoration Hardware sticker.
PIN THIS!

This table top was originally painted in Annie Sloan Coco, which I do love! Again, just not working for me now. I started by sanding the top of the table to remove the coat of Polycrylic that I had put on years ago. This is an important step if you are painting over a previously painted/sealed surface. However, if you are starting with a basic wood table you would skip this step and move right on to PAINT! You could paint a first layer in Coco (or a shade close) just like I did years ago. 
I used my hand palm sander similar to this Black and Decker one here. I LOVE this thing and use it all the time. Once it was sanded, the color was still there but my surface was ready for more paint. For this project I used Blackberry House Paint and chose the colors Creek Bed (gray), with a splash of Barn Roof (dark gray) and Hot Cocoa (greige). I mixed these until I got the color I desired for my first layer of wash. You can play around with this part and use any shade of gray that you like or mix a few like I did. 

Once I got my color, I began the first step in the wash process. I usually do about 50/50 paint and water. You want your paint to be RUNNY! If it’s not dripping off your brush, it isn’t runny enough. Once the water is added, you are ready to go. Get your cloth rags ready, you will need a few! Something like this works great, or you can also use old white t-shirts!
Work in small areas, starting at one end of your table. Do several brush strokes back and forth, and then wait less than a minute before wiping up. You DO NOT want your paint to dry during this step, and a lot of these paints dry quick…which means you have to work quick. Wipe back and forth with the grain of the wood until you kind of “smear” the paint in. Repeat this step all up and down your table for your first coat of wash.
Applying the first layer of gray wash

I knew after my first coat it was darker than I wanted and I needed more “layering.” So, next I did a layer of just the Creek Bed (my light gray) and did another 50/50 paint and water mix. I repeated the steps above all up and down the table.
After the 2nd layer of gray wash
I was getting there, but not quite complete. For my last wash layer, I wanted to do a complete white wash…with no gray! So, I used Blackberry House Warm Milk and did another 50/50 mix. I repeated the steps above, wiping the paint back and forth as I went up the table.
The right side already had the white wash applied.
Look at how that last step made such a difference in the texture and dimension of the table. I knew right then it was time to stop with the paint! I went around the edges with my sander to distress it a bit once it was dry. The last step will be to seal it back up with Polycrylic. You can find that here. It is my favorite for table tops, because it will seal well without yellowing over time. For most everything else I use clear/natural wax, but for table tops that will get a lot of use I do prefer Polycrylic.
After final coat of white wash

Let me know if y’all have any questions at all about how I got this Restoration Hardware look by doing a gray and white wash! I am going to include a video here, which I will again warn you is NOT PROFESH 😉 This was what I had put on my Instagram stories the day I was doing it, so I am just piecing together those 20 second clips to make one video for you. One day, I’ll get all professional on you guys…but that day is not today!
I can’t wait to get the walls painted in here and I still need to recover the seat cushions on the chairs. Before long, it will be looking a lot different in here and the table top was a good next step. Here are some of the after pictures!


Hope y’all enjoyed this tutorial, and please let me know if you have in questions in the comments!
Until next time…
~Stacey


0 Comments