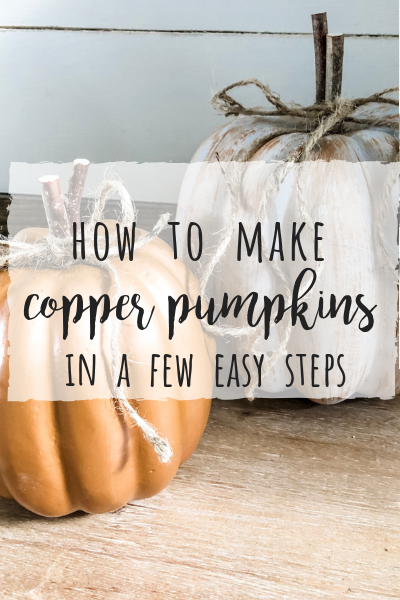
I saw these little copper pumpkins at TJMaxx and it inspired me! I had ZERO plans of using Copper this fall until I saw them, and then it was game on! You know I had to add a little DIY to the mix too!
I’m going to show you how to make Copper Pumpkins in a few easy steps. This will add instant warmth and character to your fall decor!
The thing I love about Copper is that I’m not a huge orange person for fall (or traditional fall colors at all for that matter). Copper brings a certain warmth that orange brings without feeling like “pumpkin orange.” For me, it’s the perfect compromise!
I started out with some foam pumpkins from Walmart. You can get these in all sizes ranging from 98 cents to $5.98. Just pick the size that works for you! (I also did a couple of the mini dollar tree pumpkins too)
I used this Waverly metallic paint from Walmart in the color…Copper! I love that it has just enough sheen to make them look like shiny copper pumpkins! The one I got from TJMaxx is sitting here right next to these before I painted them. 
I simply painted the pumpkins (2 coats) and let them dry. I took out the old stems and just put in little cinnamon sticks for the new stems and tied some jute around them to finish them off.
QUICK TIP! I put a toothpick in the bottom of the pumpkins and then turned a solo cup upside down and put the other end of it into the cup. This made painting these a breeze and easy to spin as you go! 

I also wanted to try something with just some copper accents, so I had an idea for that too!
I painted this pumpkin in Waverly Silver lining chalk paint from Walmart and then I did a dry brush technique with the Copper over it! It turned out simply gorgeous! Don’t ya think?!
You can see the FB live here where I did this in case you need tips on dry brushing!
I love the way these turned out and I can’t wait to use them in my home this fall. These little babies started a domino effect though. I thought I would use them in my entry and then quickly decided I also needed some copper pumpkins in my living room! (So stay tuned for that reveal) 
Are you going to incorporate copper pumpkins anywhere this year? If so, I hope you will give these a try!
Until next time…
Stacey


I am definitely going to try the copper pumpkins
The pumpkins are too cute! Going to paint some this week but I am going to do them in pink- two different shades of pink!!
Love, love. I like copper and used some last year. I will definitely add more this Fall. Thanks for the inspiration! Great job!
What did you do with all the buffalo check pumpkins you had last year?
I’m using them in my entry way bench, mudroom area and kitchen!