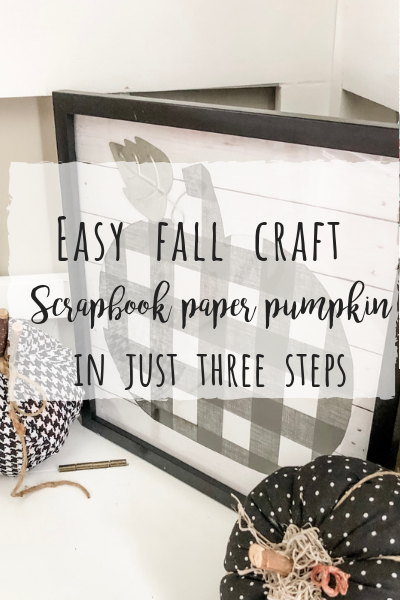
I think by now you know I love an easy fall craft, and I think by now I know YOU love them too! Well, I’ve got another cute one for you today!
This easy fall craft will show you how to make a scrapbook paper pumpkin in just 3 steps! Mine is a buffalo check pumpkin, but you could do any paper! 
What you will need for this easy fall craft:
2 sheets of coordinating scrapbook paper 12×12. I picked a shiplap paper and buffalo check.
12×12 frame. Mine came from hobby lobby and wasn’t expensive at all!
Dollar Tree Pumpkin (I used this to trace the pumpkin shape, but you could also free hand it or use another pumpkin you have that fits the paper to trace). I also kept the little leaf off of it and turned it over to the silver side.
- Flip one piece of scrapbook paper over and trace your pumpkin.

- Cut out the pumpkin shape starting from the INSIDE of the pumpkin so you don’t rip the “border.”

- Flip it over and lay the other scrapbook paper underneath and see the cool layered effect! Put your leaf (if using one) where you want it and simply insert into picture frame!

That’s literally it! Sometimes I think these projects are too easy to share with y’all. Haha! But…then I think NO, they are TOO CUTE NOT TO SHARE!!
I hope you all love this one like I did! This would be an easy fall craft to do and a cute thing to add to your collection this fall.
Do you think you’ll try one of these too?!
Until next time…
~ Stacey
Check out these other Fall DIY projects for even more ideas and inspiration!


I like this one a lot! I’ve got to try it!