I’m sure you’ve seen them all over Pinterest or all over your Instagram feed, but drop cloth curtains are very popular right now and for a good reason! You can DIY them, they are cheap and they make for a great look!
These DIY drop cloth curtains are so cute and so easy to make. They will give you that neutral look for instant farmhouse charm! 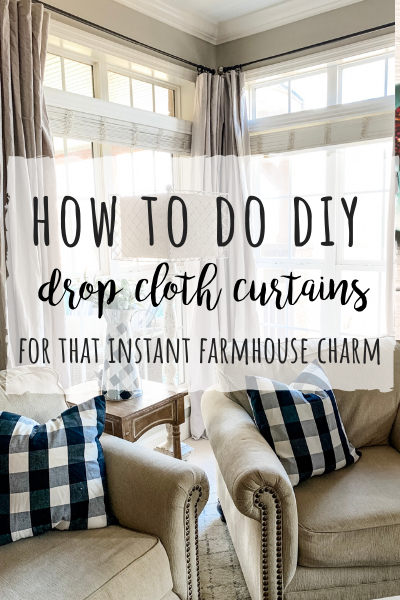
Let me first tell you why I got this in my head that I needed to do this! I’ve had the same curtains hanging in my living room for probably 7 years or so. I’ve loved them, I truly have. But…
Sometimes a girl craves change! And I was craving it, but not wanting to spend a fortune on new curtains. I was also wanting to “neutralize my space” as much as possible for Christmas and so it seemed like a perfect time for some DIY drop cloth curtains!
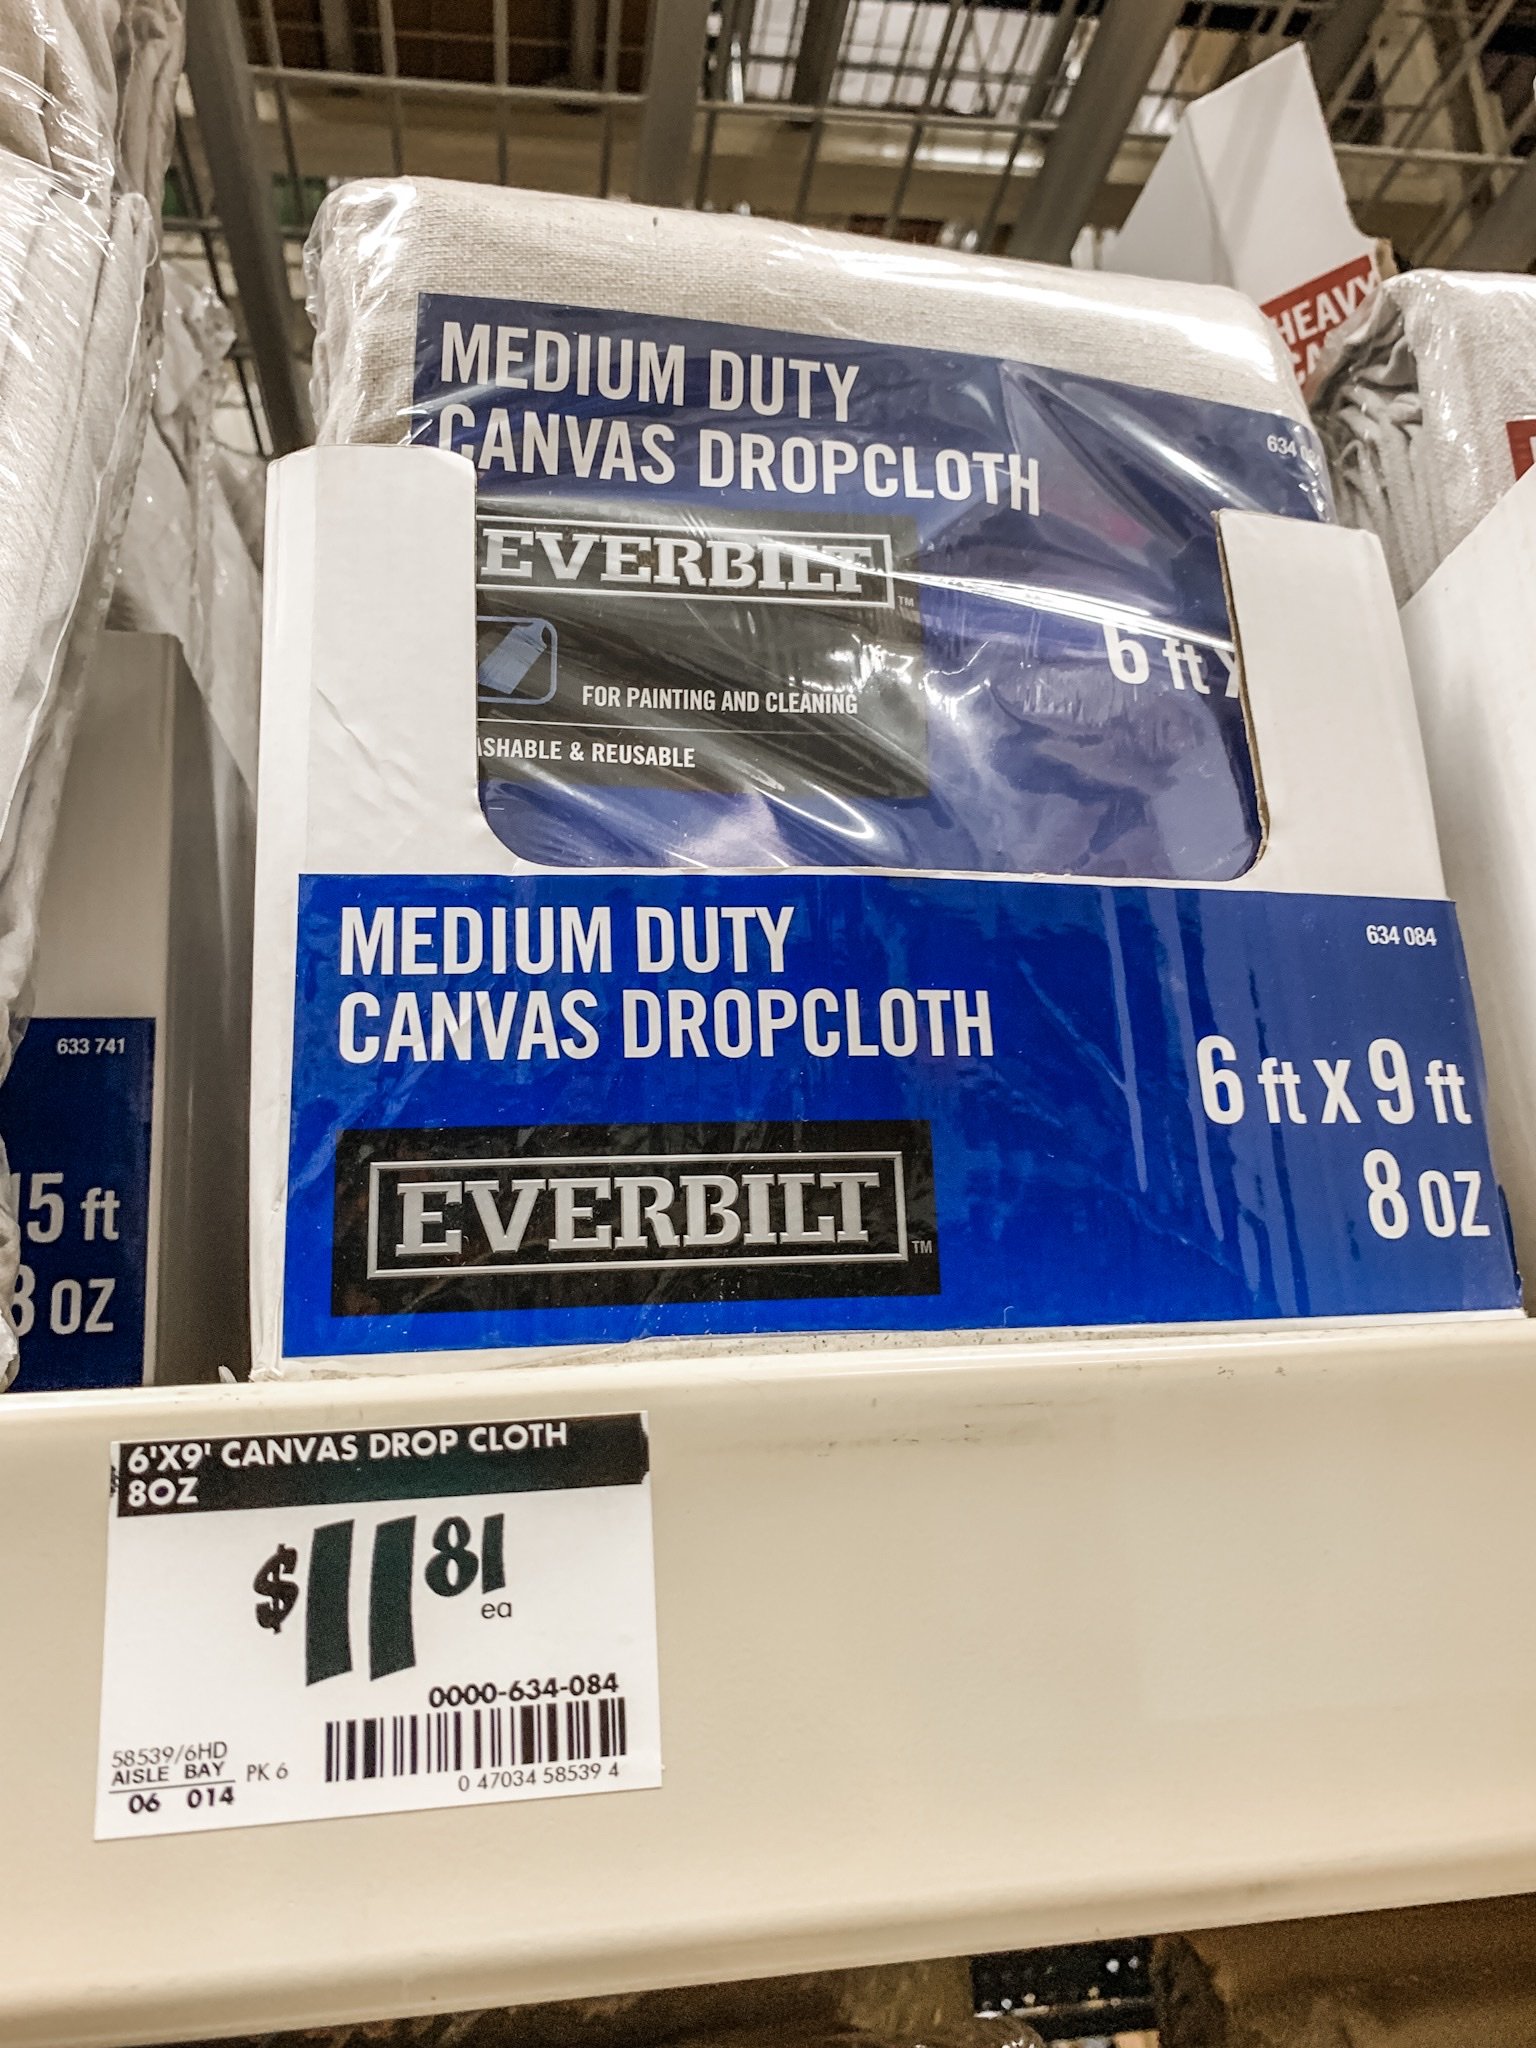
In walks Stacey to Home Depot. Haha! I’ve done drop cloth curtains in my office before, so I sort of knew what I was doing. I knew I wanted to get 6×9 drop cloths because 9 foot would be plenty long for my windows. You obviously need to take in to account how long your curtains will need to be to determine the size cloth you need.
Here is what I like about this particular drop cloth from Home Depot, it DOES NOT have a big seam going across the middle of it like a lot of them do. (I know for sure the ones from Lowe’s do have the seam) But this brand from Home Depot is jus one big piece (at the time of me writing this blog post at least).
YOU CAN GET THESE DROP CLOTHS HERE!
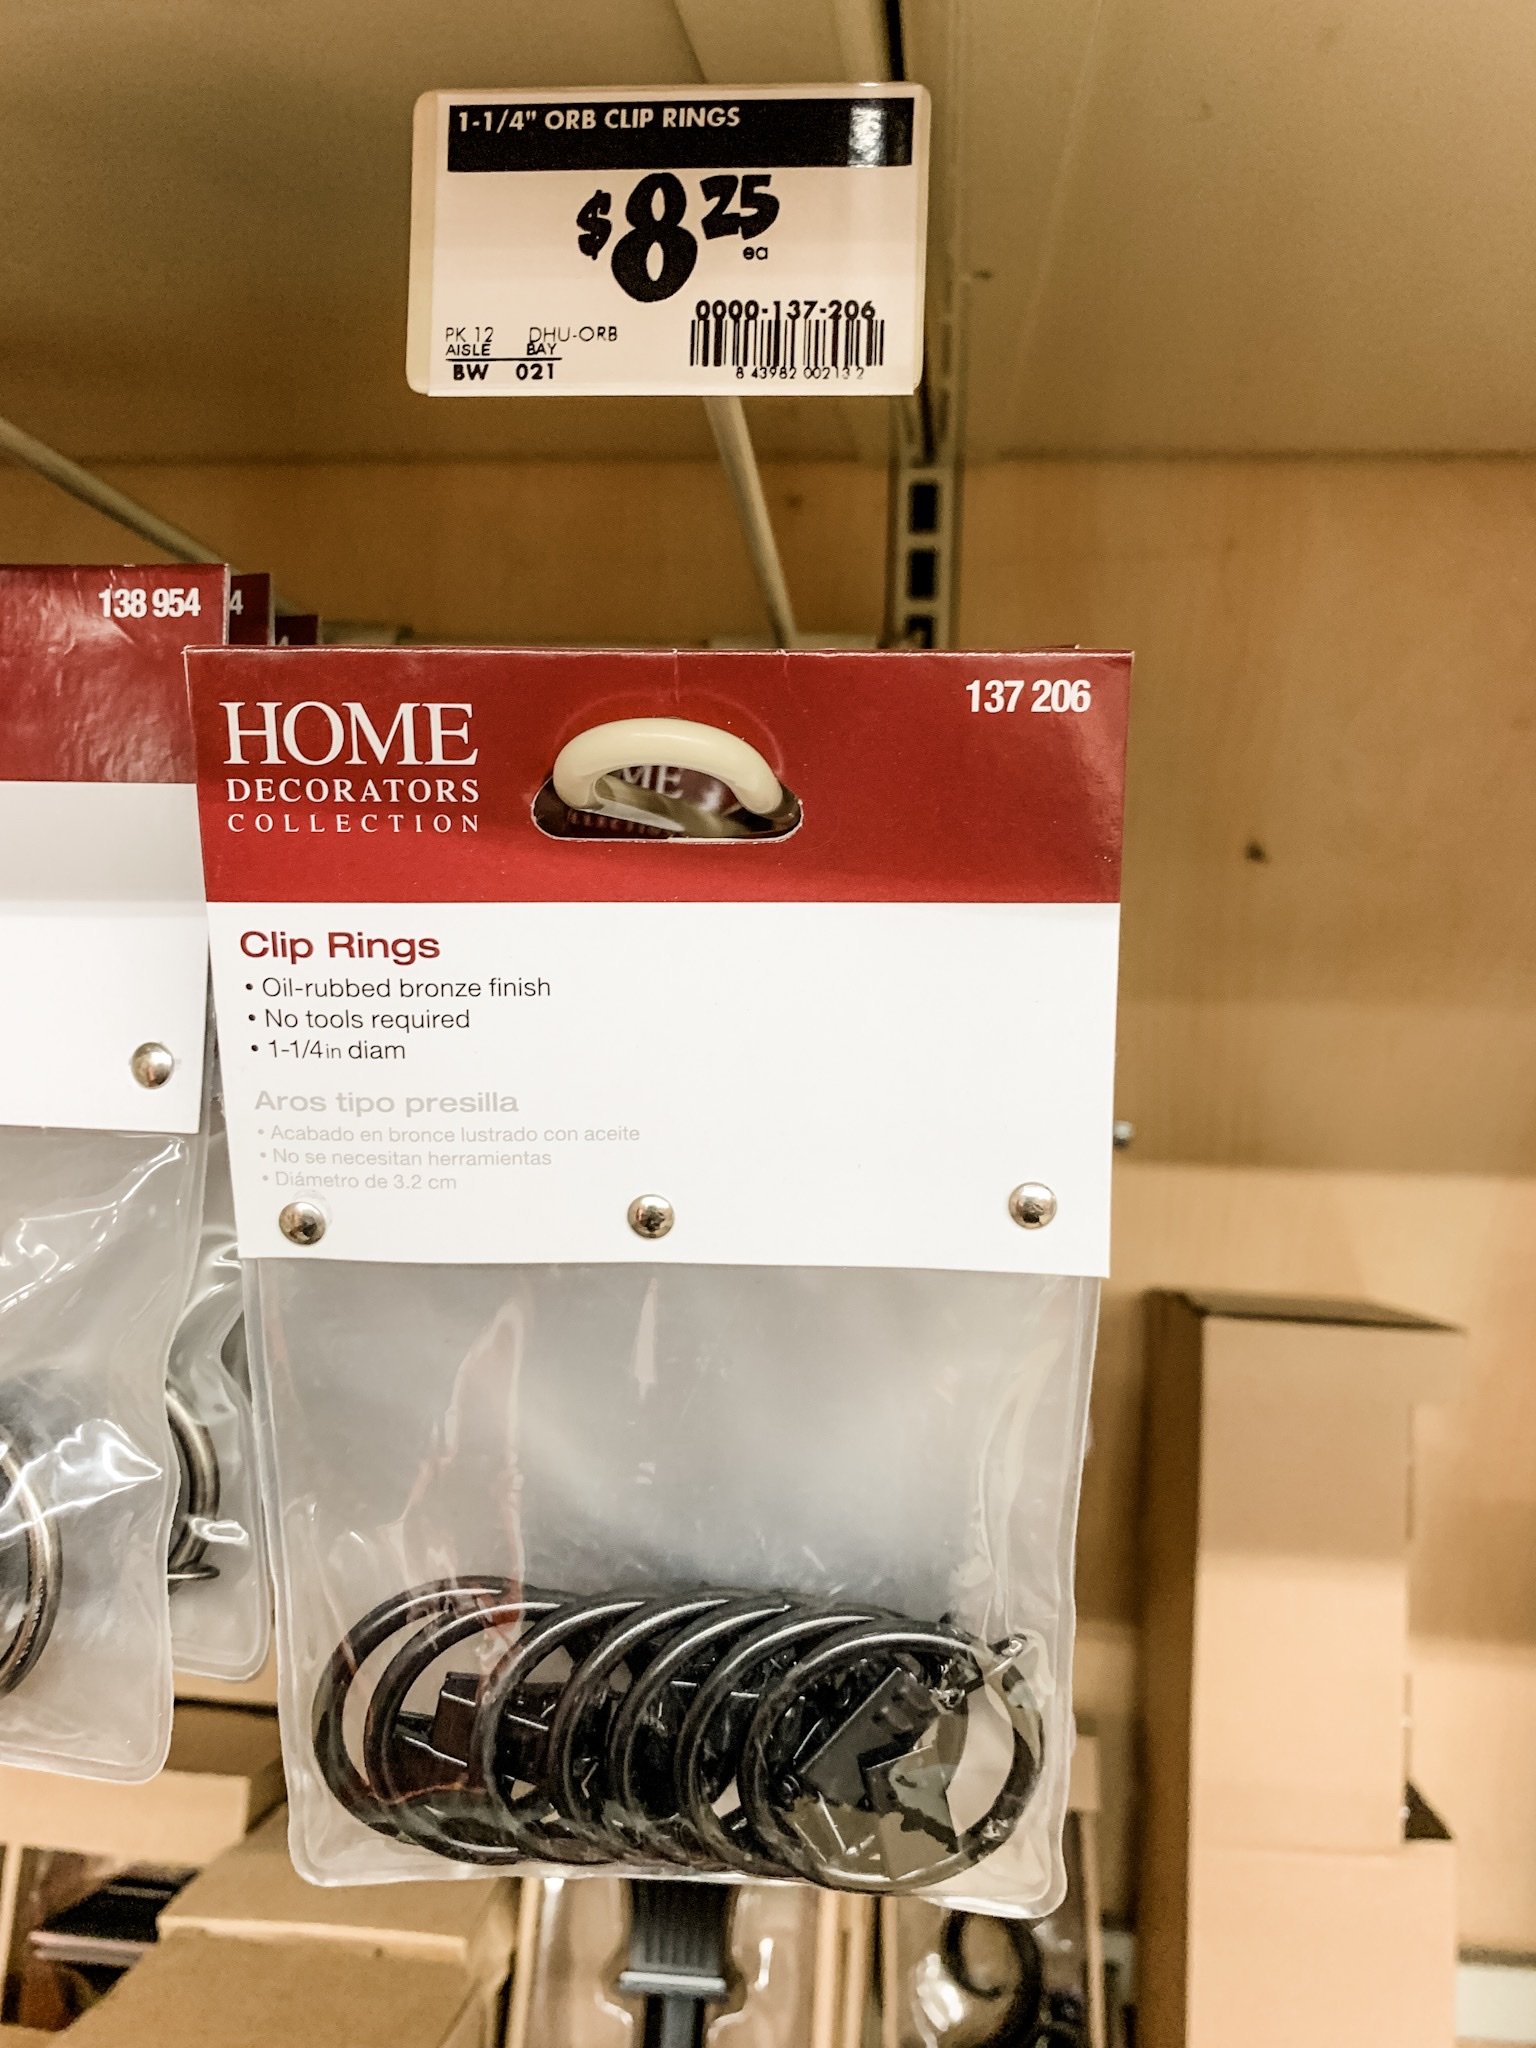
I also went ahead and bought some of these clips while I was at Home Depot because I honestly didn’t feel like going to another store and these are pretty much just what I needed anyways. I got 10 total because I had 5 windows to do (you need 2 per window).
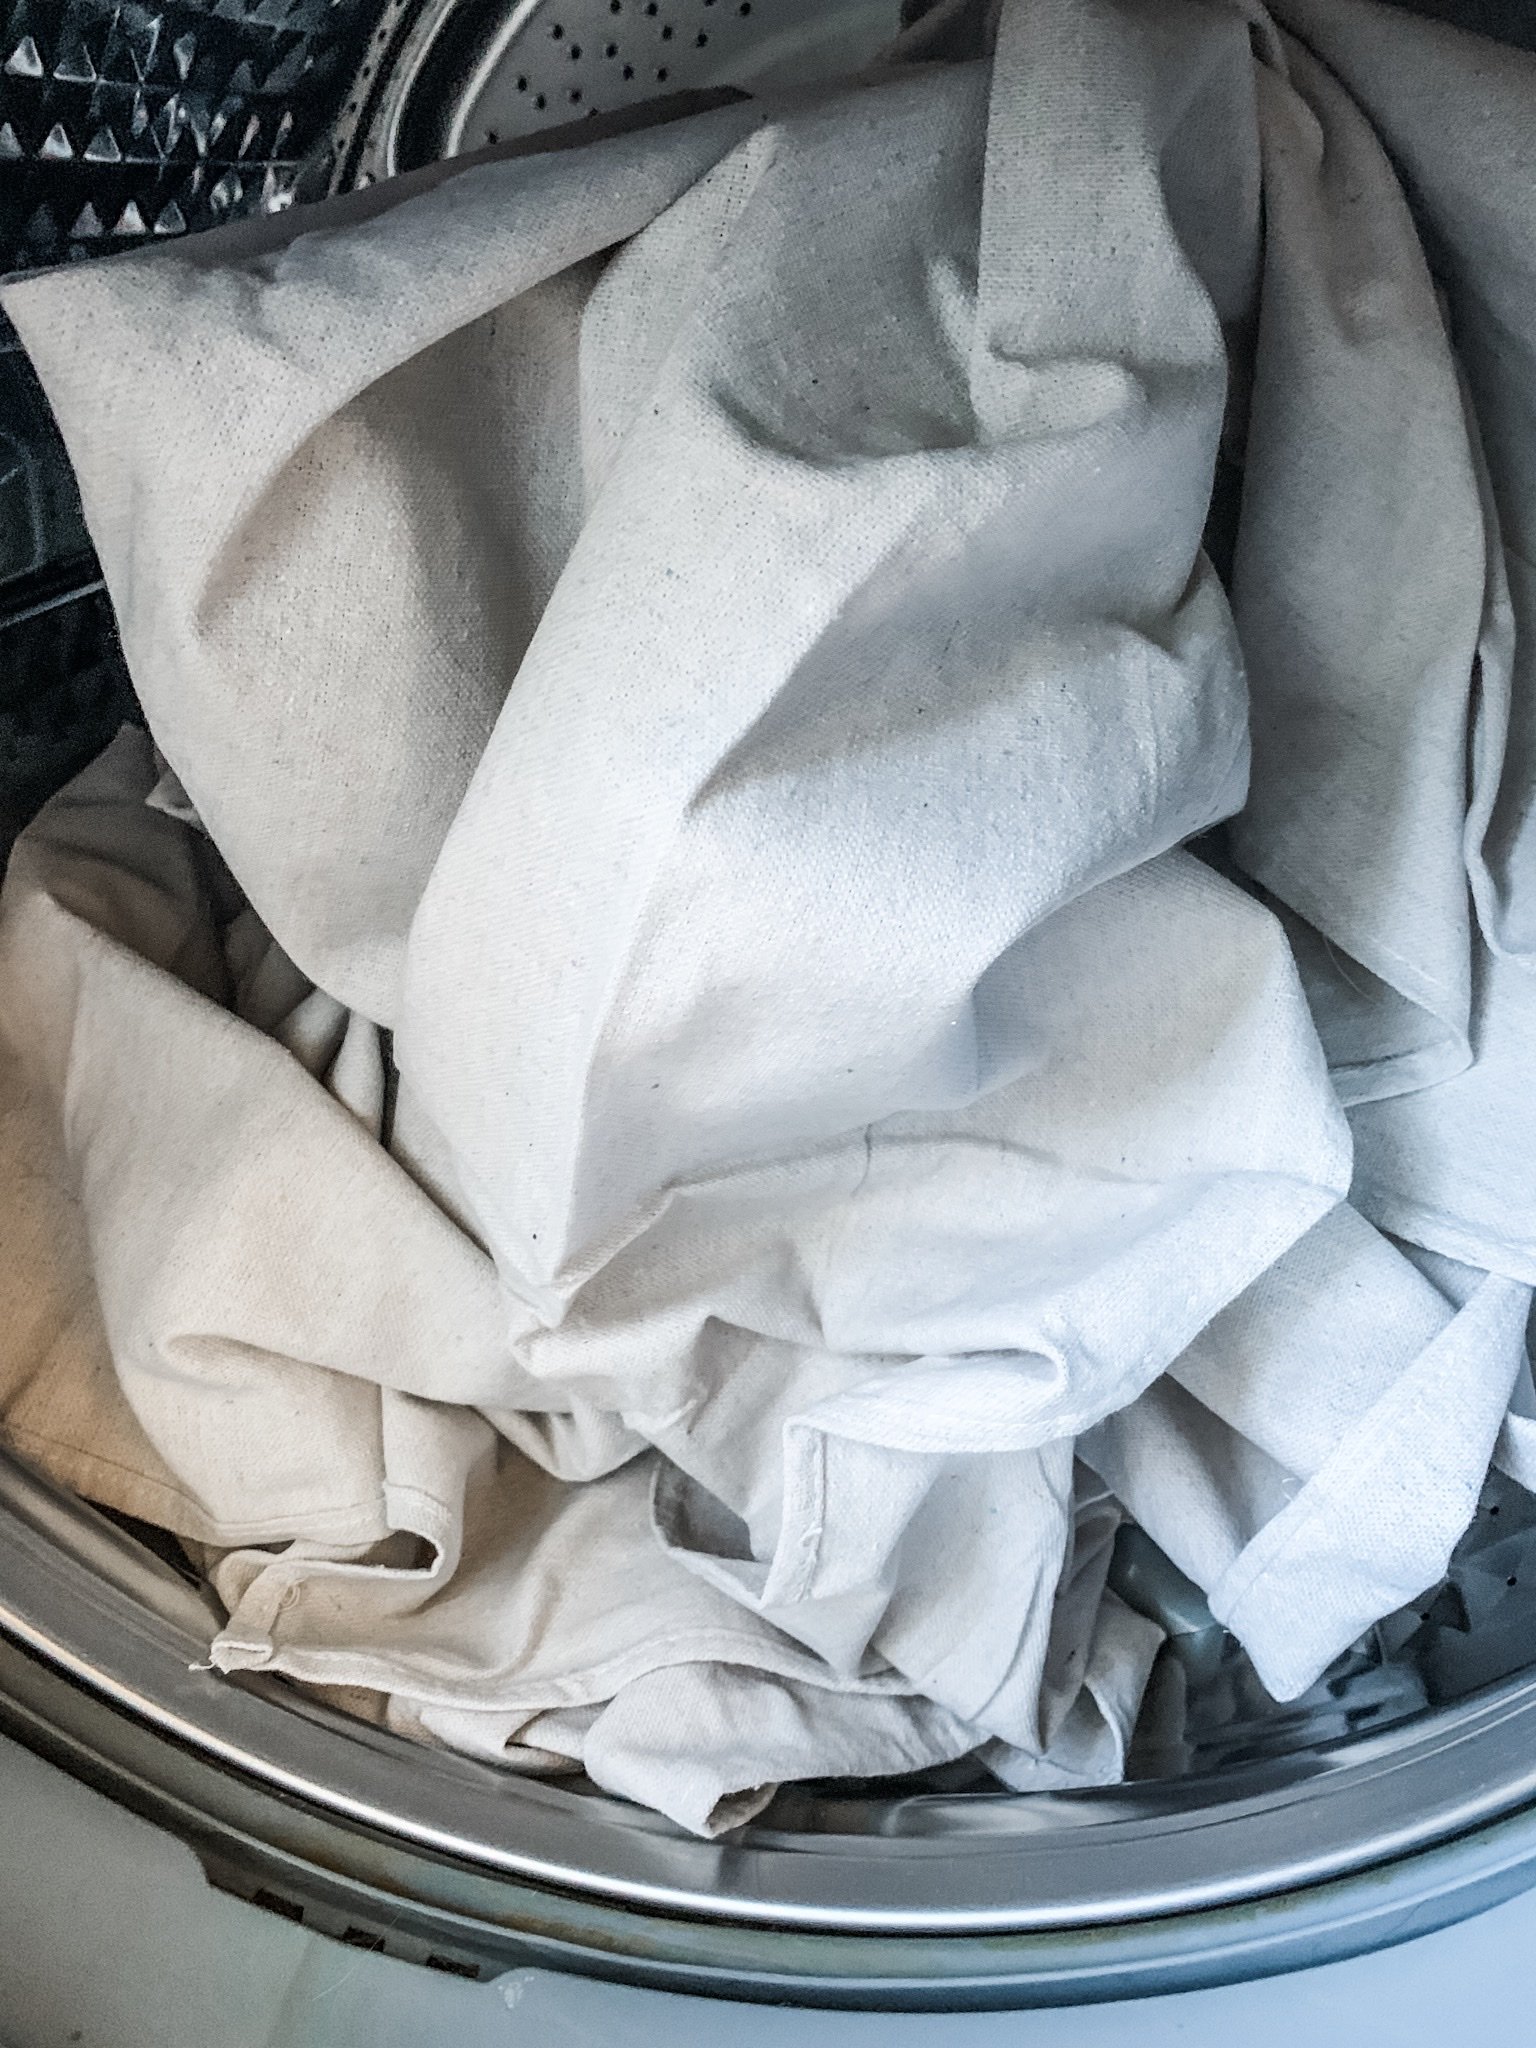
You can honestly hang these right out of the package, but they are stiff and sometimes smell. (and have big creases) So, I decided to wash all of mine to soften them up a bit and get rid of the odor. I washed 2 at a time because I knew I was going to do this one window at a time over the course of a couple of days. So, here is the process:
- Wash drop cloths (I used my regular laundry detergent and added a little fabric softener too)
- As soon as they are done washing take them out and find somewhere to lay them flat to avoid excess wrinkles.
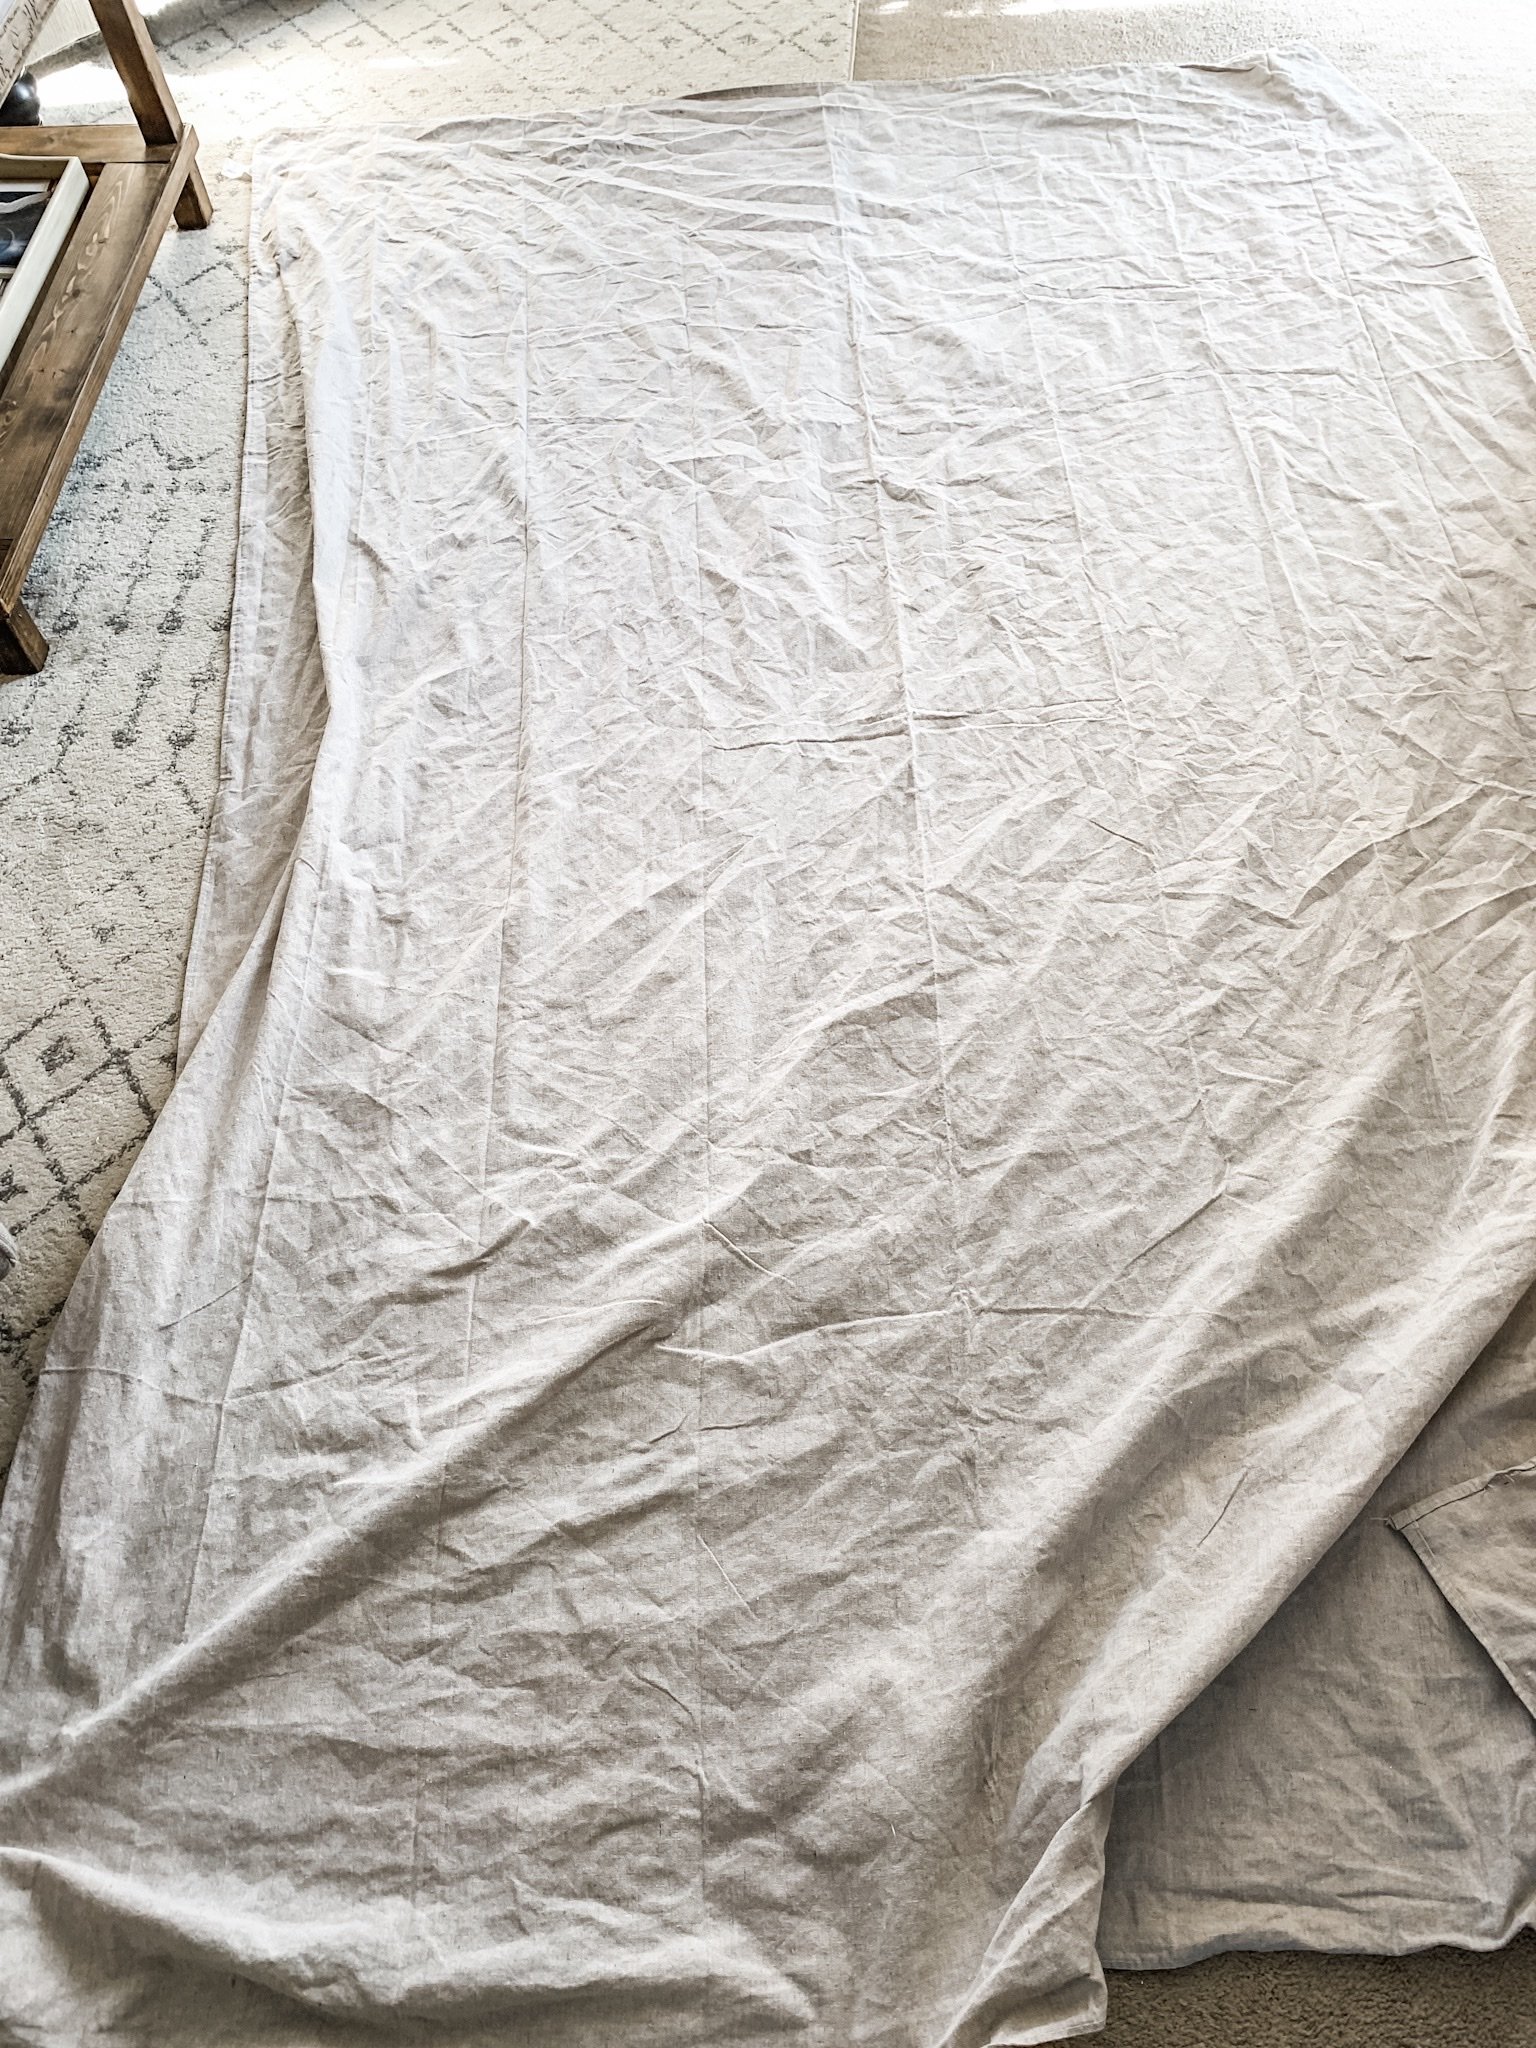
- While DAMP go ahead and attach your clips. I started by seeing how much I would need to fold over at the top to make them the length I wanted. This will depend on how tall your windows are, but for me I only needed to fold them about 5 inches. I decided I wanted to do my fold towards the BACK of the curtains where you wouldn’t see it for a more “finished” look. However, you can also fold it to the front which can be cute too!
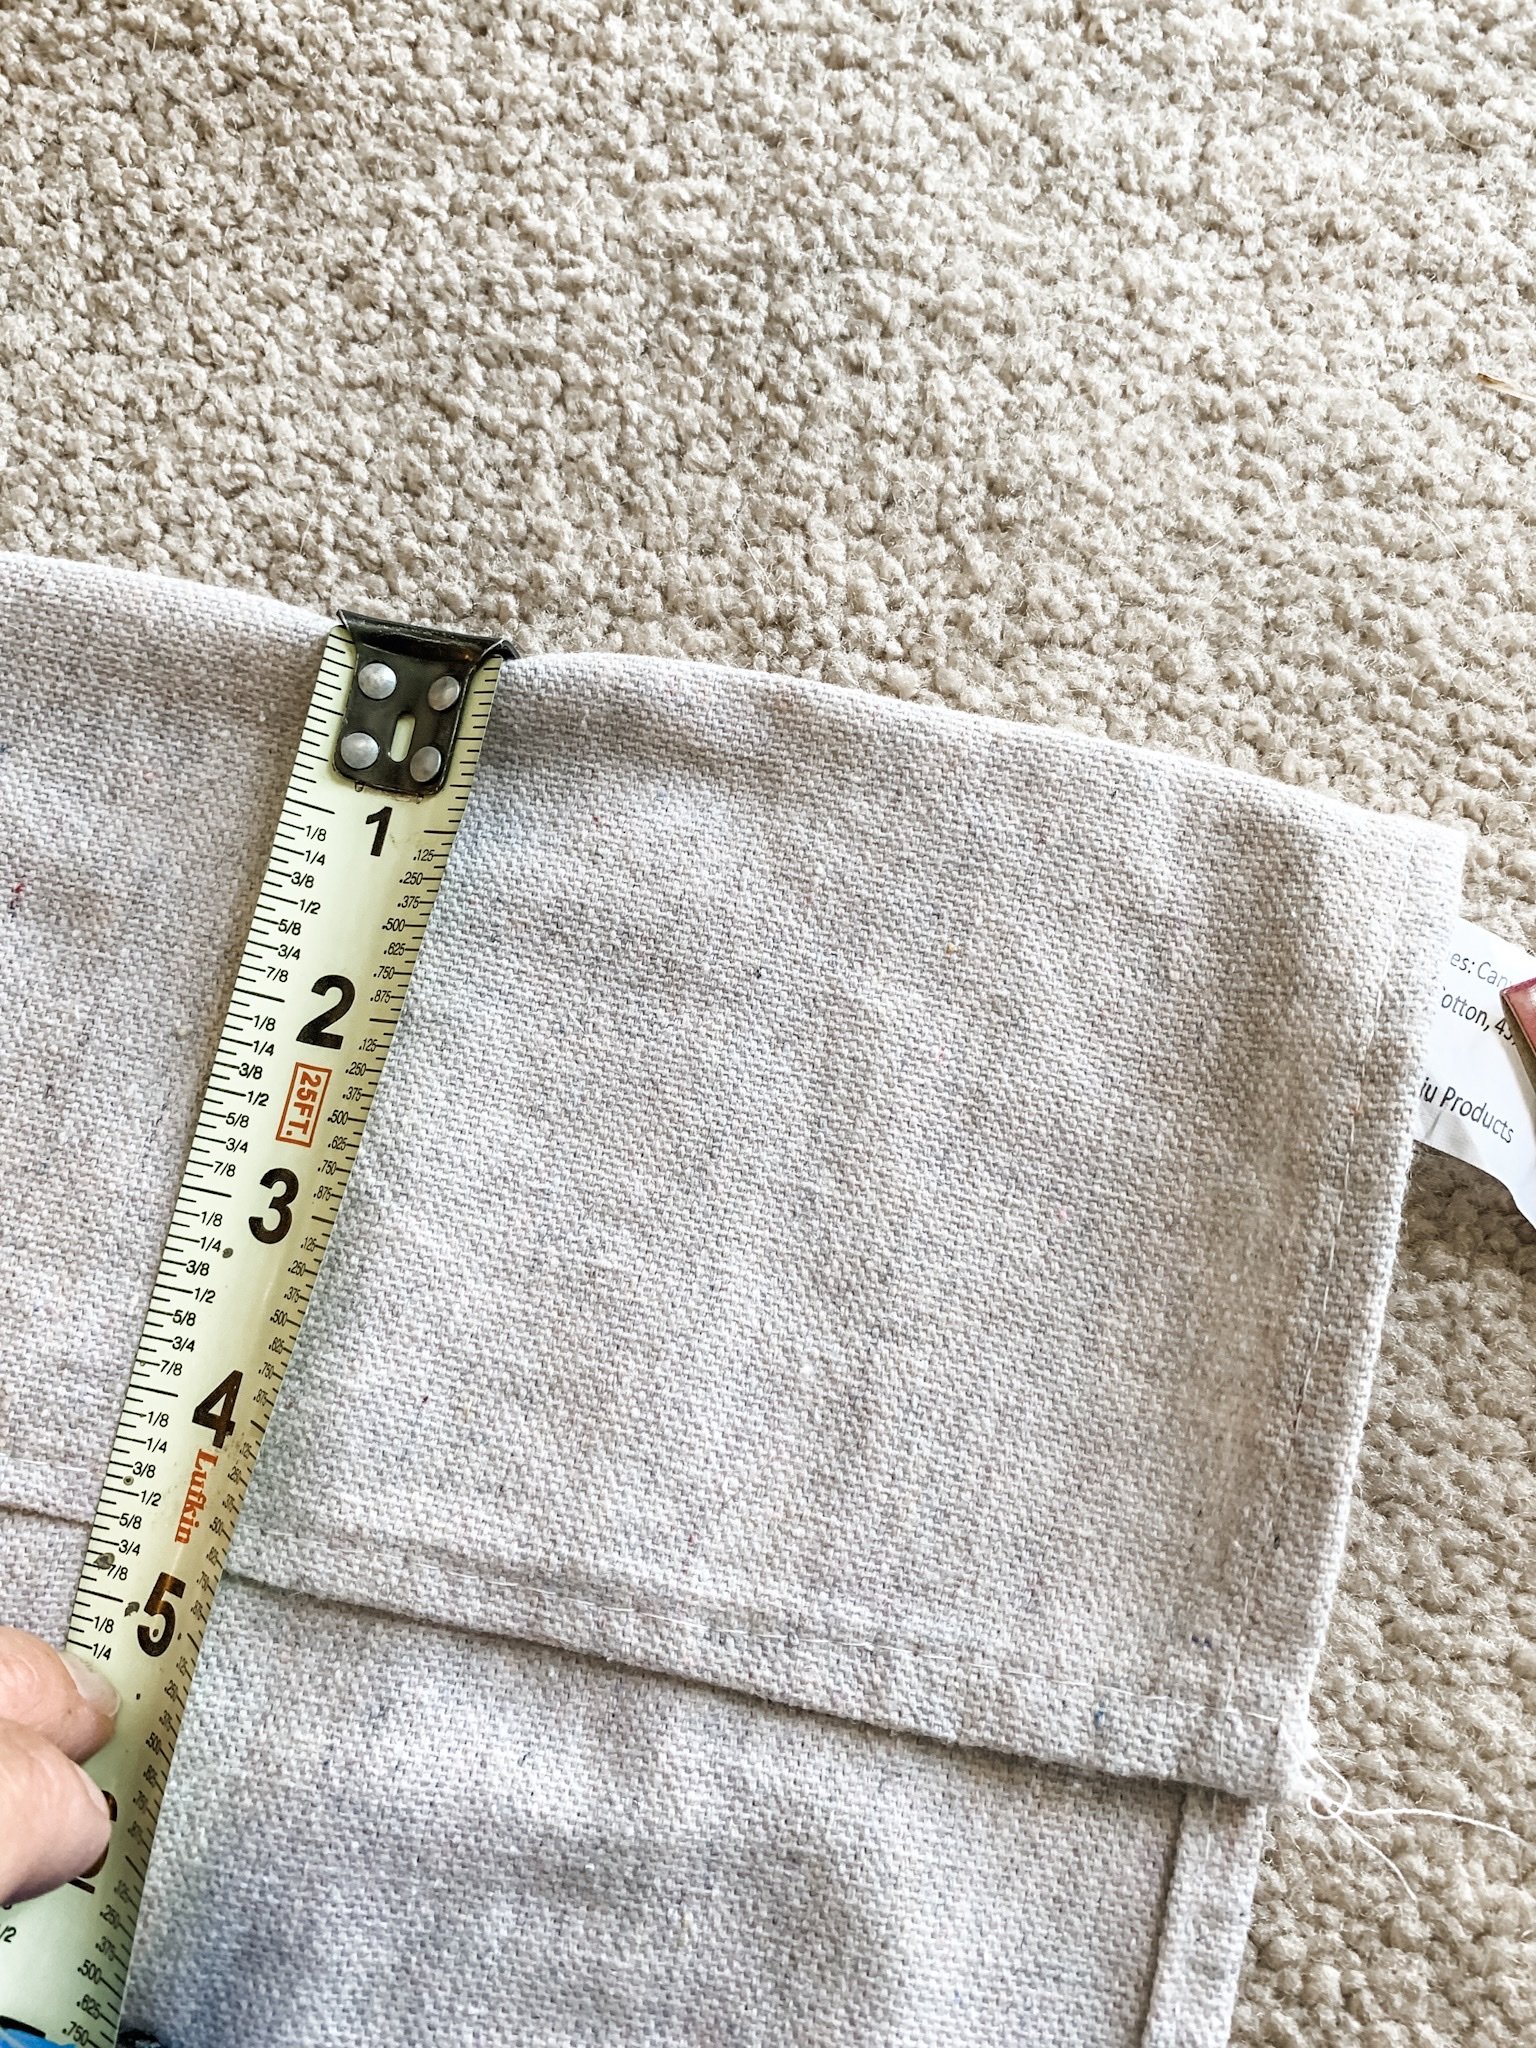
- I used my tape measure to make sure I was folding 5″ all the way across. Don’t be surprised if the hem isn’t perfectly straight on these and that’s ok…it doesn’t have to be perfect. (Note: I did fold each of my ends over an inch or two when I did those 2 clips. I’m not even sure if this was necessary but I liked the way it looked when I hung them!
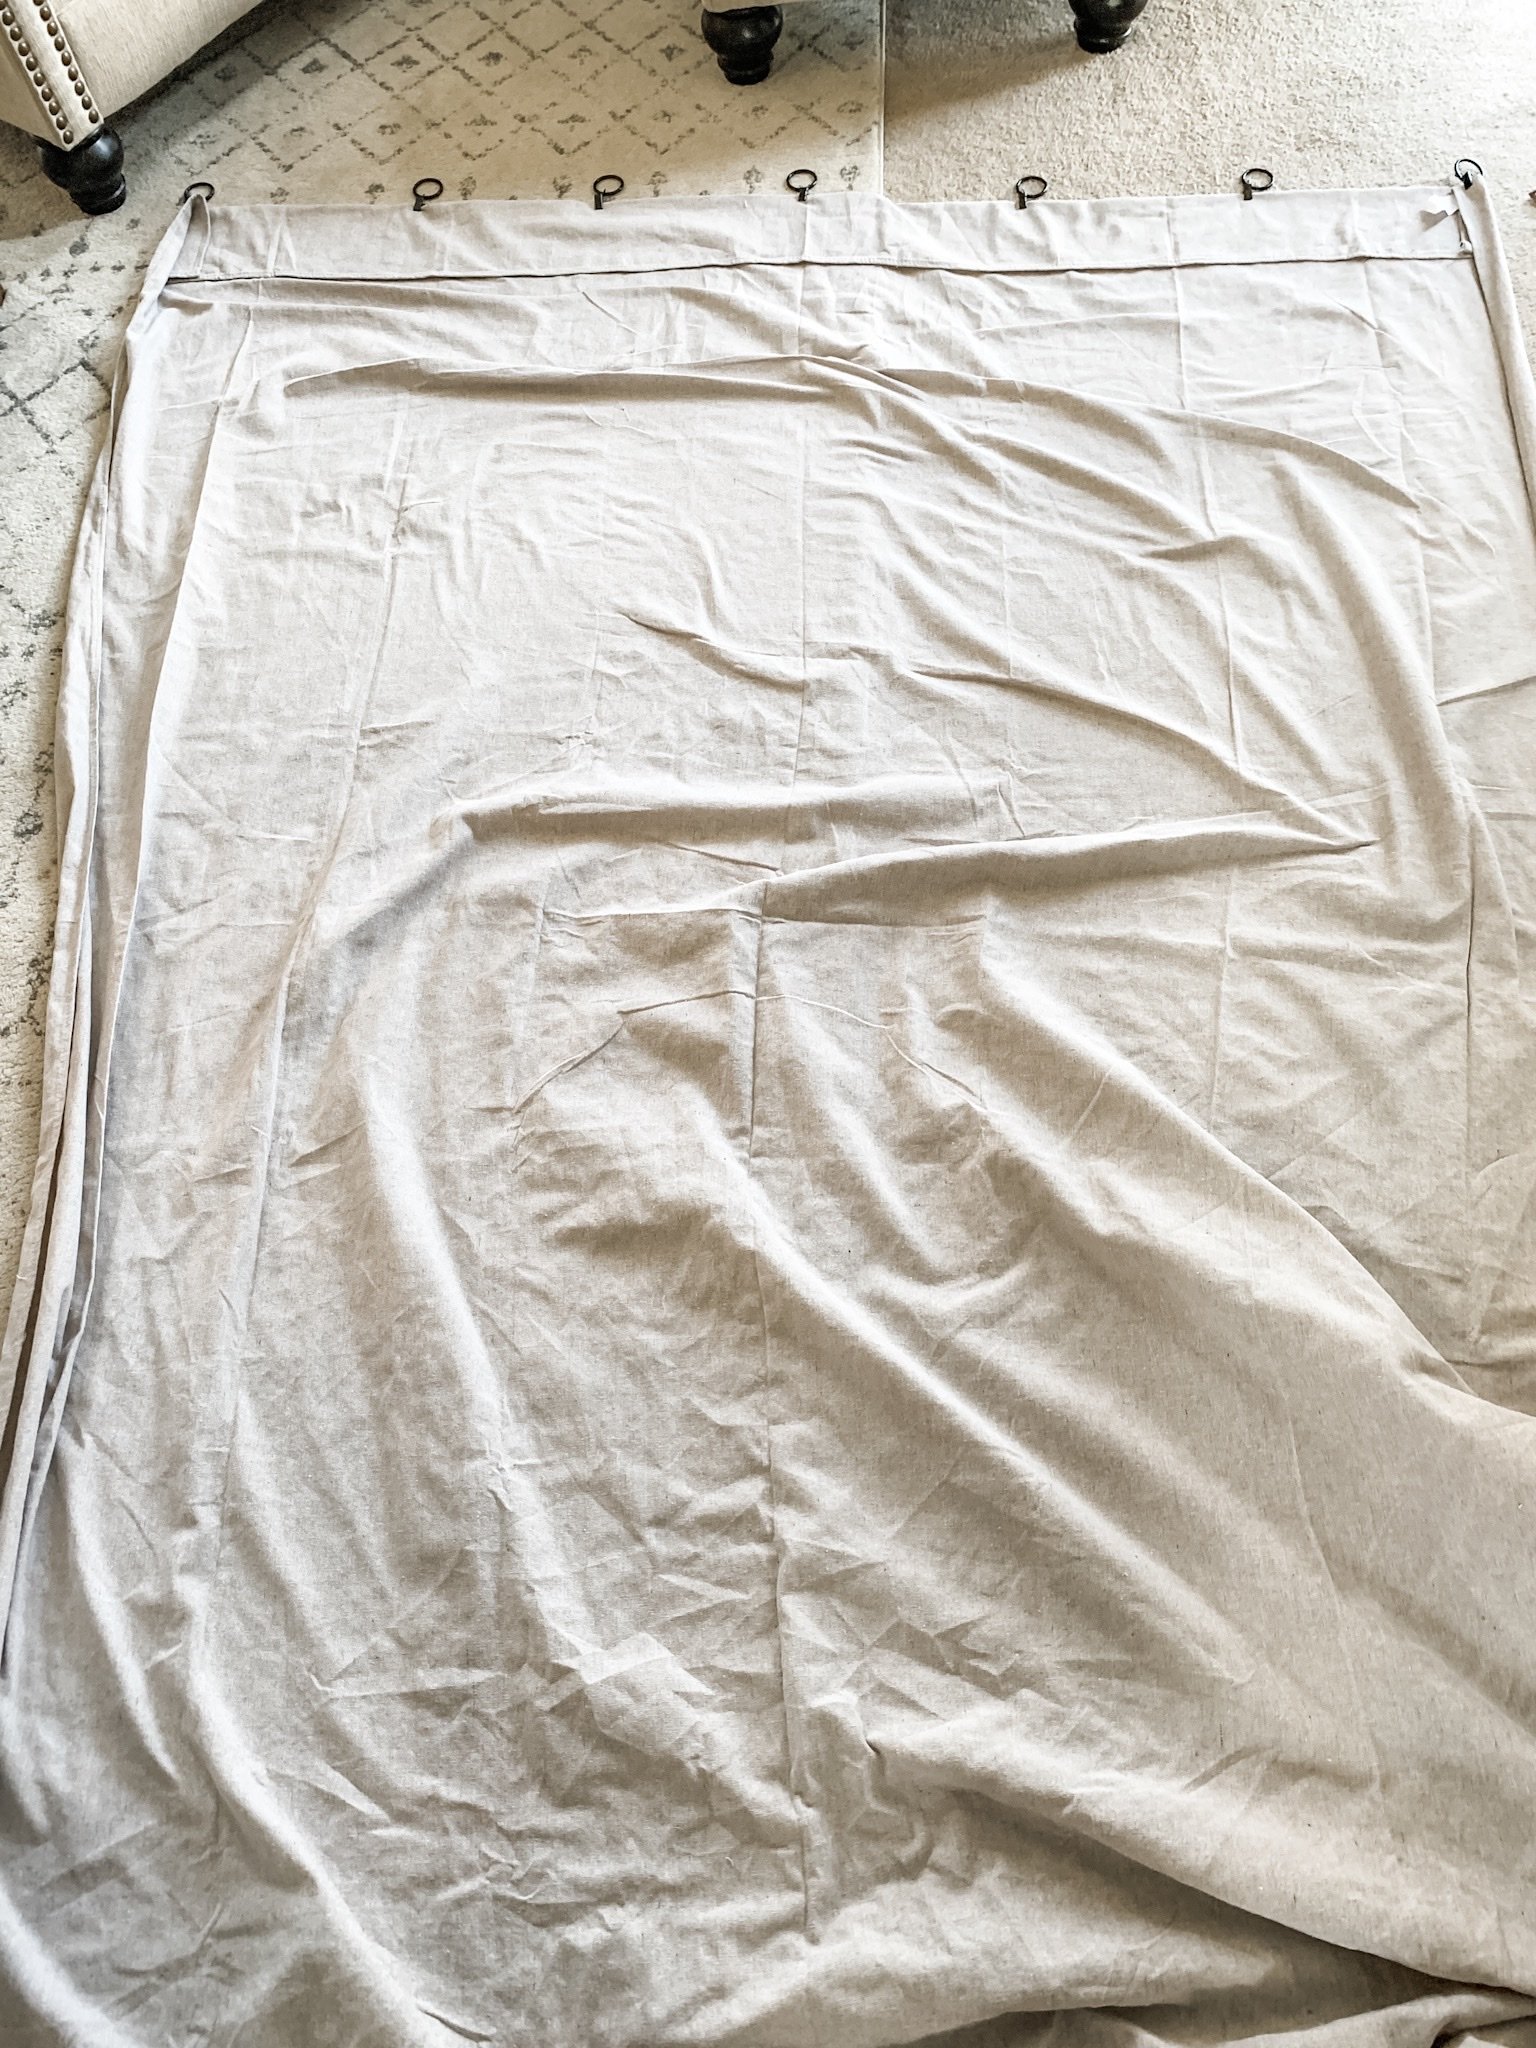
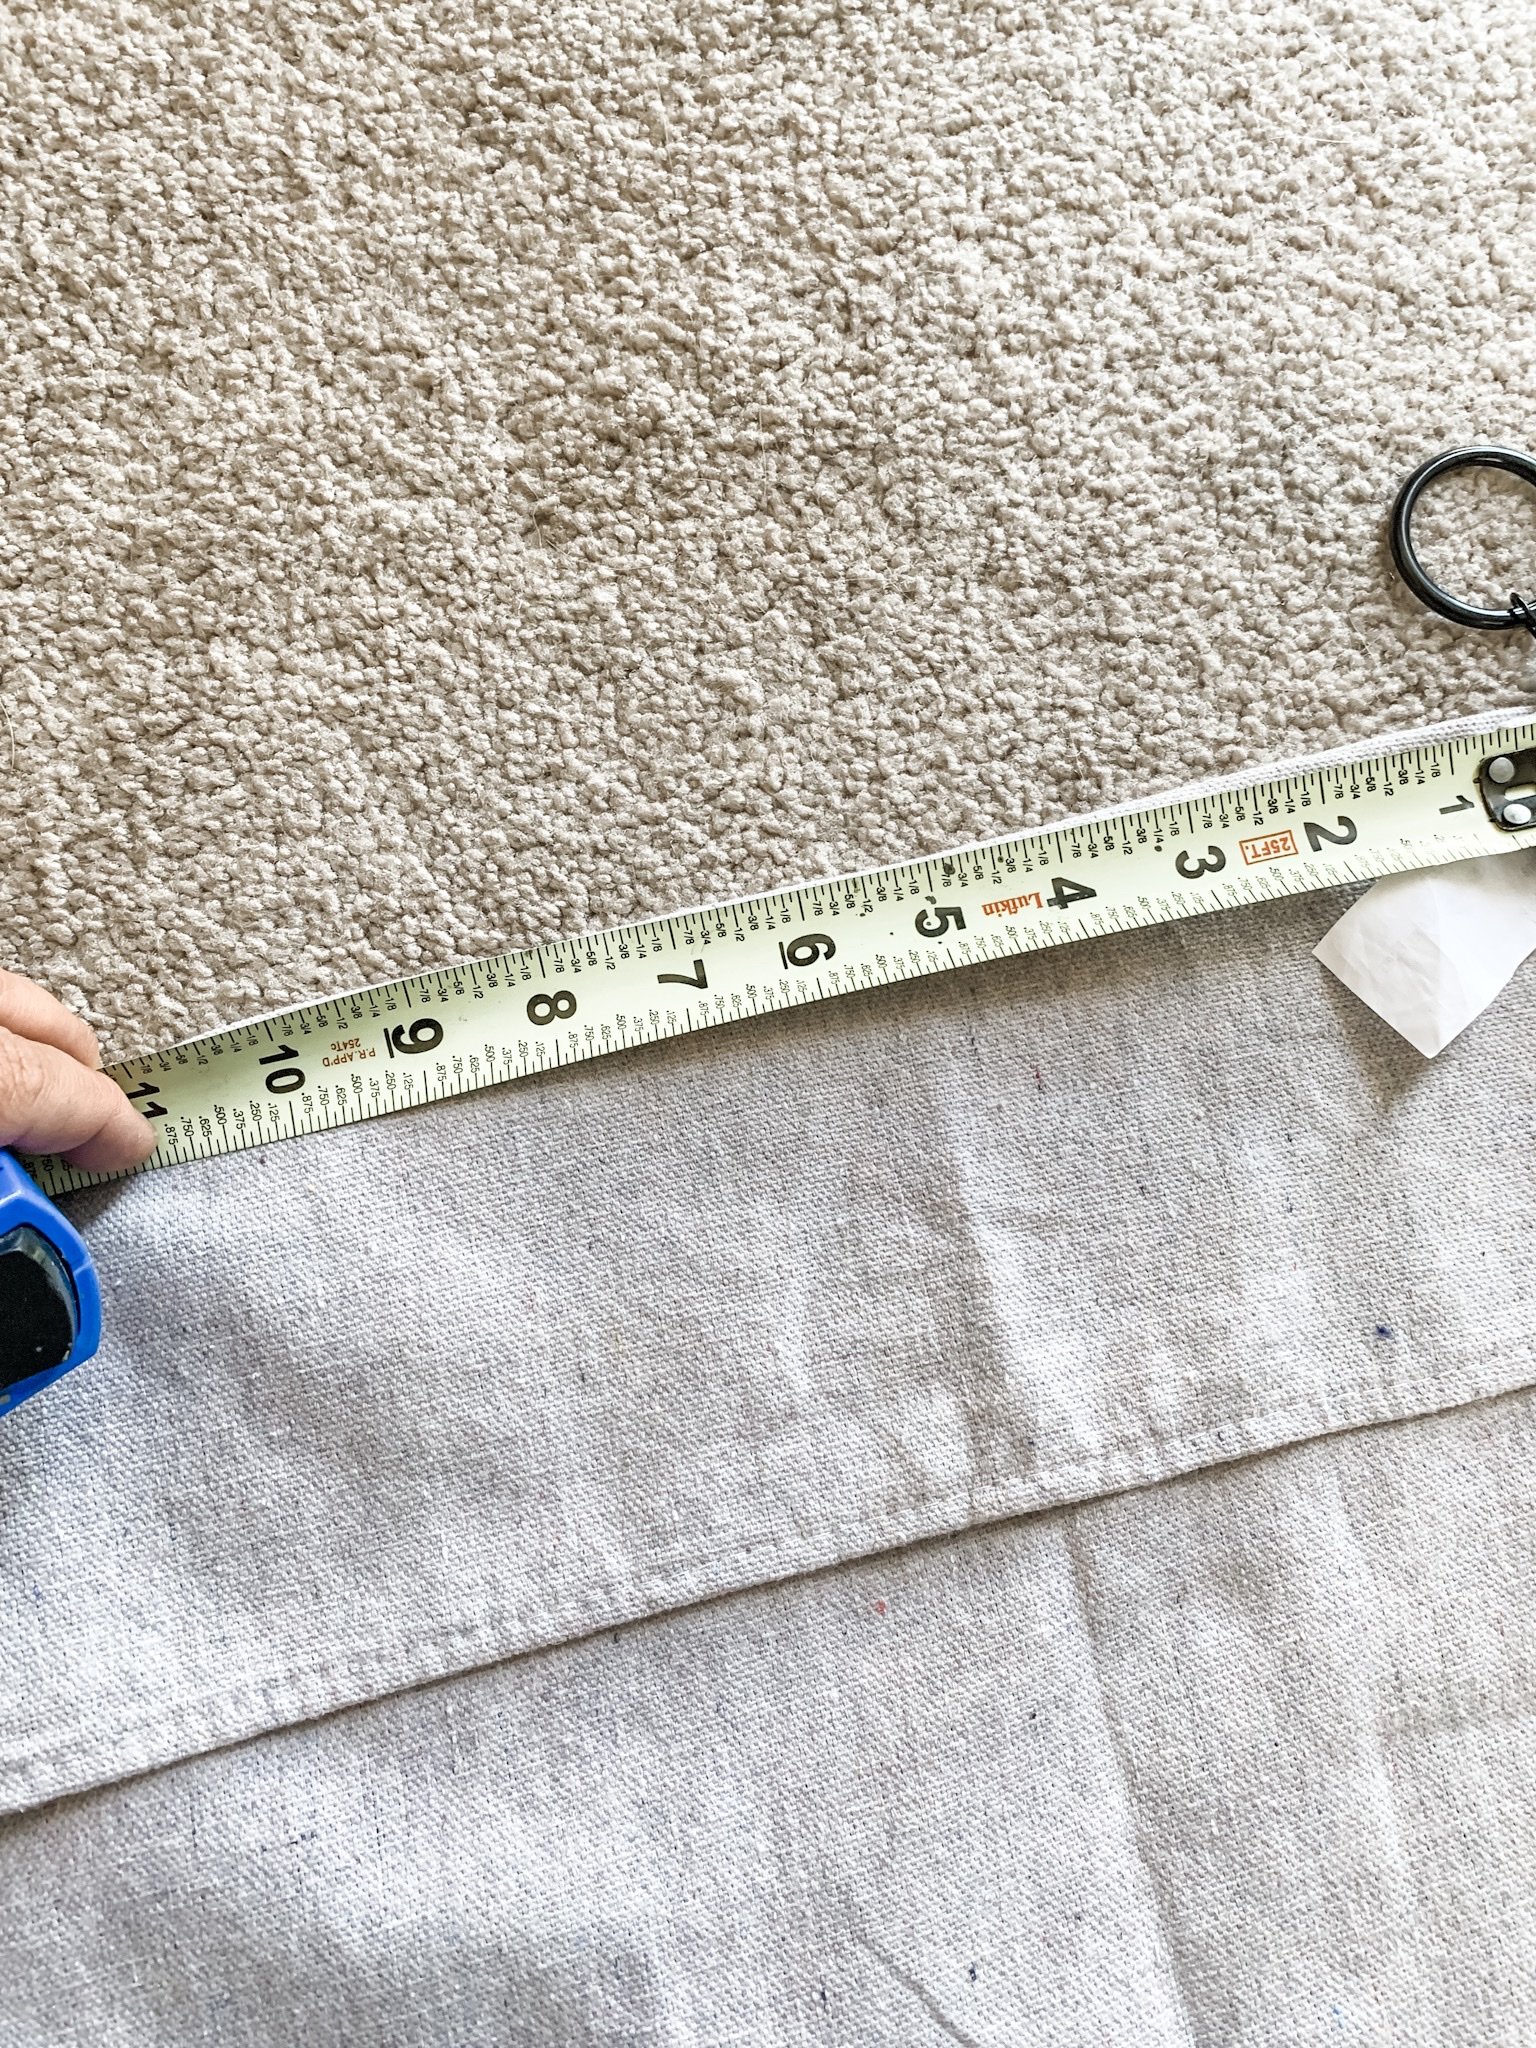
- I attached the clips on the fold about 10-11″ apart all the way down.
- Once I did this to 2 drop cloths, I slid the rings on my rod and hung them up. (I use my curtain rods that were already there and installed) You can just kind of pull the pieces forward in between the hooks and that will make the pleated look.
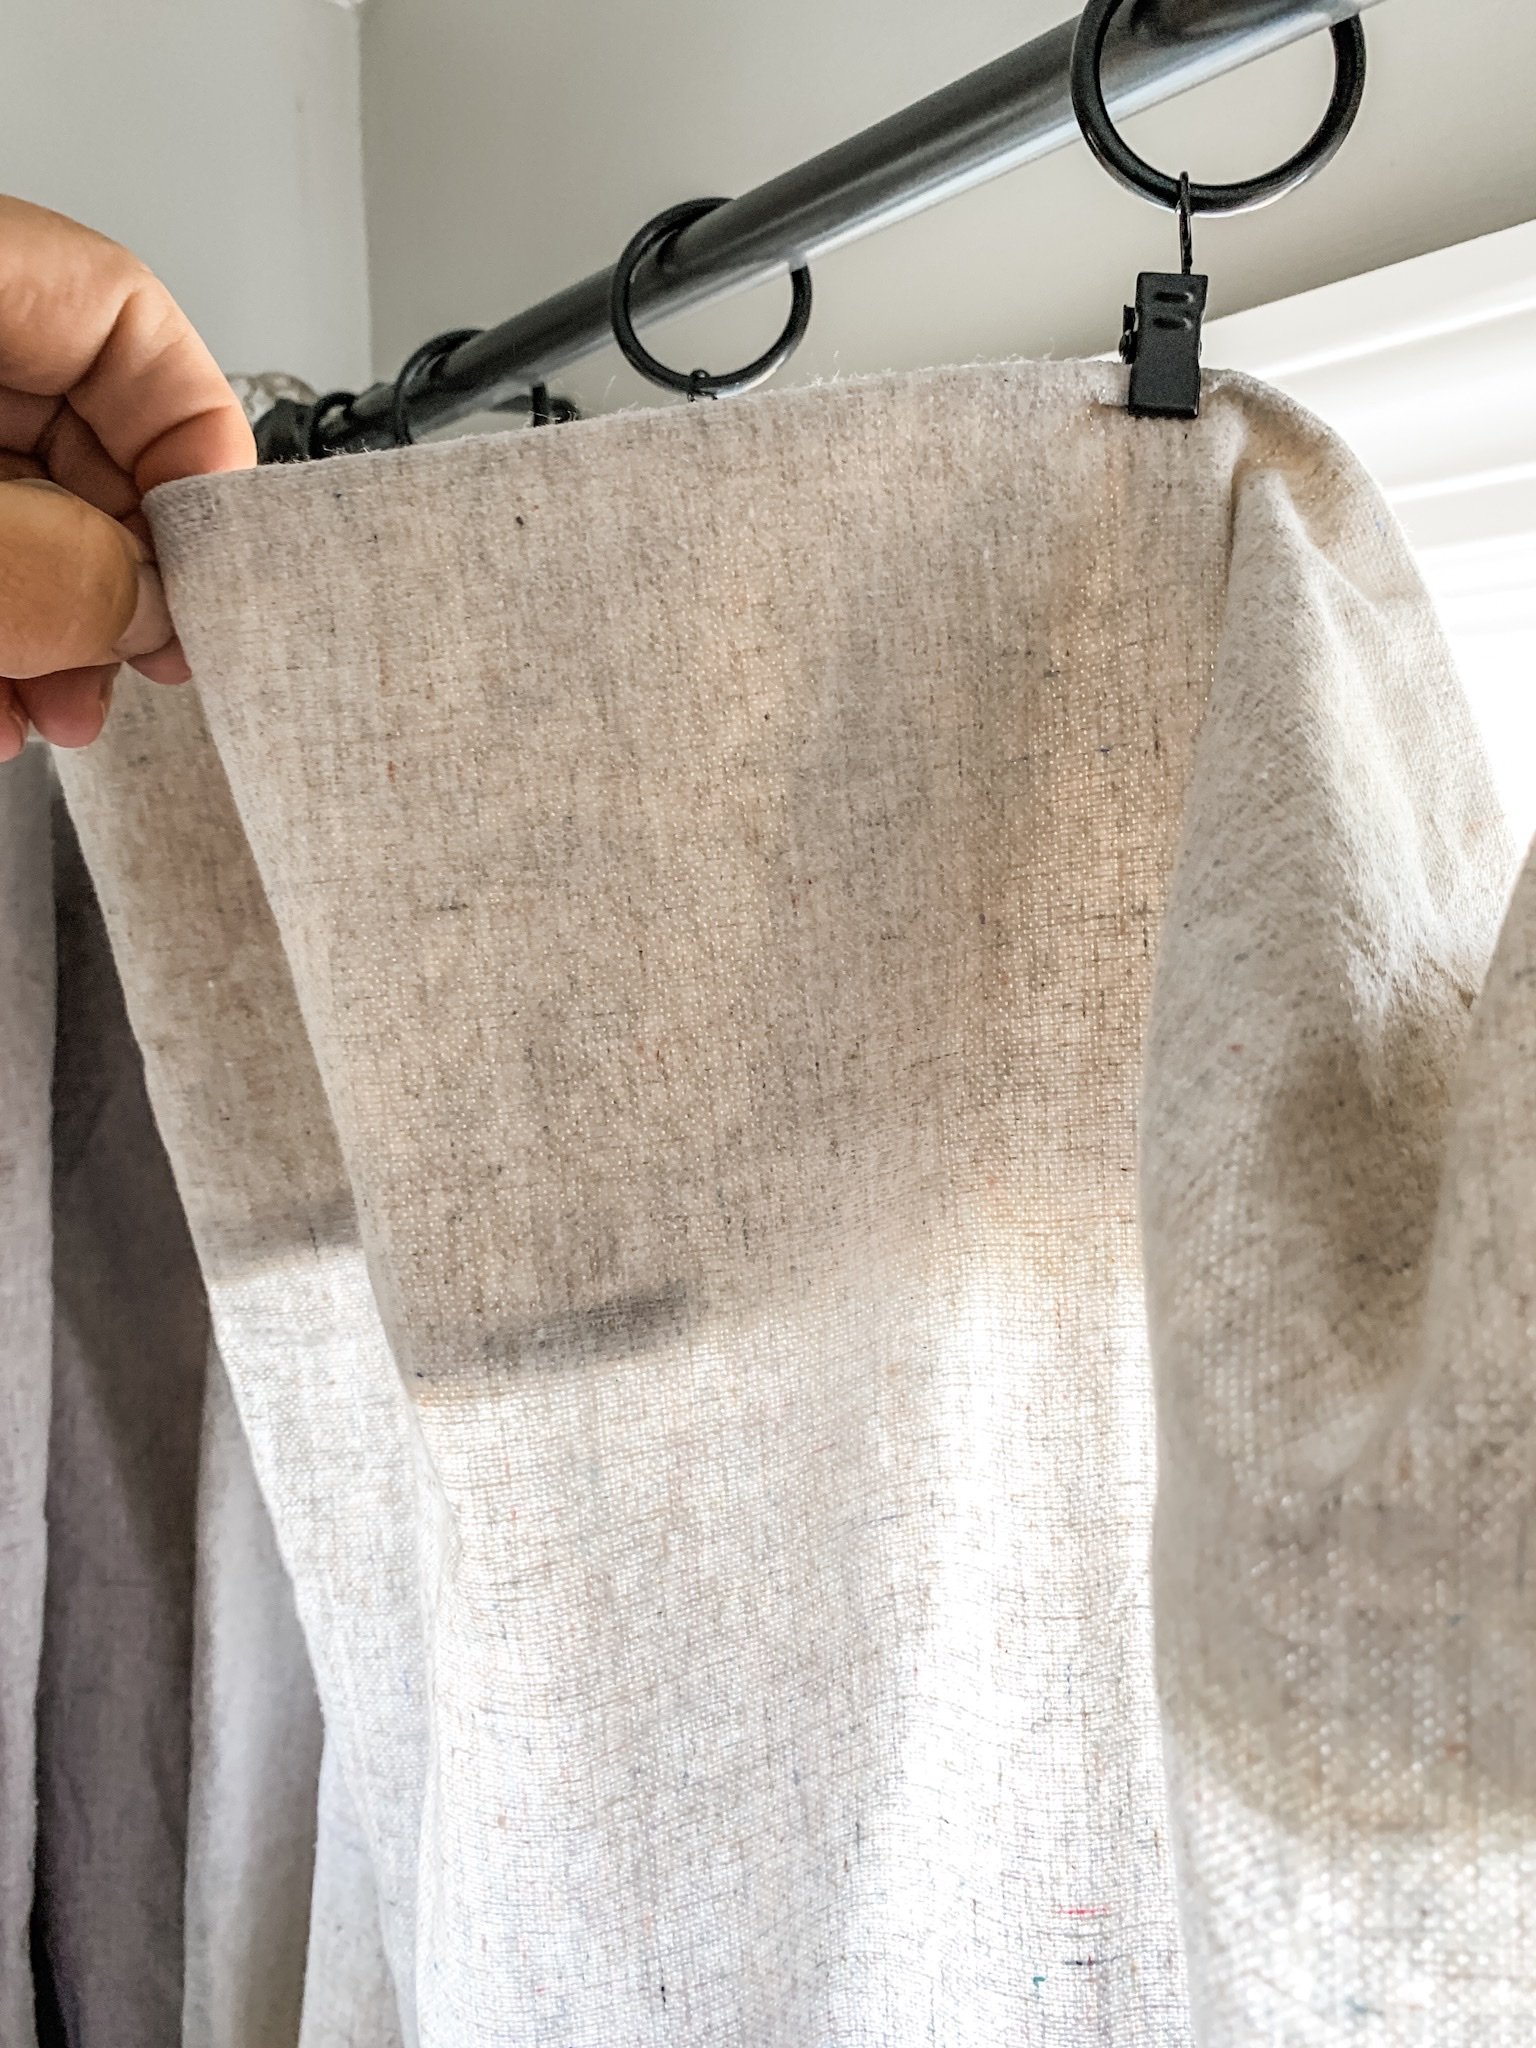
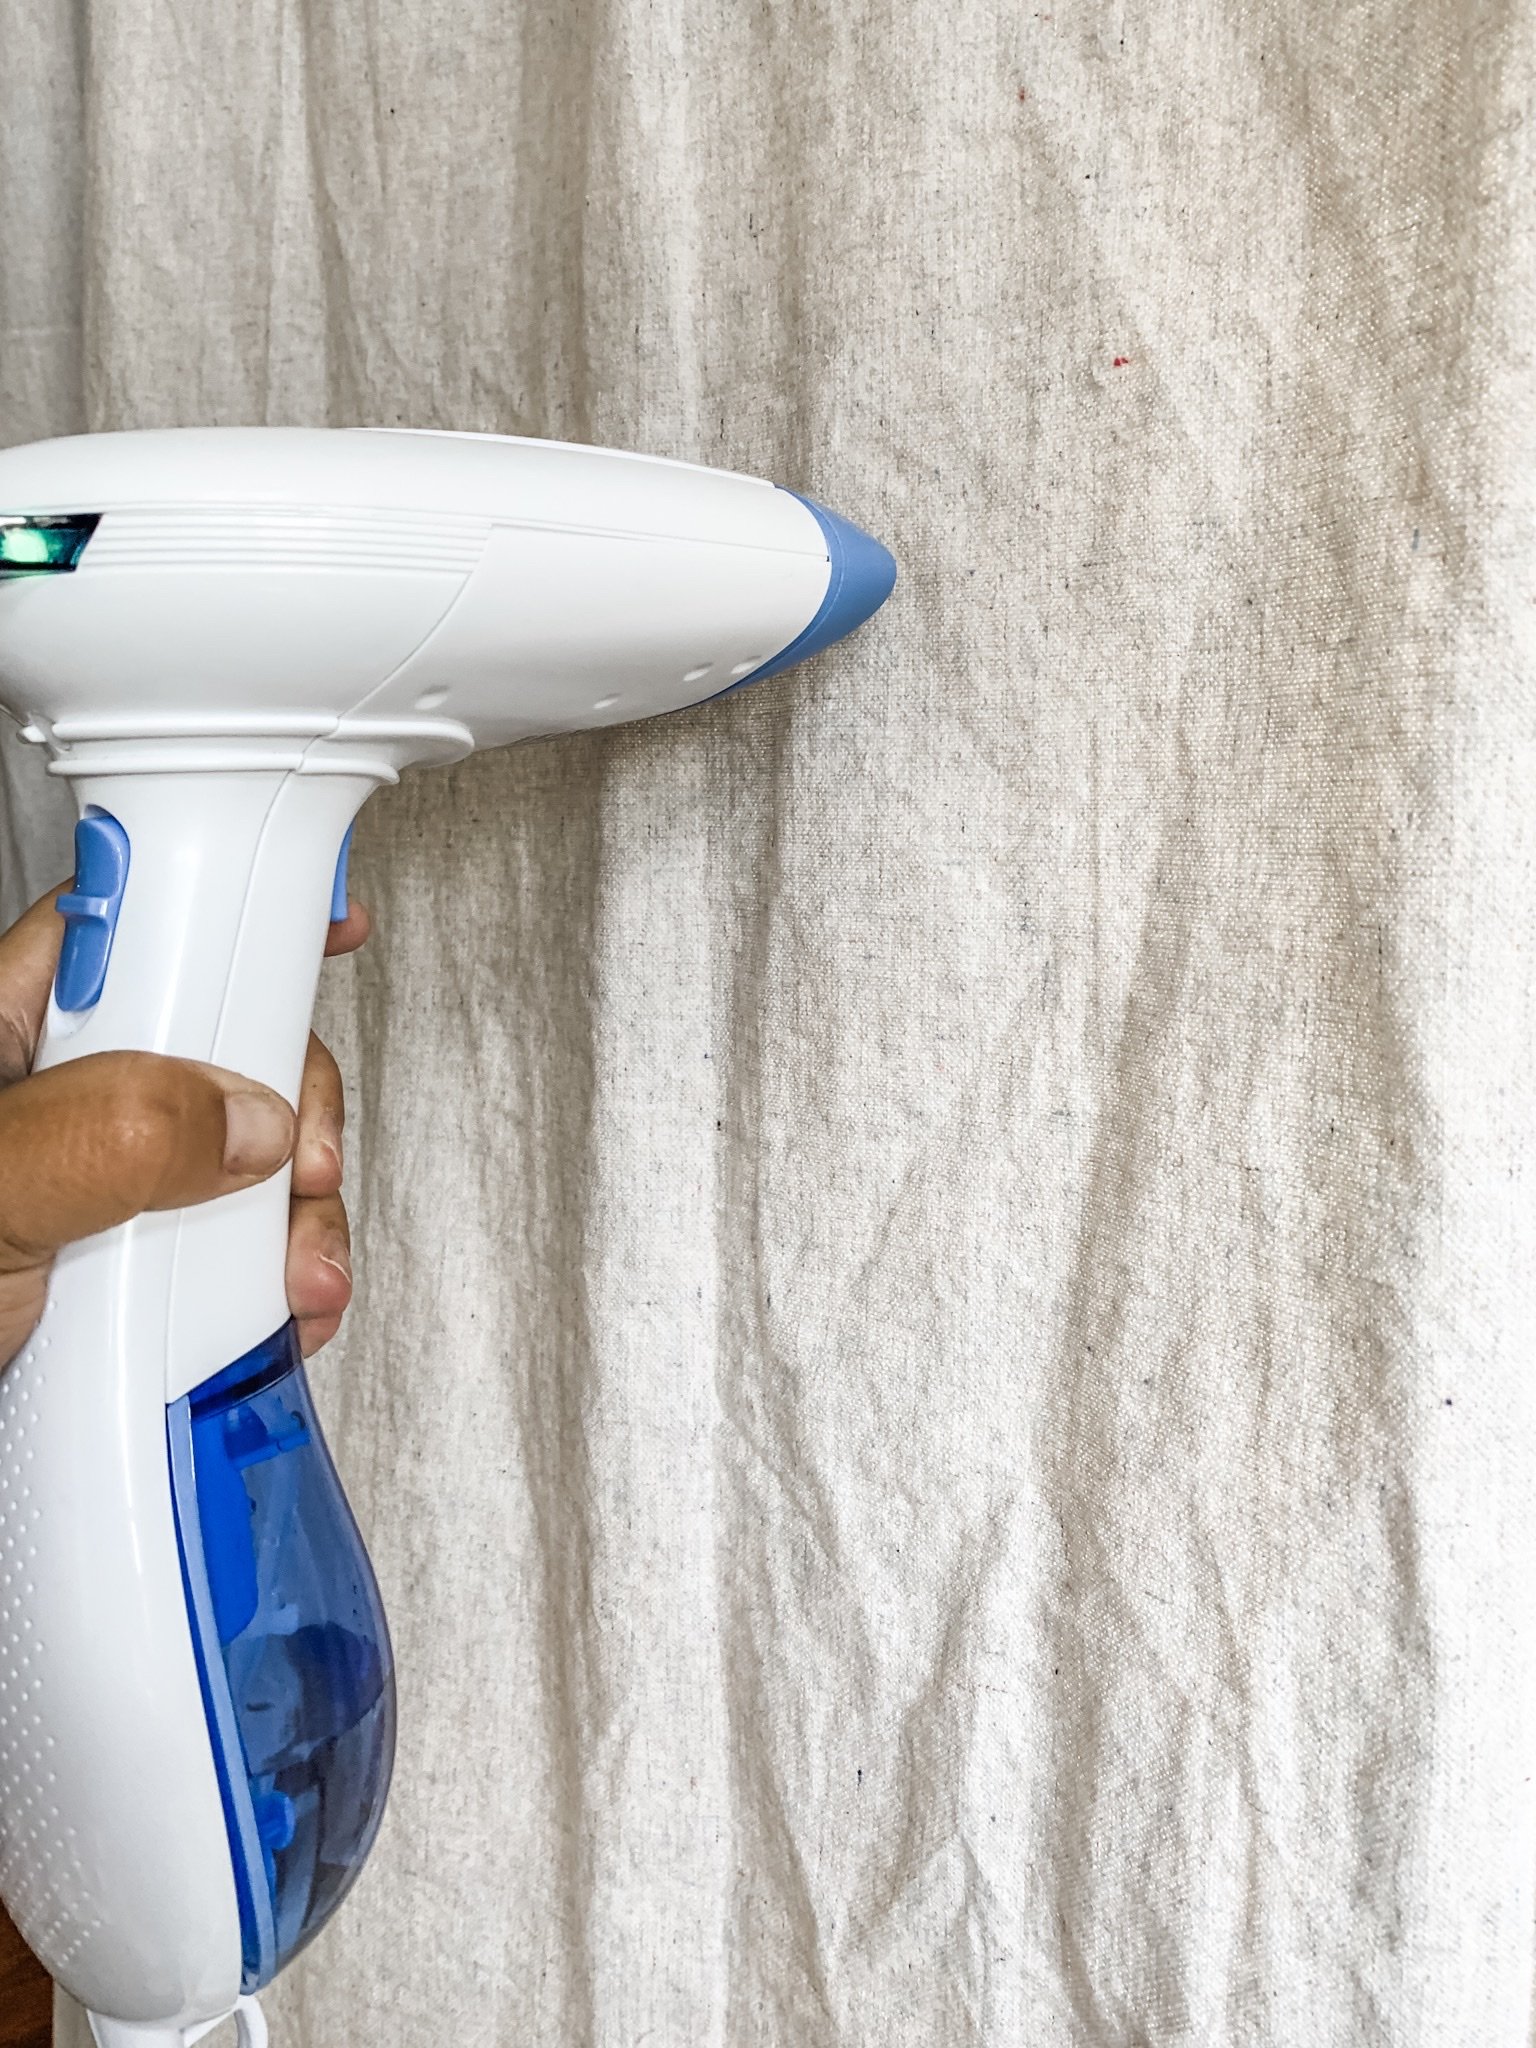
- Then I got out my handy dandy steamer and started steaming away. The whole key here is to do this while they are still DAMP! It makes steaming them a lot easier. If you don’t have a steamer, you could also iron them before you hang your clips on there. I just spread them out across the window and went to town steaming.
- Push them to the sides and stand back and enjoy your beautiful drop cloth curtains! It’s really that easy! And aren’t they cute?!
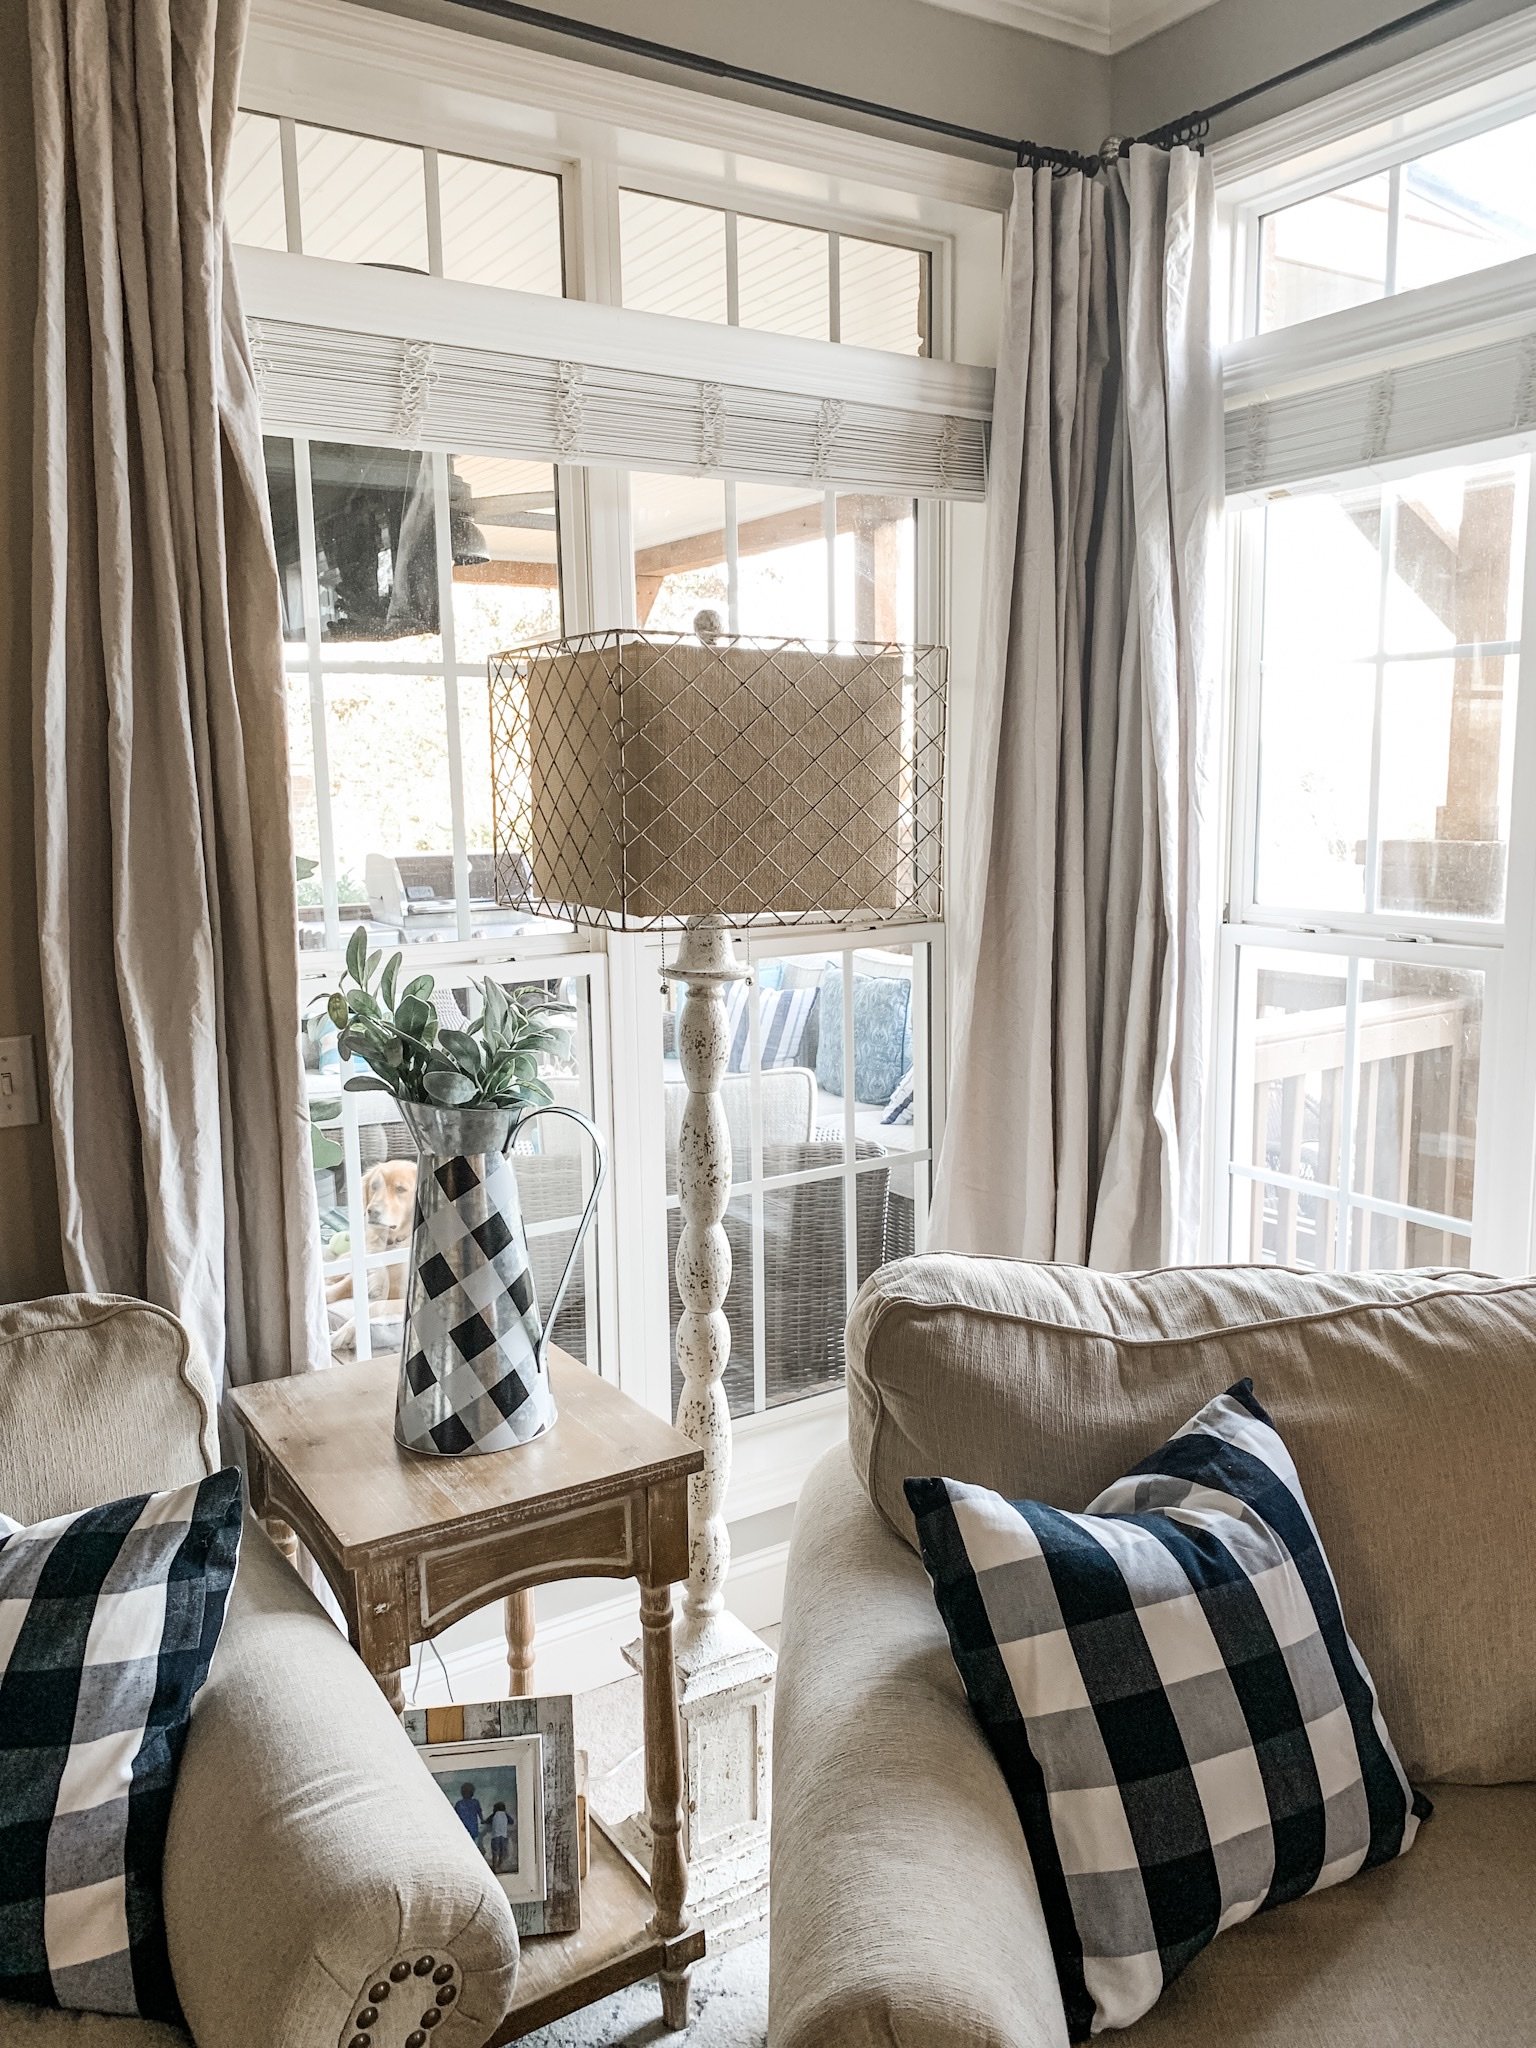
I’ll be to totally honest, there is nothing too hard about this project…but the steaming is TEDIOUS and not super fun. haha! I couldn’t get out every wrinkle, but I like the look it gives. If that might bother you, these may not be for you. I don’t think you could ever get them 100% wrinkle free.
One other thing, I did one window at a time because I wanted to be sure they were damp when I hung them. So basically while I was working on hanging and steaming one set, I had the next set in a short cycle in the washer. By the time I was done hanging, the next set was done washing and I just kept repeating that cycle.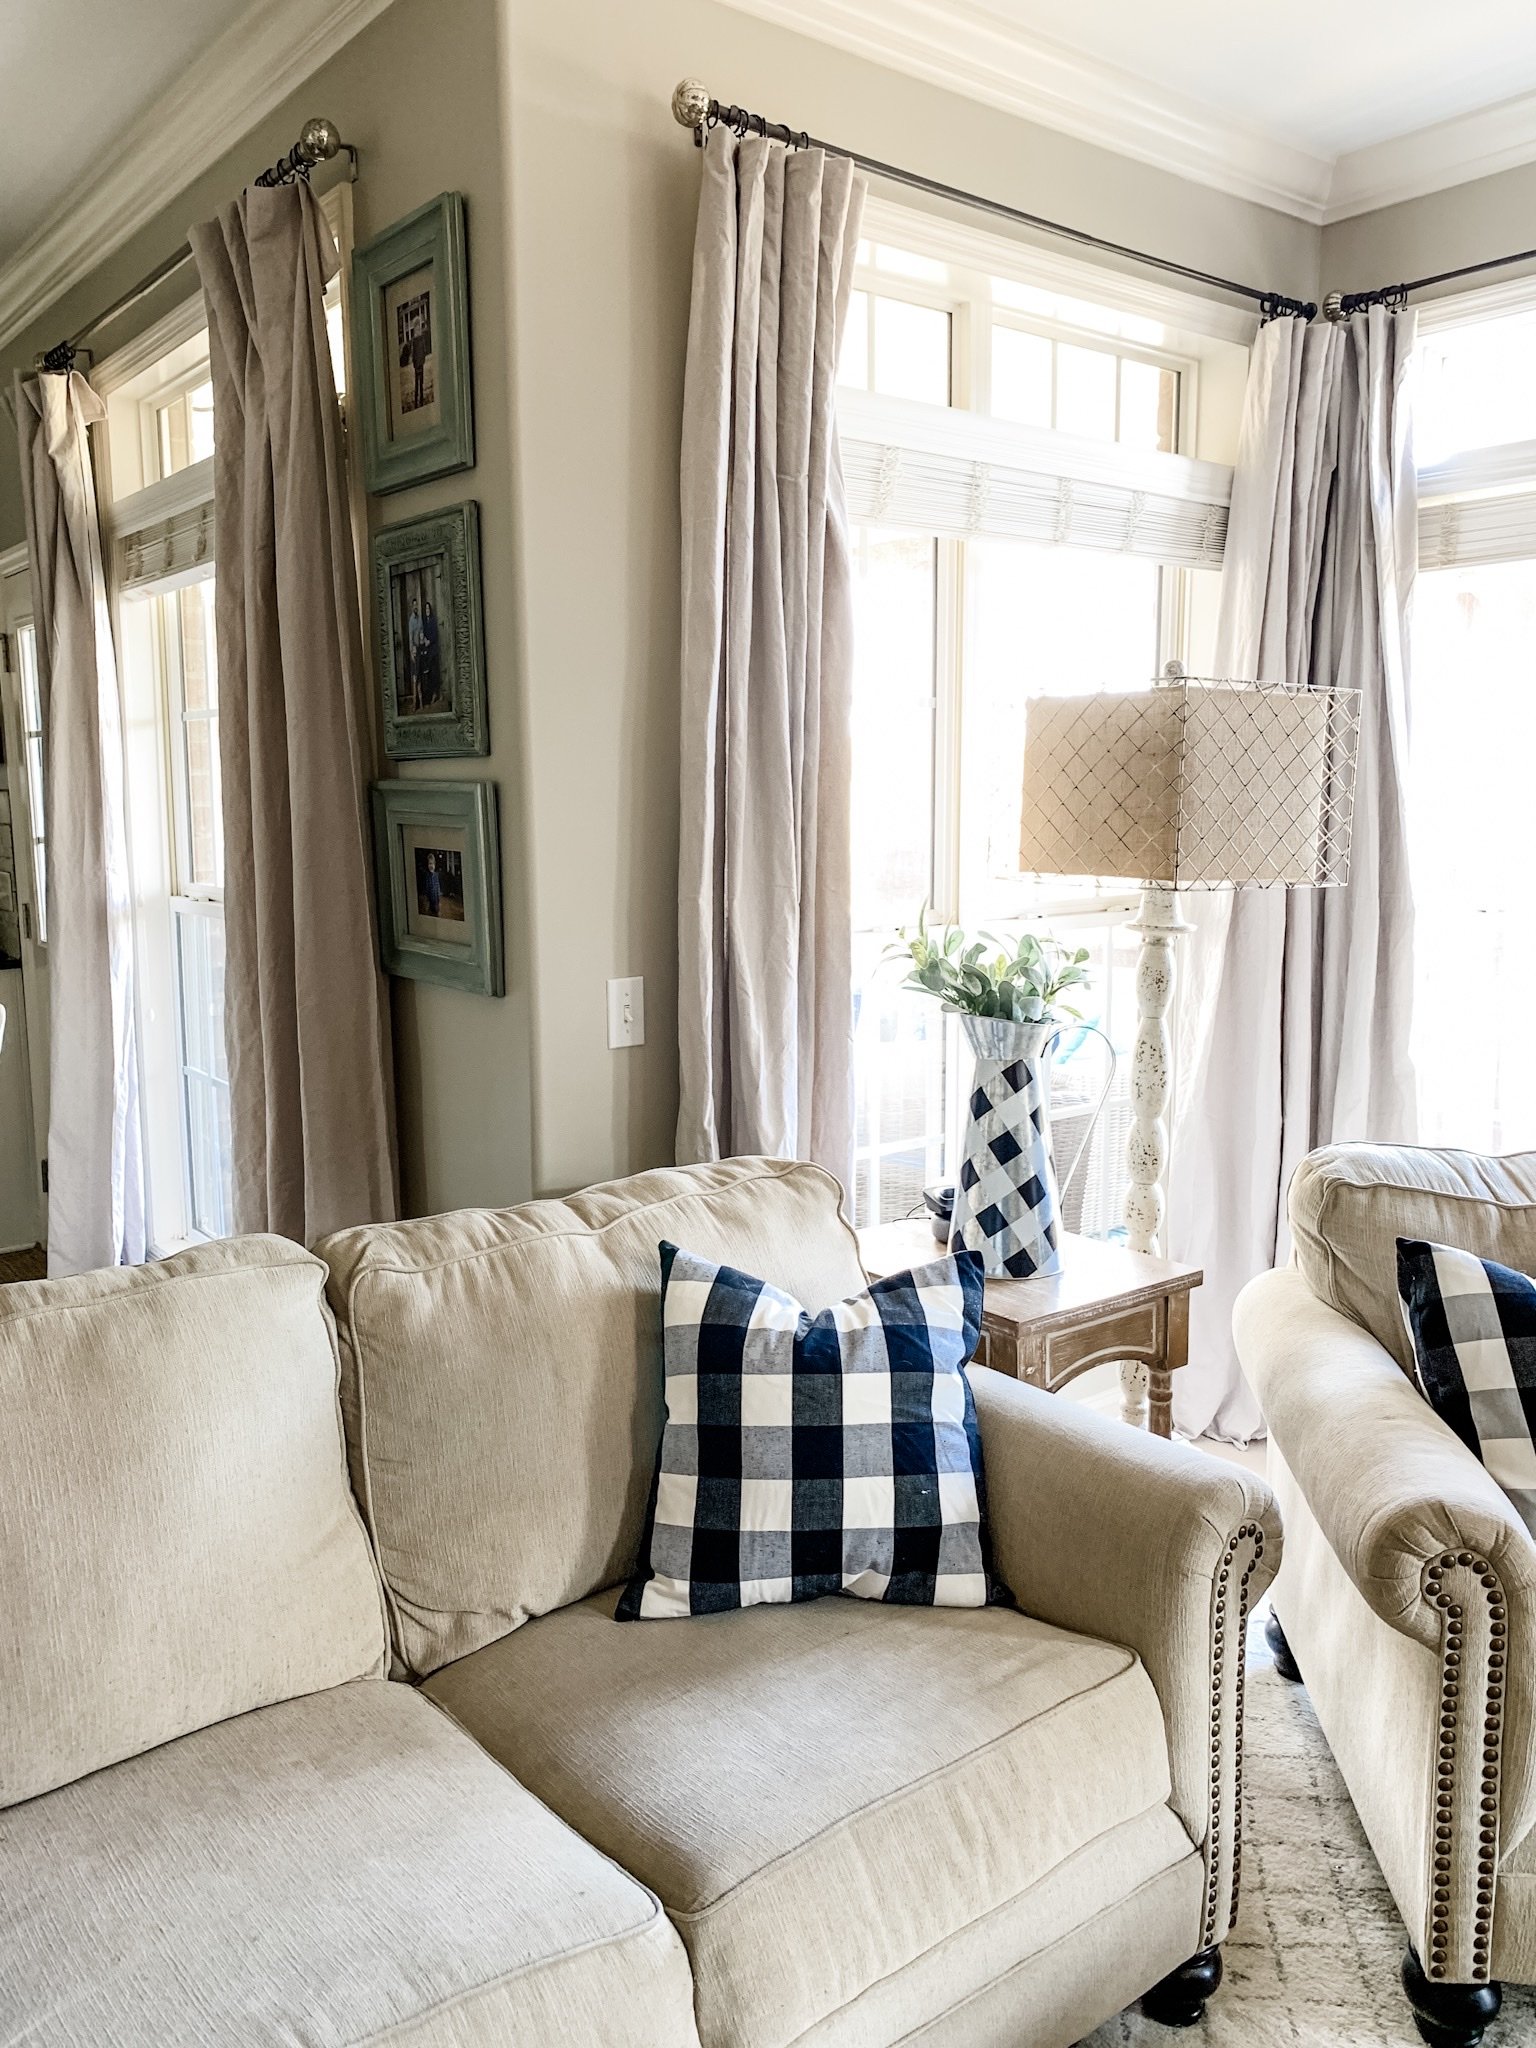
Other than that, they really were easy and I am in LOVE with how they turned out. I’ll share more pictures soon once I can show you my entire Christmas living room!
Let me know what you think of these DIY drop cloth curtains?! Would you ever do these in your home?!
Until next time…
~ Stacey

Love them! Would definitely do this in my home.
I have them hanging on my deck and love them.
I would in a heartbeat Stacy I absolutely Love Them You did an awesome job ❤️❤️
I like them and may do mine soon. Do you get a lot of sun?
Did you do any sewing???
Good to know that Home Depot has a brand that doesn’t have a seam. I had intended to do this a long time ago but the kind I bought had that seam?. Would also make a great tablecloth for those folding tables we will all be dragging out for the holidays.
I love them!! I would
Love to try them. I will be going to Home Depot soon! Thanks!
Love these curtains. Have considered using these in my sunroom to keep out some of the extreme sun. Would not mind having them in my house.
Thanks so much for sharing and giving such good instructions. Wondered how these were done and now feel confident I could do these. Love your windows and thanks again!
I so love these. Yes I’m going to try this.
I’m inspired! I’ve been in my house 12 years and have yet to hang any curtains on my big beautiful windows. However, these got me with all the feels. ❤️
Absolutely love the look of these! Everything you do in that room will work really well with the neutral curtains. I’m going to have to check this out!
Love the drop cloth curtains. Have always wanted to try them in my living room. Thank you for taking the time to go through each step and showing us how to make them. Yours turned out great.
Im going to try this …i love the look
They look great to me ! Good job !
yes I would. every one needs some of the old fashion curtain stretchers to put these on and let them dry. that would probably take the wrinkles out
They are perfect♥️
Actually FANTASTIC ????
Stacy you have a gift from God!
I put these on my living room picture window and over my patio door about a month ago! Game changer! Love them….brightens room and feel of the room. Cozy but chic! ?
I did this but I used grommets and round curtain rings to hang. That way I didn’t have to worry abt them being pulled down. These are very sturdy curtains. I used on my porch.
I made mine out of burlap found a big piece at the thrift store.
Black an tan ribbon for the tie backs. My curtains for !y kitchen. Love them! Thanks for all your ideas!
Hi Stacy, I love this idea.. I wonder if the drop cloth is made in different colors.. Thank you for sharing.. Your home is just gorgeous..
Not that I know of. Thanks!
I have a large front window takes length 81 and 4 small takes maybe 63 length how many drop clothes would you use and how woykd you tell if there’s a crease we just have a Lowes and Walmart
I’m not sure, you would have to work out the measurements on that. And I don’t think you will know unless you buy one and open the package. They don’t typically say on the outside. Thanks!