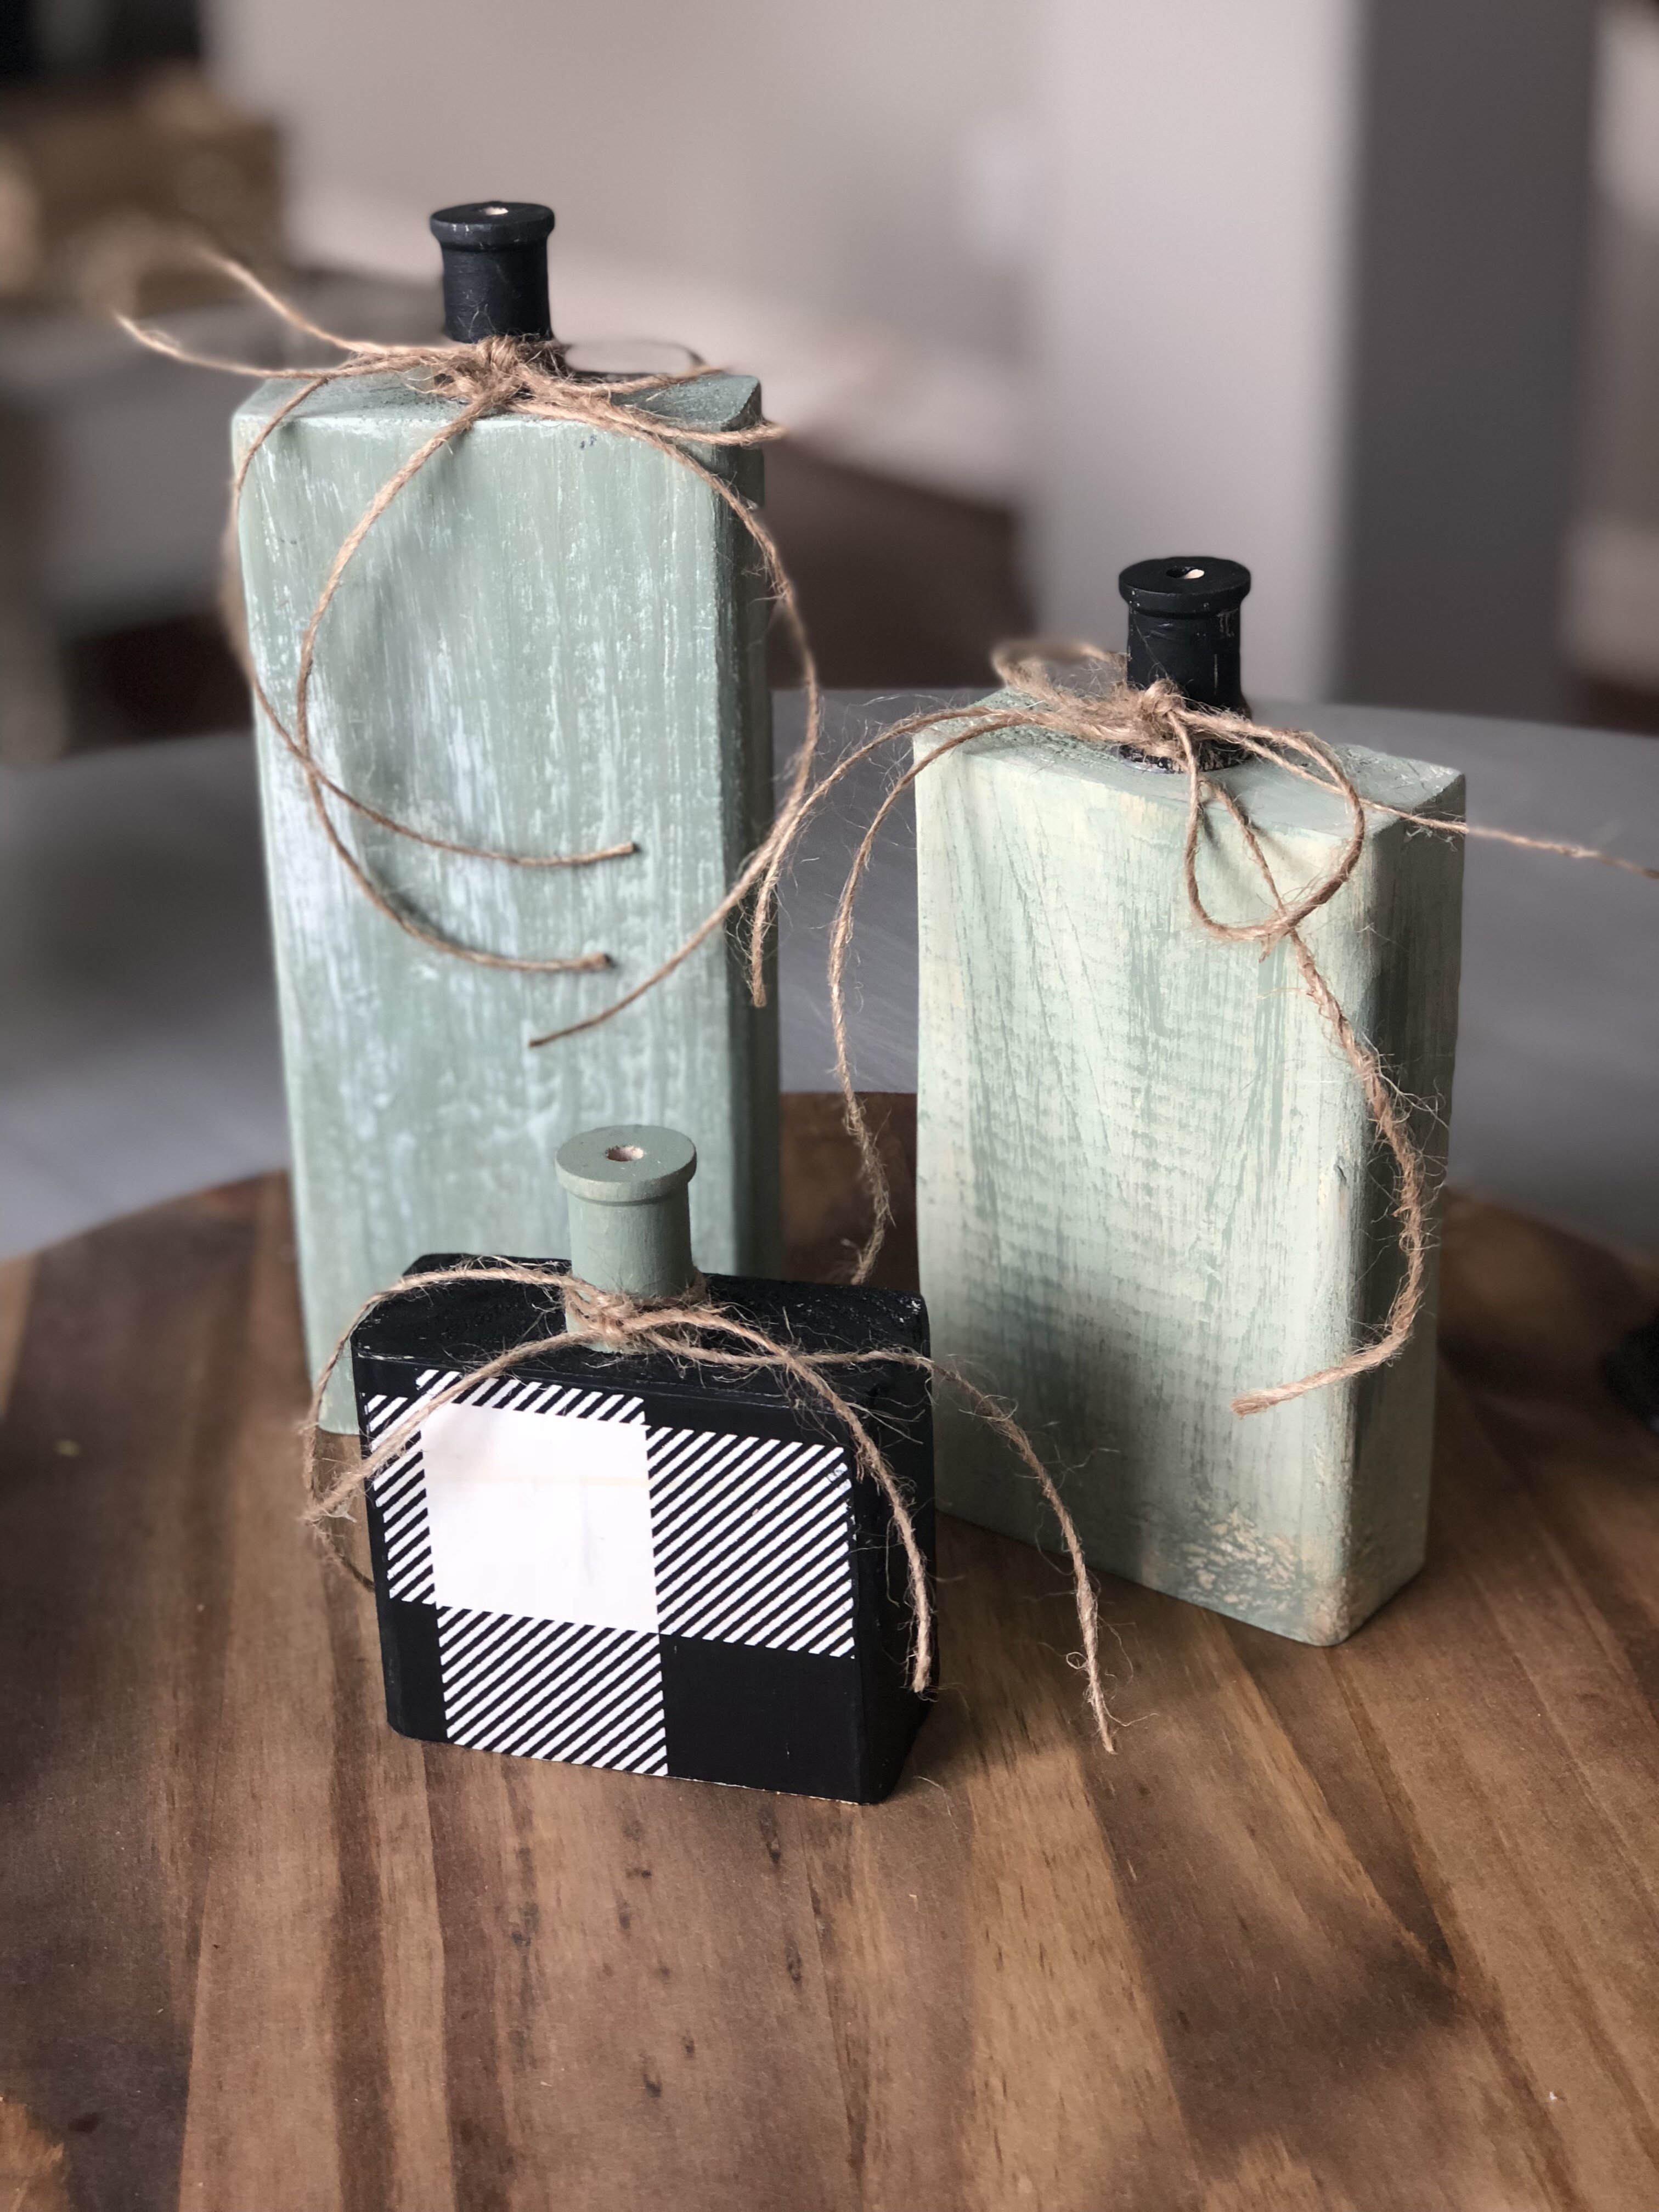
It’s time to prep for Fall and I have another easy and cheap DIY project for you! I made these a couple of years ago, and decided it was time to make some again AND blog about it so y’all can make some too!
Learn how to make these cute wood pumpkins from scrap 2×4’s for an easy Fall DIY project! All you need is wood, paint and some spools!

Here are the ones I made a couple of years ago! So cute and fun!

For this project, I was using scrap 2×4’s that we had leftover from a shelf my husband built me. But you could easily go to Lowe’s or Home Depot and have them cut down some wood for you if you don’t have a way to do it at home.
These happened to be 8 inches, 6 inches and 3 inches. You could do any size for your wood pumpkins as long as you have a large, medium and small. (I did sand down the edges of these to make them smooth)
You can watch the whole FB Live that I did here and watch me paint them. I walk you step by step through the process and the techniques I used to make these wood pumpkins!
Here they are all completed using my new color scheme for my Fall living room! You can see the painted foam pumpkins I did here that I’ll also be using this Fall 🙂


Tips:
- For the stems I used spools that can be found at any craft store.
- The buffalo check was leftover wrapping paper that I put on with mod podge.
- The stems (spools) were just hot glued on the top
- I added a little jute twine, but any cute ribbon will work!
- Doing some dry brushing over the top of some will give them extra dimension.
- All of this is shown in the FB LIVE!

Hope you enjoyed this easy Fall wood pumpkin idea, and I hope you are inspired to get your DIY on this Fall! I know I am!
Until next time…
~ Stacey


0 Comments