I’ve got another great NO SEW fall makeover for ya! So, if you can’t sew like me…I hope you love this one!
This DIY ribbon pumpkin made from a Dollar Tree foam pumpkin is truly so easy, yet the results are just too stinkin’ cute! Take a look!
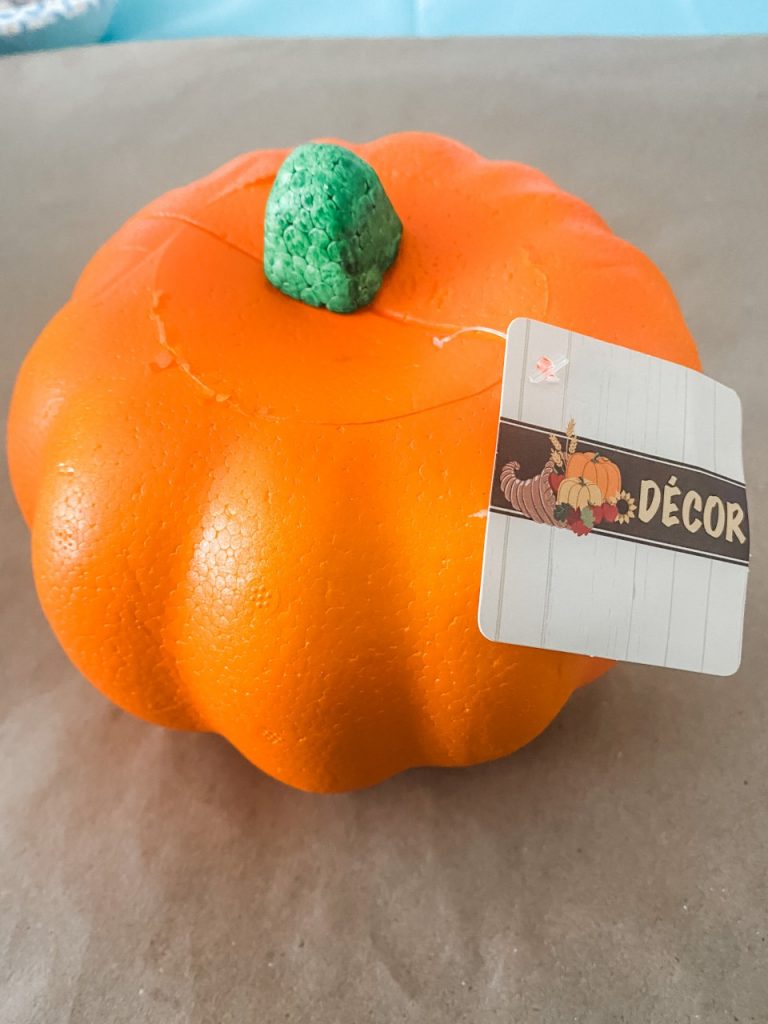
I started off with one of the bright orange foam pumpkins from the Dollar Tree! You may remember some of the fabric covered ones I’ve done with these (SEEN HERE), but this is going to be a different twist.
First up, pick 2 coordinating ribbons that you love! For this one…I used buffalo check from hobby lobby (shocker) and then just a neutral burlap looking one that I think maybe came from Dollar Tree.
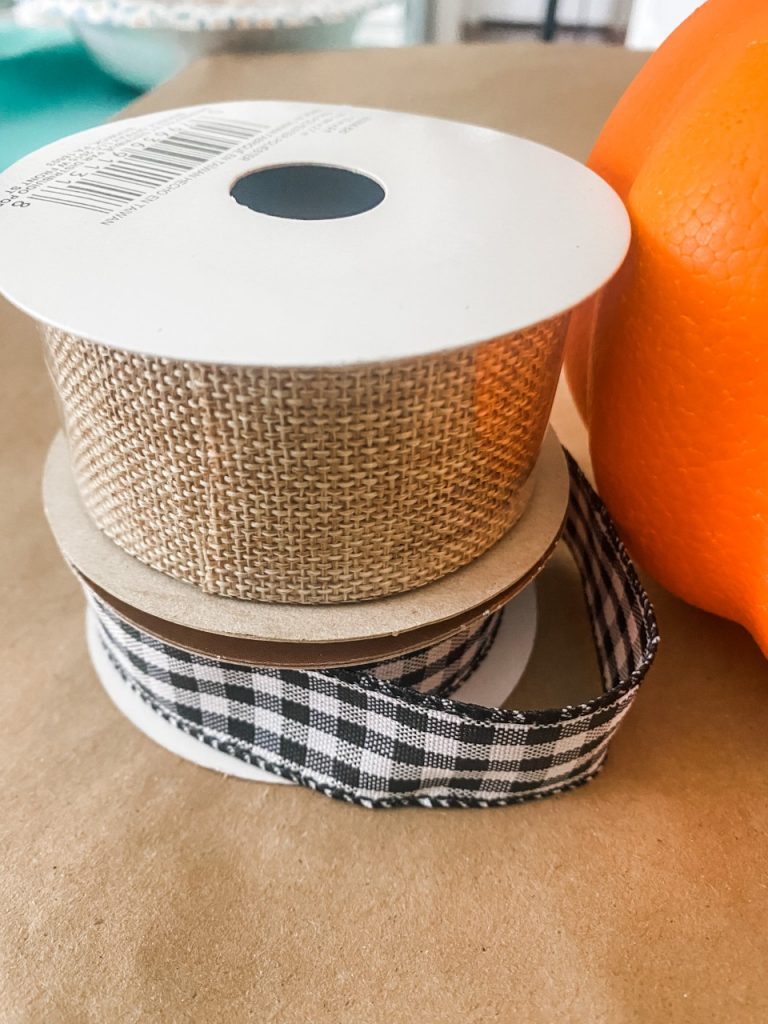
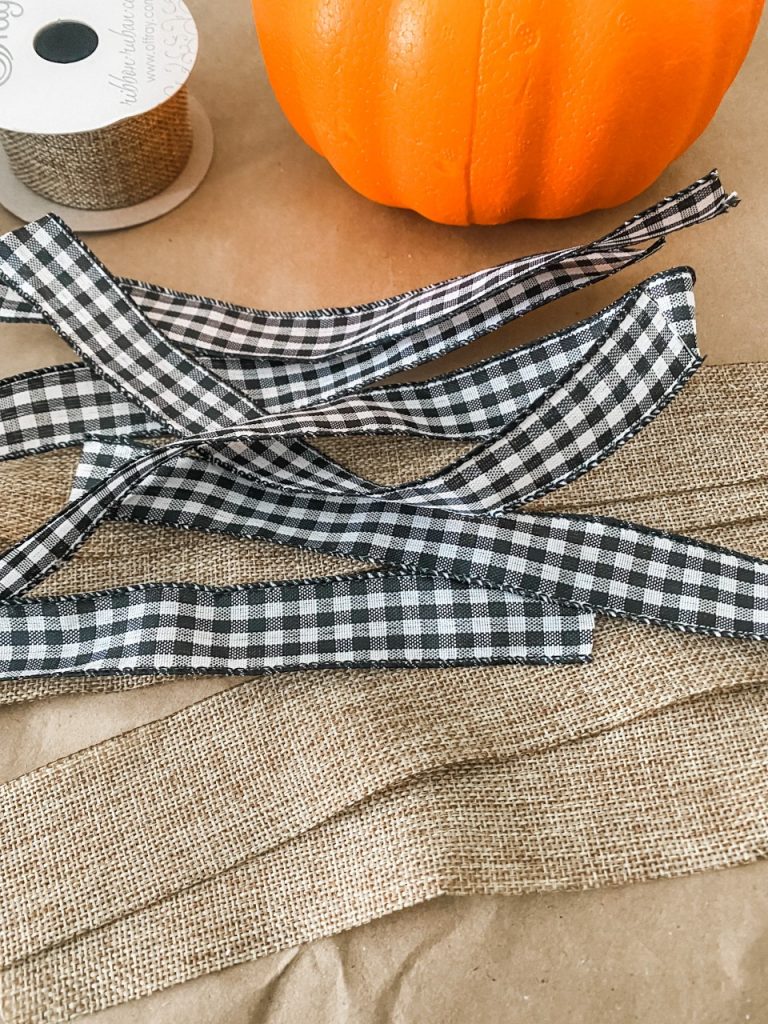
I cut down strips of each, 9″ inches long and I ended up needing 10 of each style.
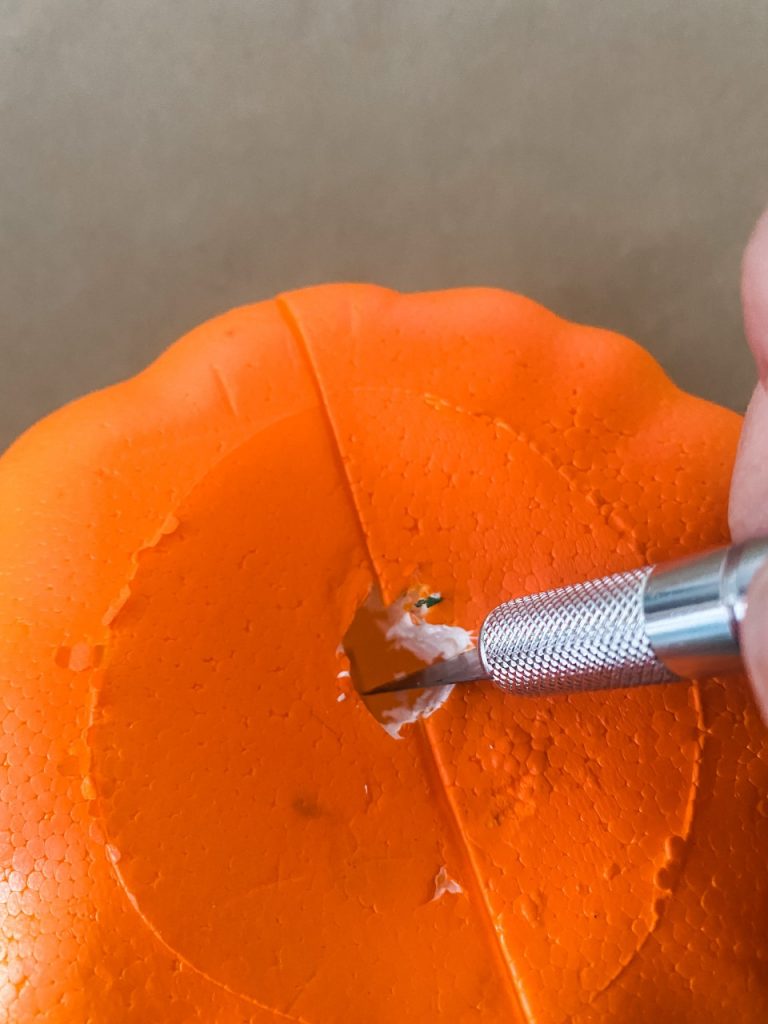
Then, I took my top off with an exacto knife and made a little hole in the top. It only needs to be big enough to shove those ribbon pieces down in there.
Next, I started inserting the ribbon into the top (no glue needed here, just shove it down). Then wrap it under the bottom and hot glue it to hold it into place. (this is what it starts to look like underneath as you glue each ribbon)
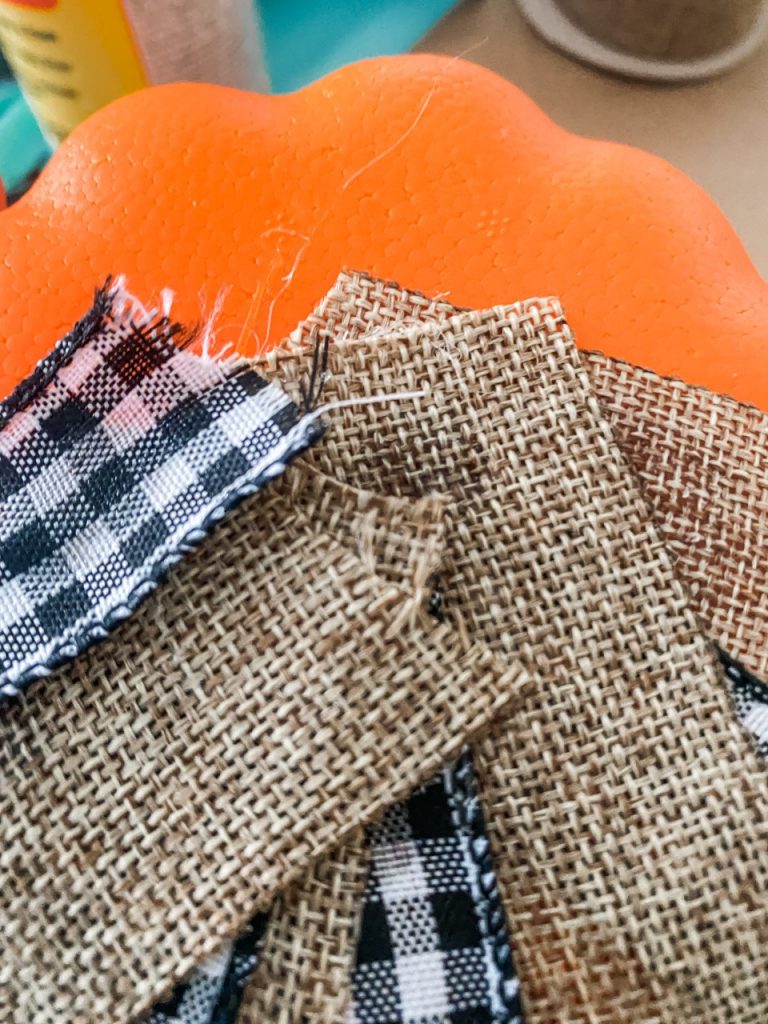
Simply start rotating your ribbons to make a pattern and round and round you go! Nothing hard about this at all, just takes a little time.
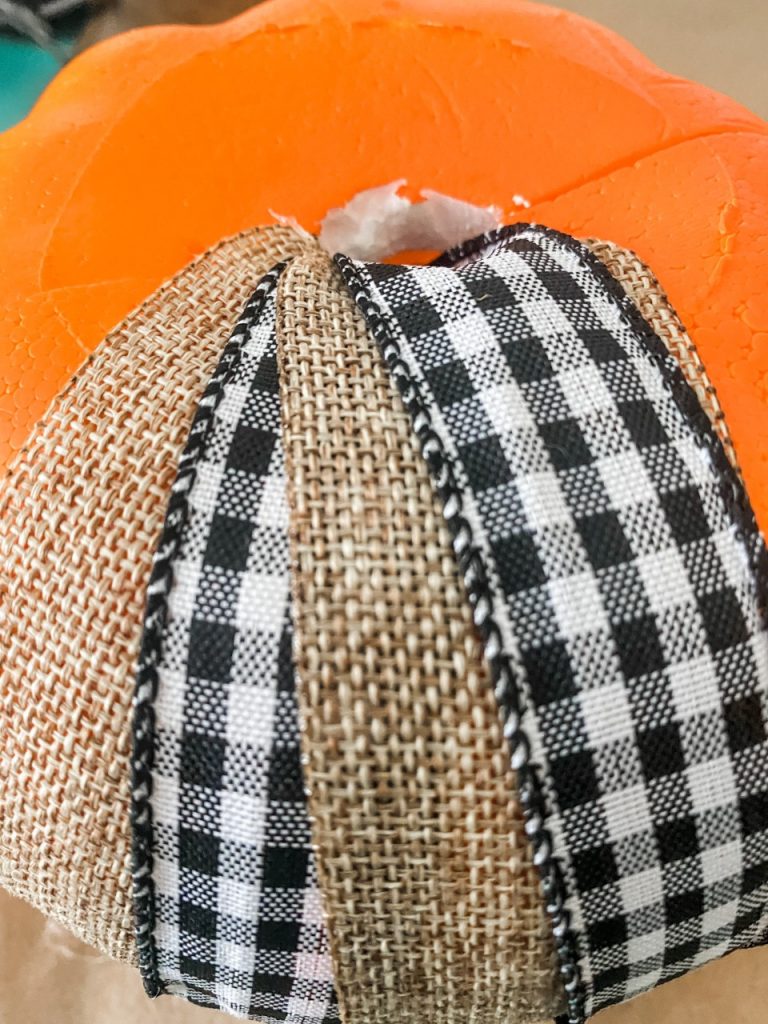
Last but not least for this DIY ribbon pumpkin, get creative and add something for your stem! I used a little stick from hobby lobby, added some jute and a little raffia bow!
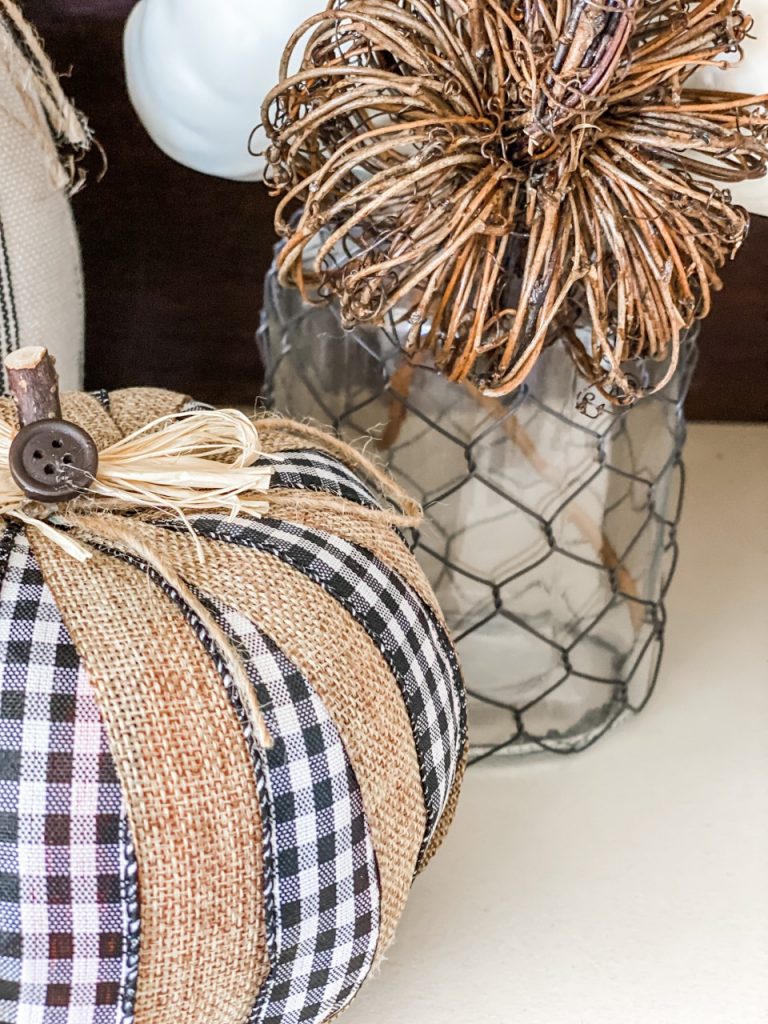
What do you think?! I’m pretty excited about how this turned out! ONE TIP: IF YOUR RIBBON IS SEE THROUGH OR REALLY THIN, YOU MAY WANT TO PAINT YOUR PUMPKIN WHITE FIRST SO THE NEON ORANGE DOESN’T SHOW THROUGH! I did not do this step and mine was fine, but some ribbons might need it.
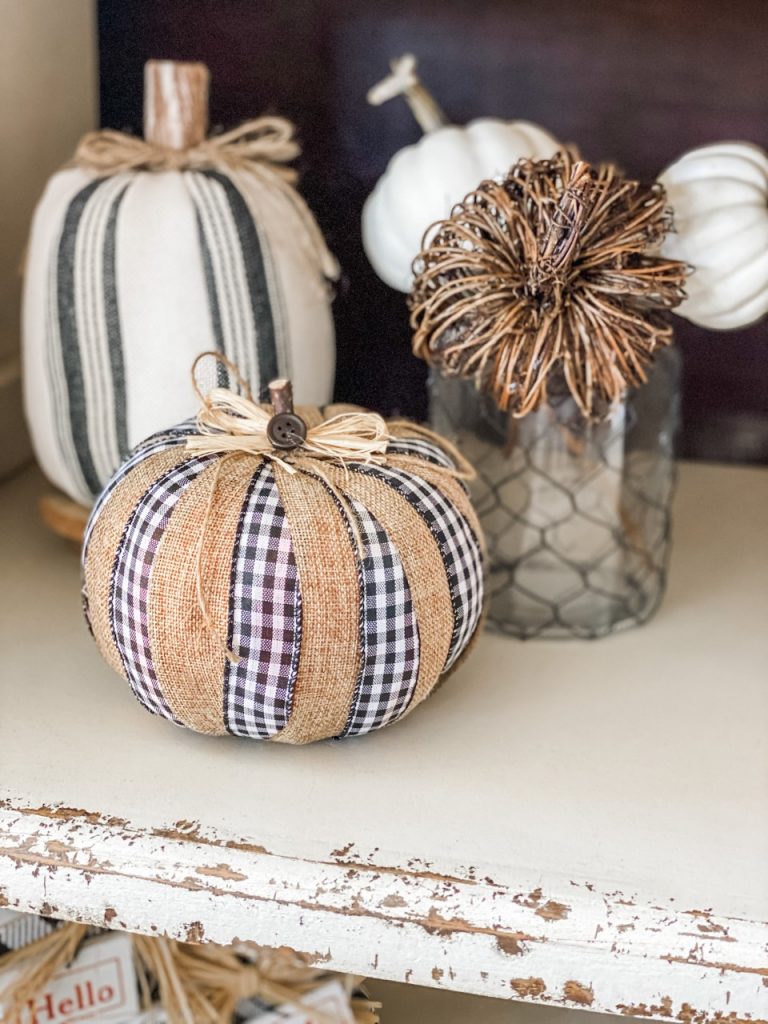
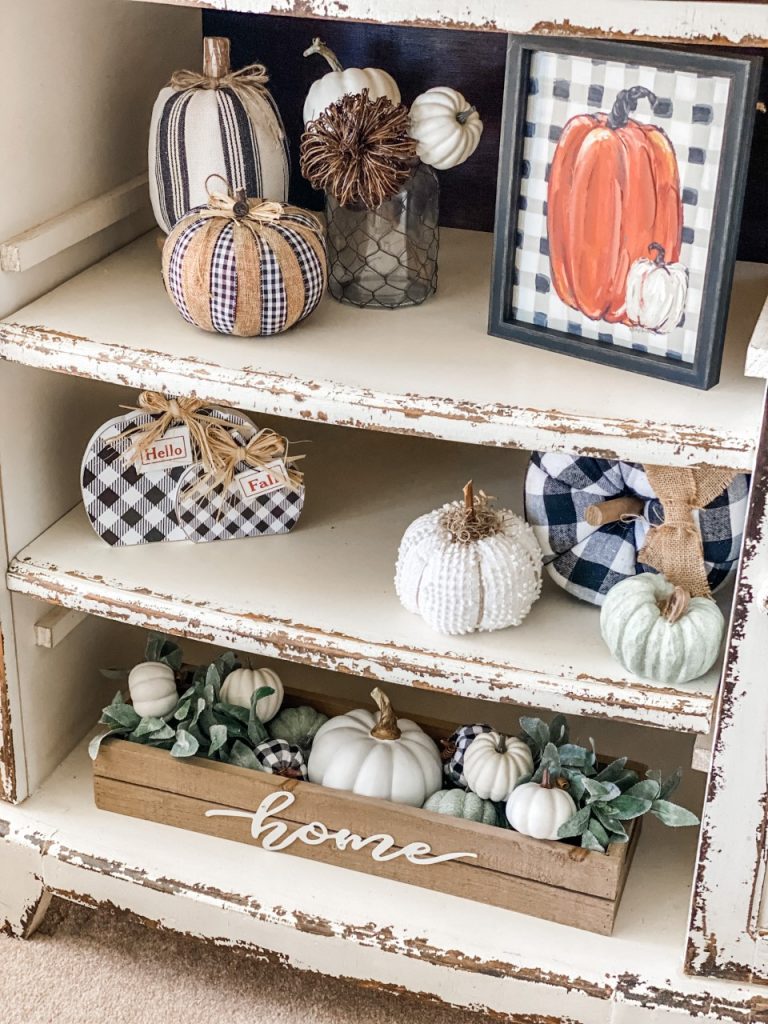
And it looks extra cute displayed on my media console with all of my other black, white and buffalo check!
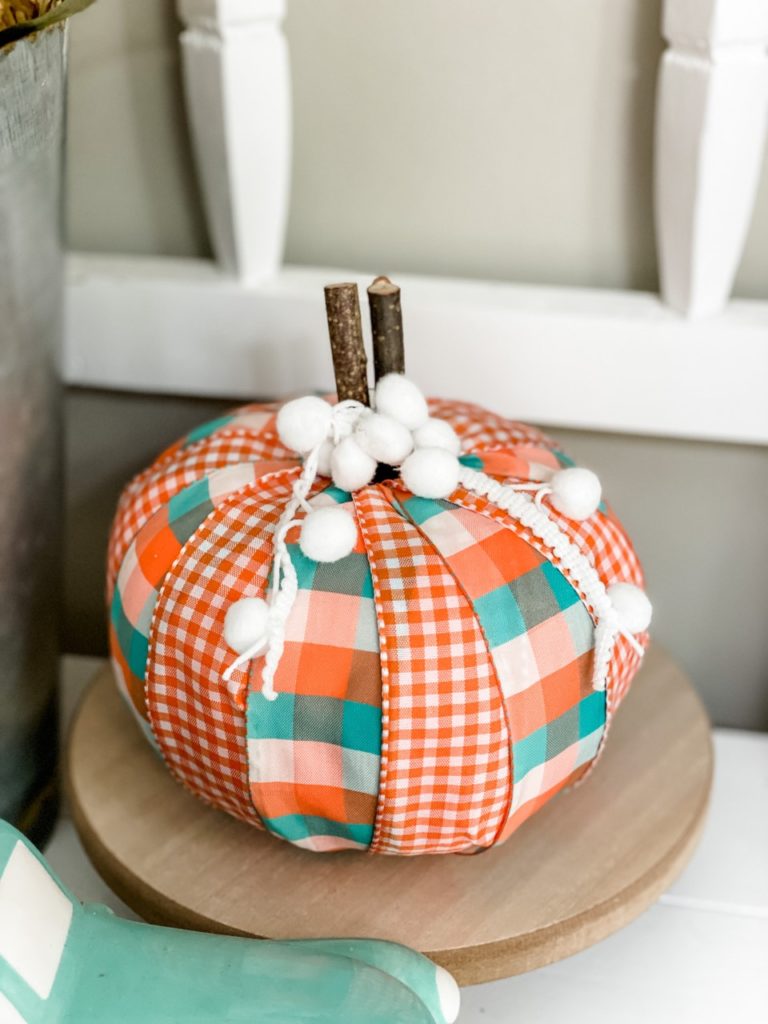
Here’s another DIY ribbon pumpkin I made with TOTALLY different colors! You can see how I used it in my entry way by clicking HERE!
Let me know if you think you will try and make one (or two or three or ten) of these this Fall!
Until next time…
Stacey
Yes ma’am you are s
o talented
I love all you pumpkins ? they turned out Great ?
Love it! Thanks for the inspiration.
These are great! But you didn’t say what width ribbon you used. Thanks. Laurie
Adorable. I’m definitely going to do that!
They are so cute. My sister had told me to get your subscription for crafting. I am new to this and love how you explain everything so simple. Thank you!!
Candy Marshall
La Porte Tx
Love this easy idea to use ribbons to create a cute pumpkin. Thanks Stacey!
For sure I will be making a couple…well let’s say a few of these! ? Great job Stacey~thanks for keeping me inspired!