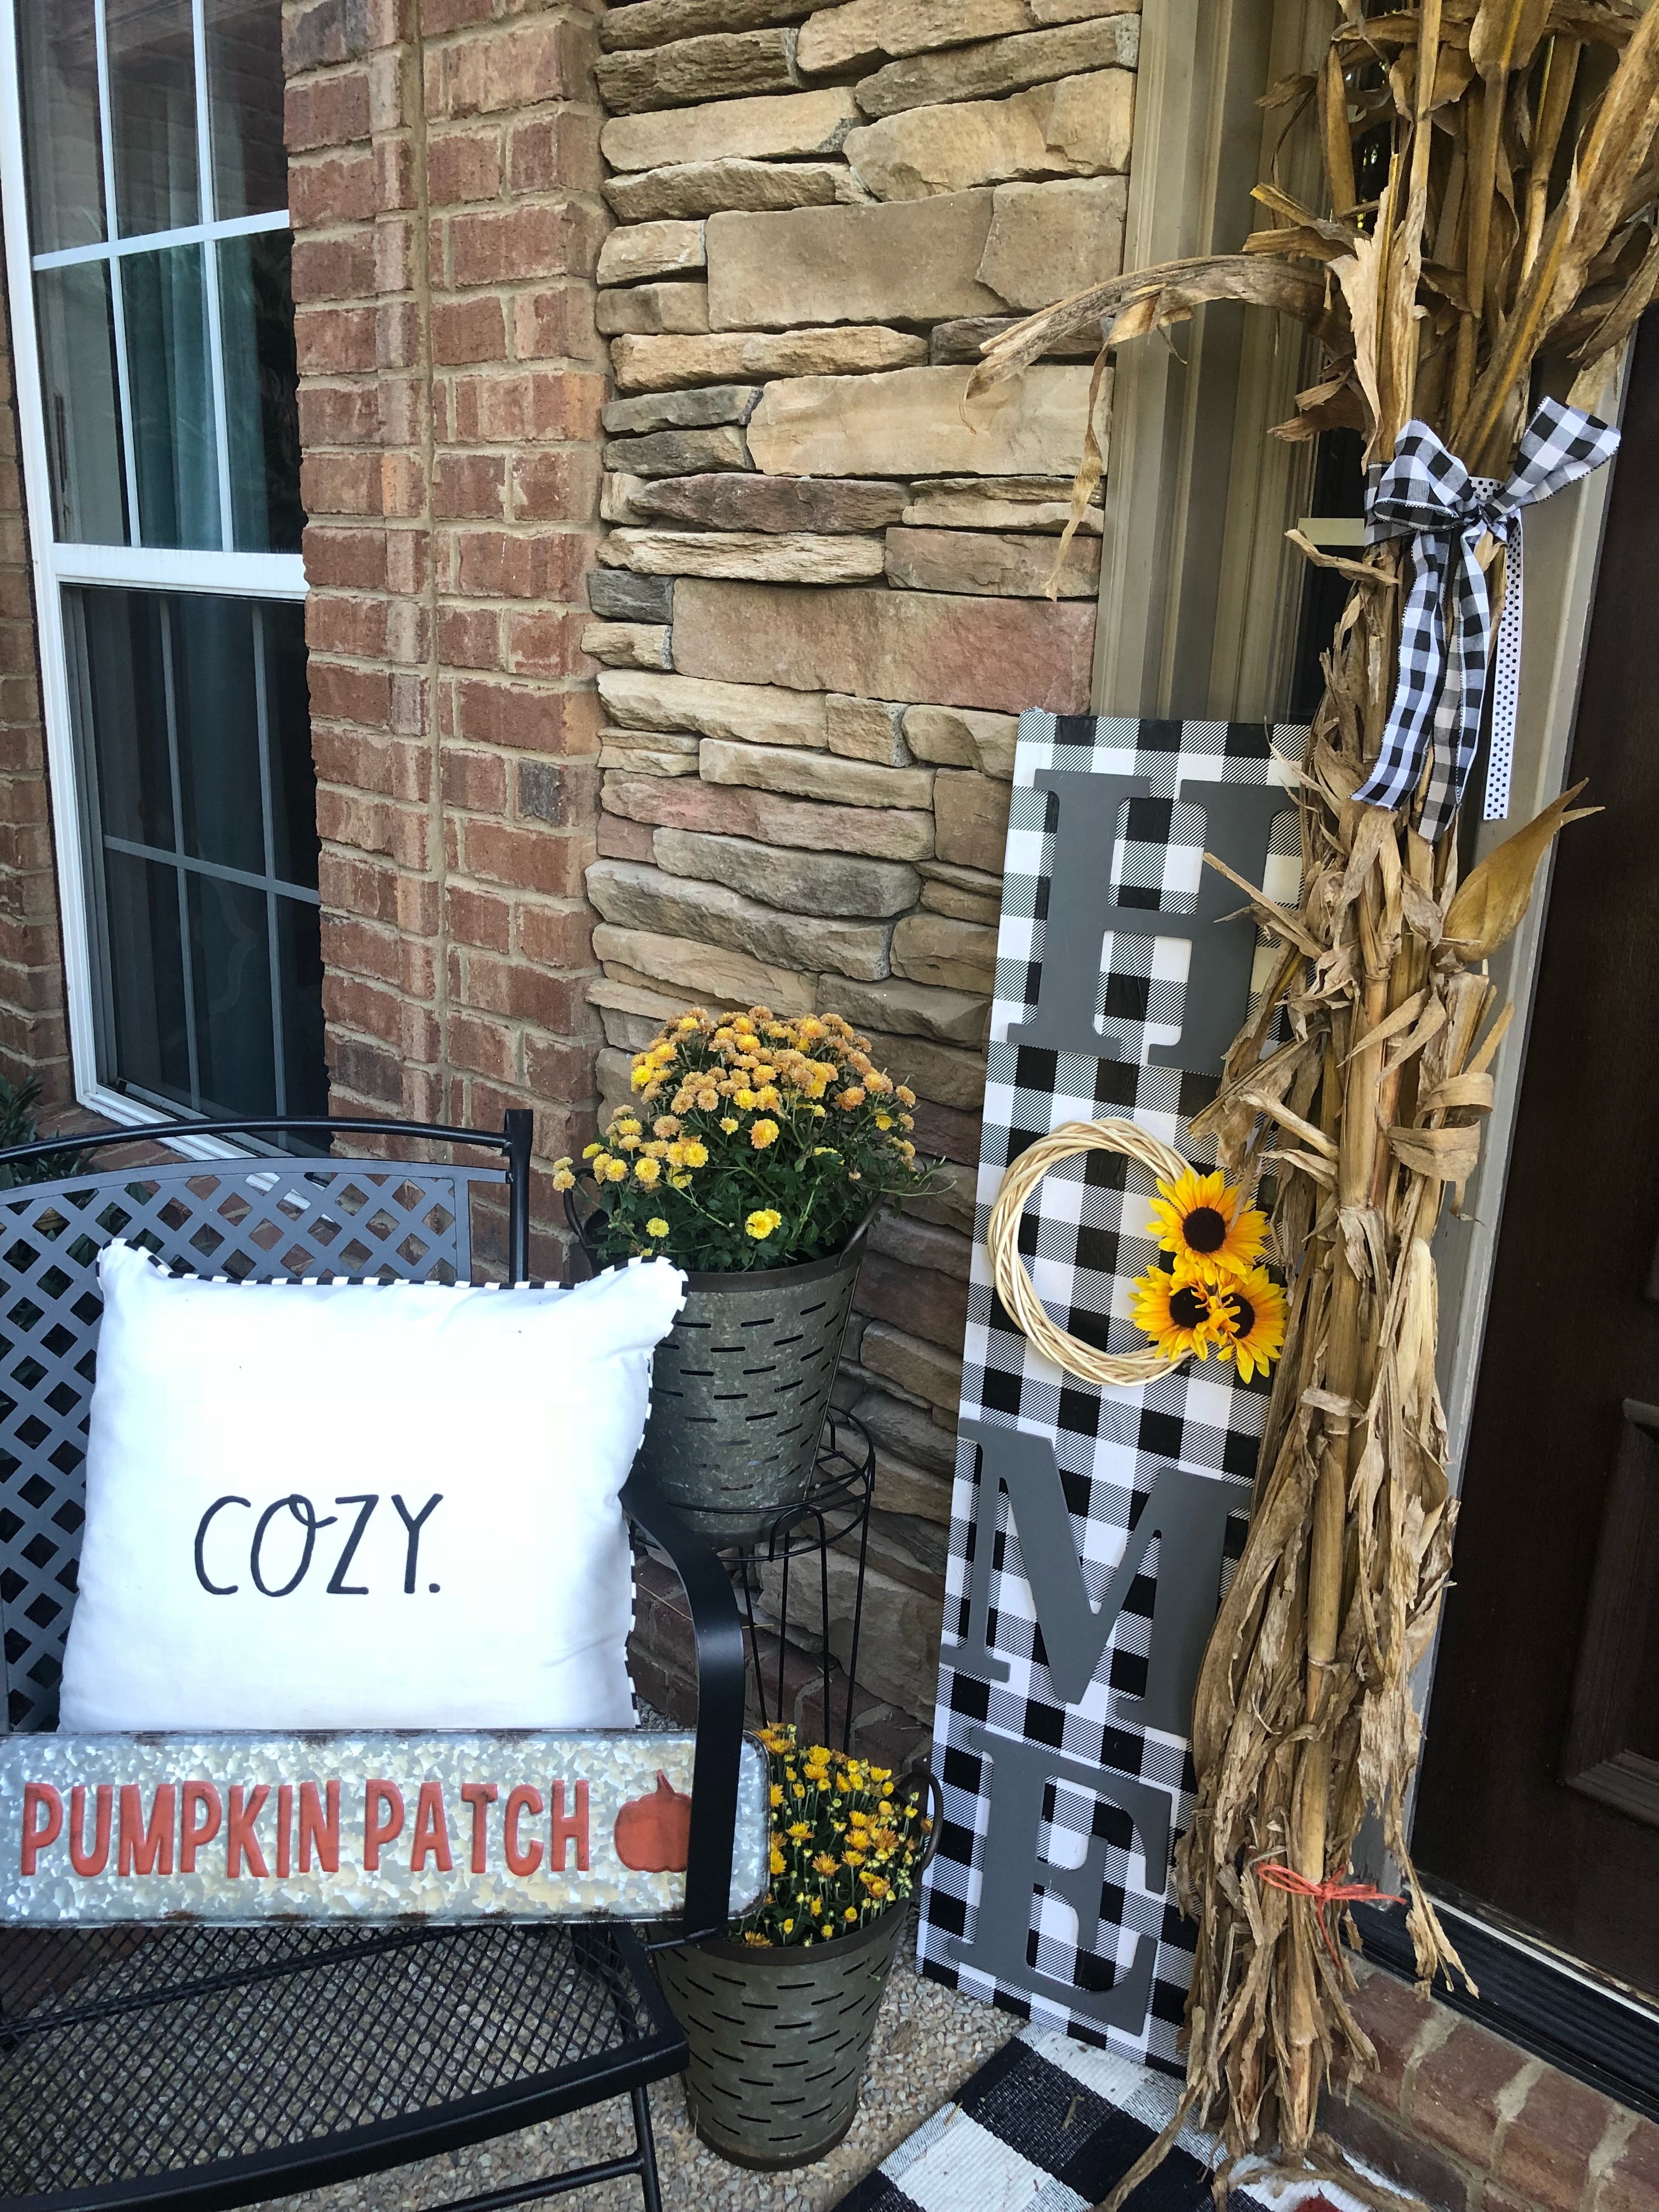
You know I love all things Buffalo Check, right?! Are you loving this pattern like I am?! When I came across this wrapping paper at TJMaxx last year, I knew it would be used for more than just Christmas gifts!
I was wanting to add some more Buffalo check to my front porch to tie in with my fall look! I couldn’t find what I was wanting in stores, so a DIY buffalo check porch board to the rescue!
This easy DIY buffalo check porch board is adorable and something anyone can do! You only need a few supplies and you will be well on your way!
I bought the letters H, M, and E from Hobby Lobby in the unfinished wood area. I had snagged the little wreath from the dollar tree a while back, and knew it would be the perfect size for the O. You could do any word you wanted to here! 
I headed over to Lowe’s to get wood, and I found a piece cut to the perfect size! It was 12″ wide and 4 ft tall! Not having to have my husband (or the store) cut the wood down for this buffalo check porch board was a win, win! 
I took the Buffalo check wrapping paper and cut it to the size I would need to fit the board. I used outdoor mod podge that I got here from Amazon and adhered it to the wood with that. One coat on the wood, then laid out the paper. You do need to use a card or something to smooth it out, because working with one big sheet like this did cause some bubbles. I then did a top coat over the top with mod podge too!


I painted the letters with Waverly chalk paint from Walmart in the color elephant. Then I hot glued them to the board. I took a little nail and put it in to hang my wreath from. Oh- and added a few little sunflowers to the “O.” I figured this would be a fun spot to change out the flowers for the seasons!
THAT IS IT!! My easy DIY buffalo check porch board was complete! I was pretty stinkin’ excited about it and think it added the perfect addition to my porch! Sweet Bailey the pup thought so too! 🙂


There’s nothing I love more than a DIY project that’s easy, cute AND affordable!
Let me know what you think of this easy project and be sure to share with me if you make one of your own!
Until next time…
~ Stacey


0 Comments