
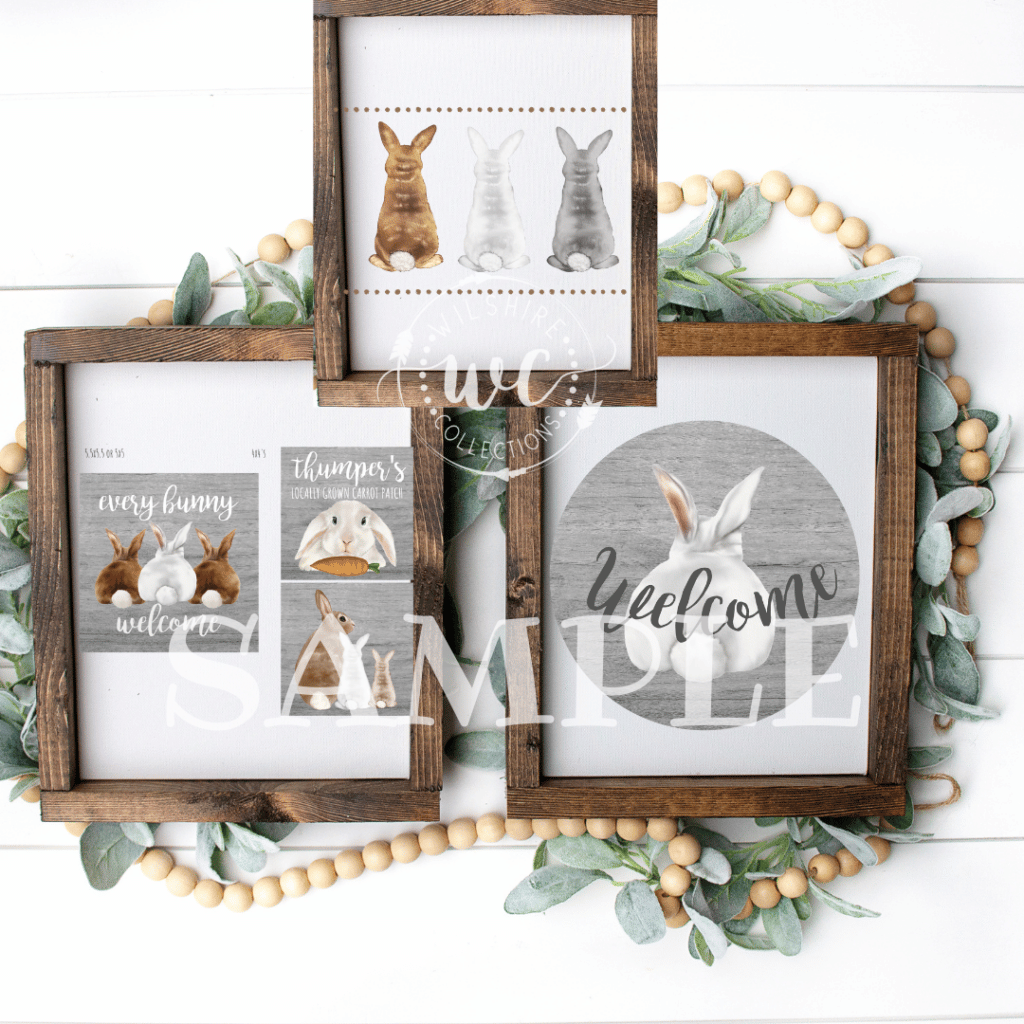
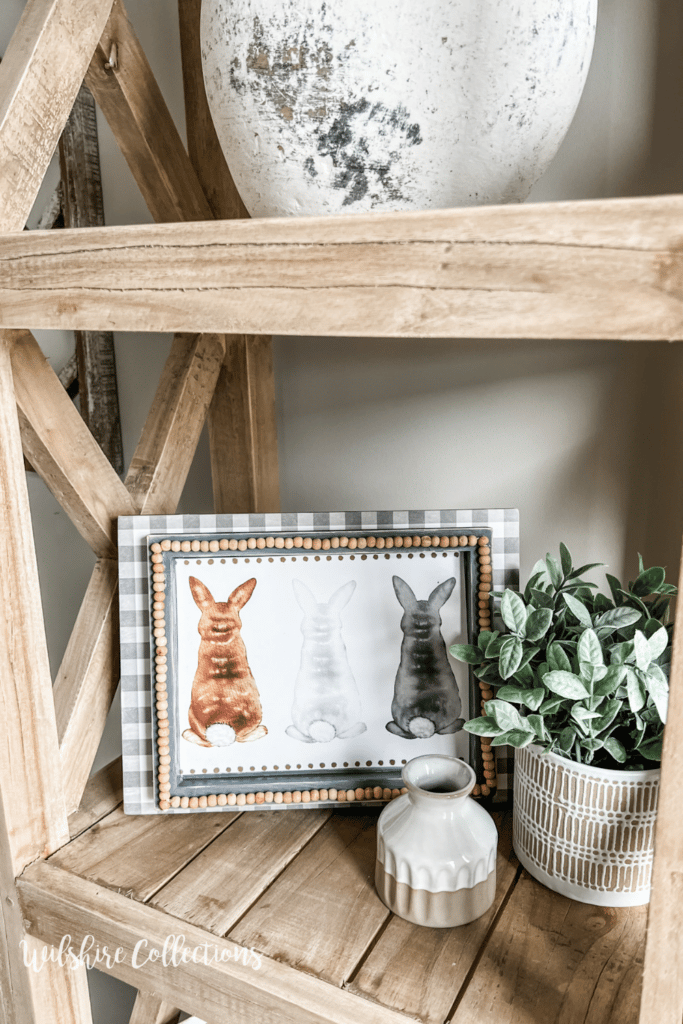
Ok, I’m going to say it. I’m a SUCKER for a bunny bum! And this project has 3 of them lol!
This adorable DIY bunny sign using a printable is perfect for Spring and will mix in with any decor and color scheme in your home!
No fancy equipment needed either!

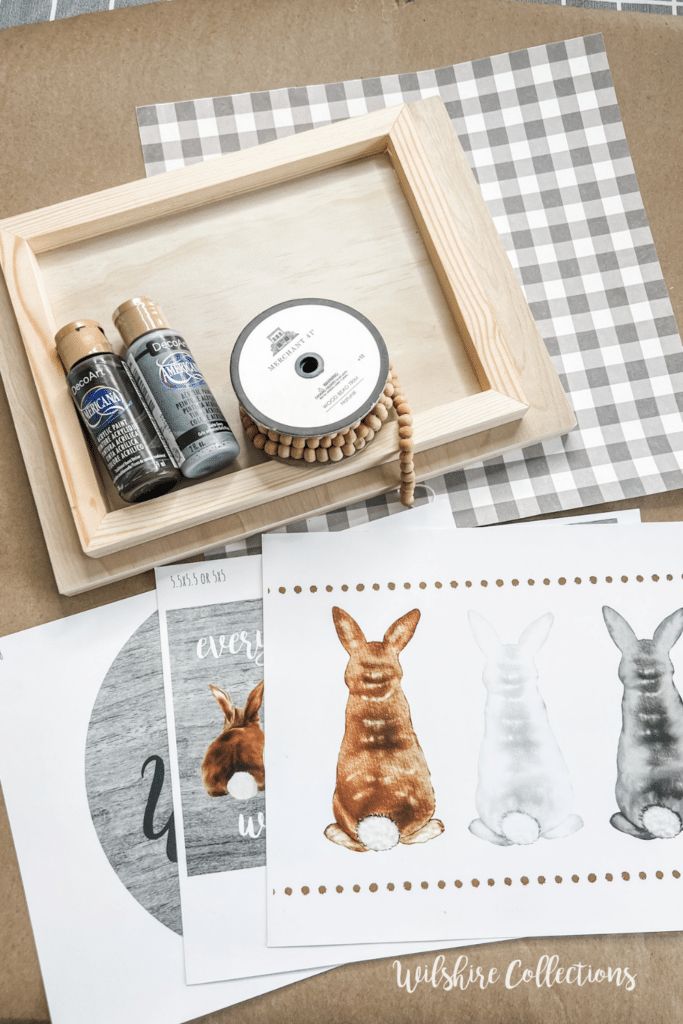
That’s right…you don’t need a cricut or anything fancy to make this cute sign! This one was made with a printable that is just printed right from a regular computer printer onto cardstock paper. (Regular printer paper works to)
Let’s get into just how I made this!
For this DIY bunny sign project I use 2 pieces of wood so I could layer them. The first one is 9×12 wood panel and the 2nd one is 8×10.
I recommend checking out Woodpecker crafts for these and you can use code WILSHIRE for 5% off your order! You can also search these on Amazon and find them there! (search wood panel)
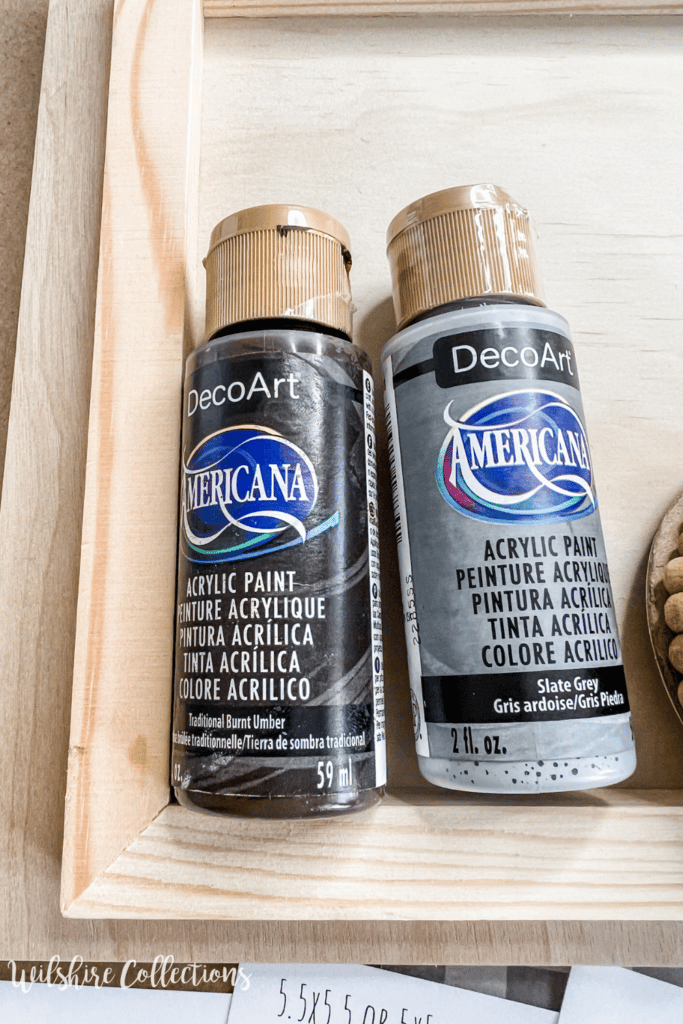
For the bigger frame I used traditional burnt umber to stain the sides.
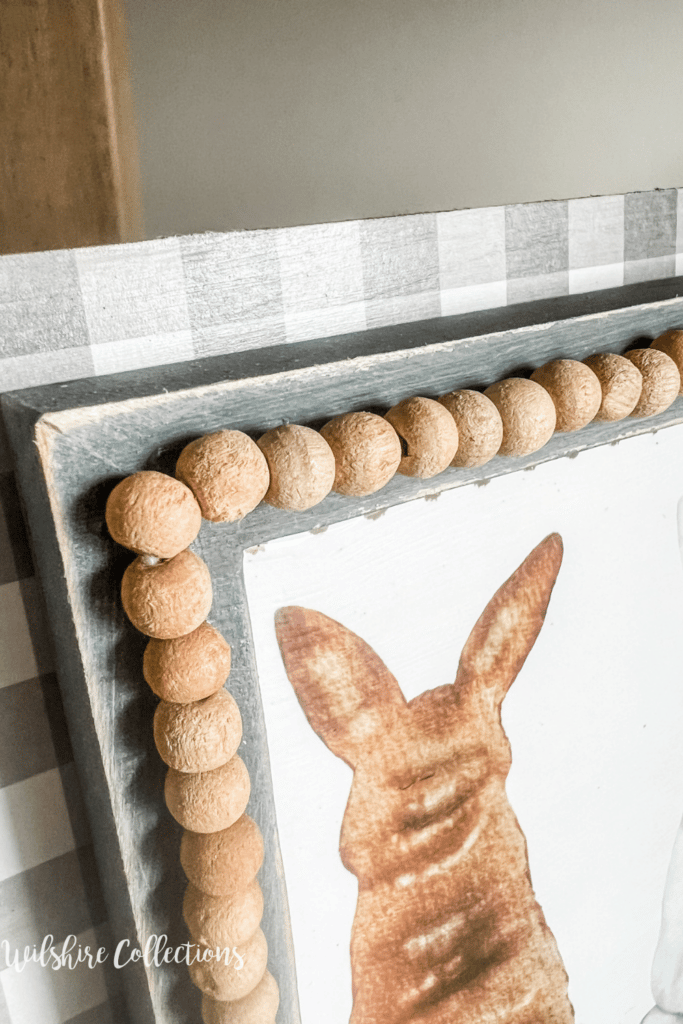
For the smaller wood frame, I ended up doing a couple coats of the slate gray paint and decided it was too light, so I added some zinc (darker gray) over the top and I liked the color so much more!
Pick your scrapbook paper of choice and mod podge it to the 9×12. I went with this cute gray plaid from Hobby Lobby.
I lightly distressed around the edges of the 8×10 frame with sandpaper.
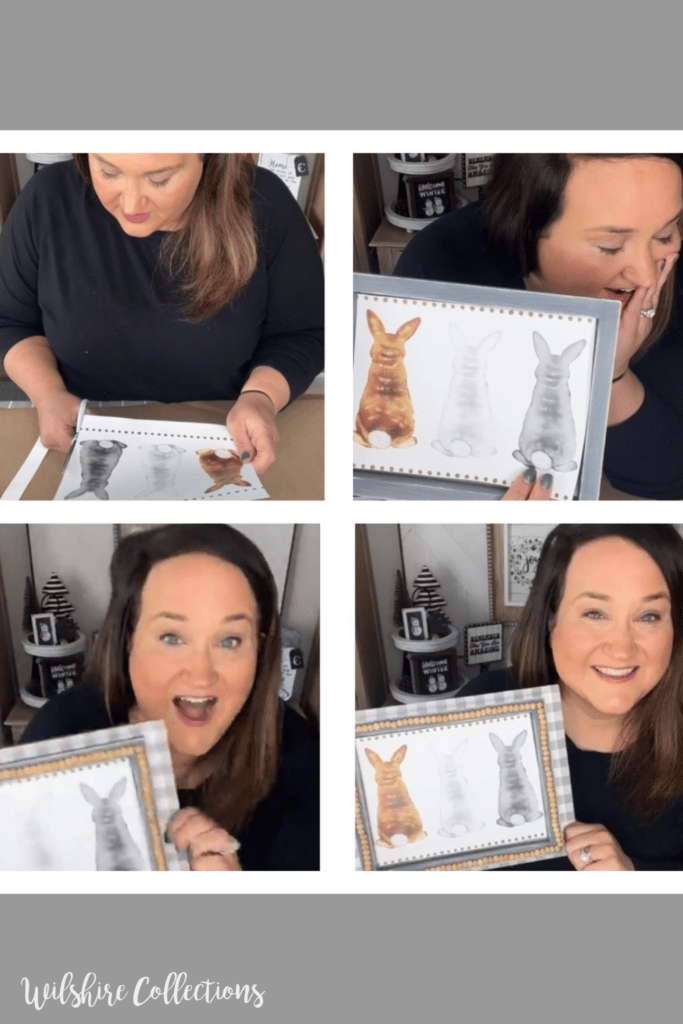
Next up, it was time to add the cute bunny printable with mod podge! I trimmed it down to size and added it to the INSIDE (back) of the frame.
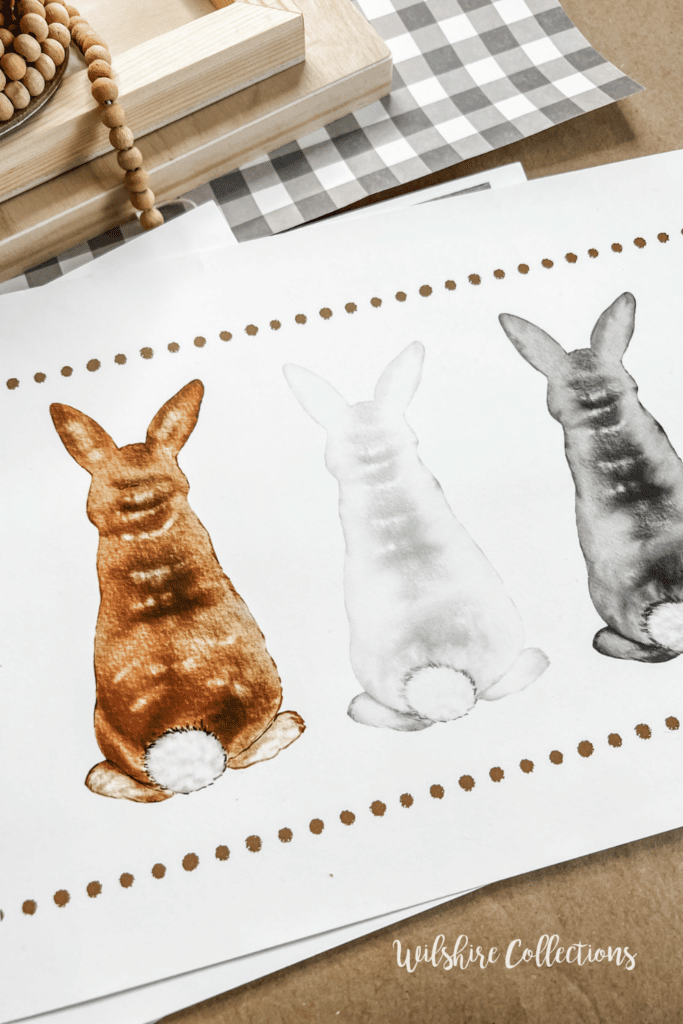
TIP: I did use the mod podge/iron method for this. If you don’t know how to do that, check out this post here!
Last but not least, I just HAD to attach this wood bead trim that I had picked up from the ribbon section (by the fabric) at Hobby Lobby! I lined it around the edges using hot glue.
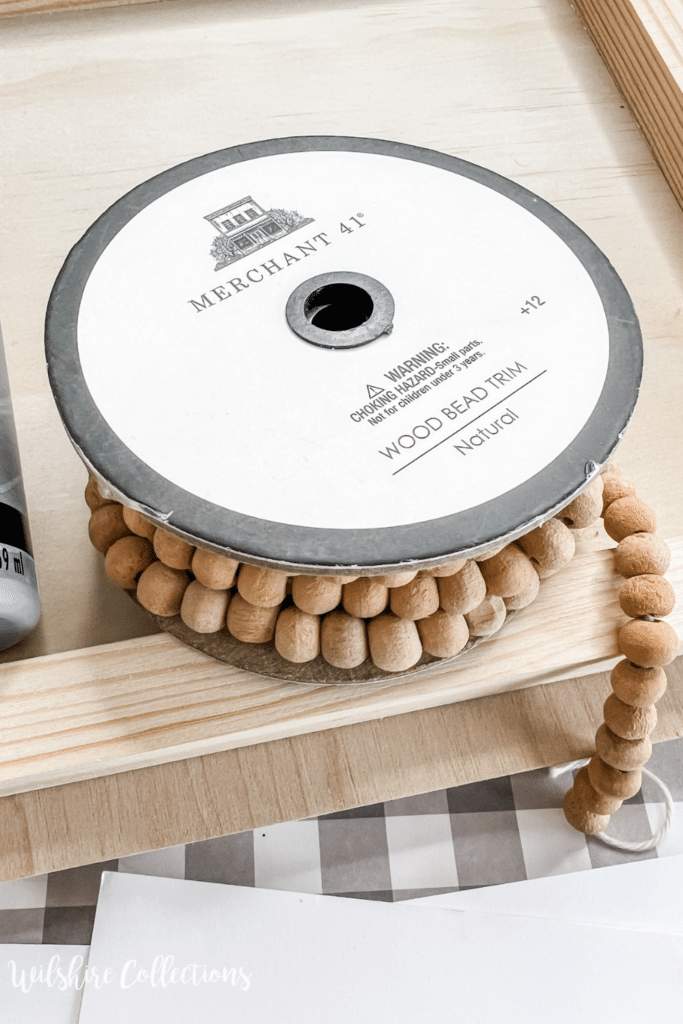
It truly took this project up a notch and was the perfect finishing touch!
I made this one over on FB live, there were a few emotions throughout the live…but in the end I LOVED it!
What do ya think?! Isn’t this DIY bunny sign using a printable with 3 bunny bums adorable?! I can’t even with it’s cuteness!
Makes me ready and anxious to full decorate for Spring soon! Let me know if you’re going to give this one a try!
Until next time…
Stacey
0 Comments