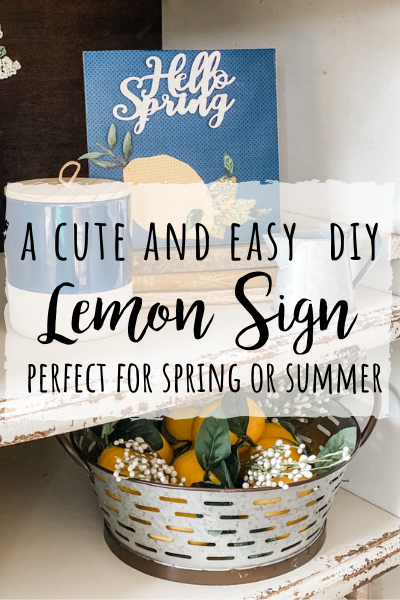
You know I’m kind of (ok, a lot) obsessing with lemons this year! I used them a little last year, but I’m taking it up a notch this year. I needed a little something else for my shelf, so DIY to the rescue!
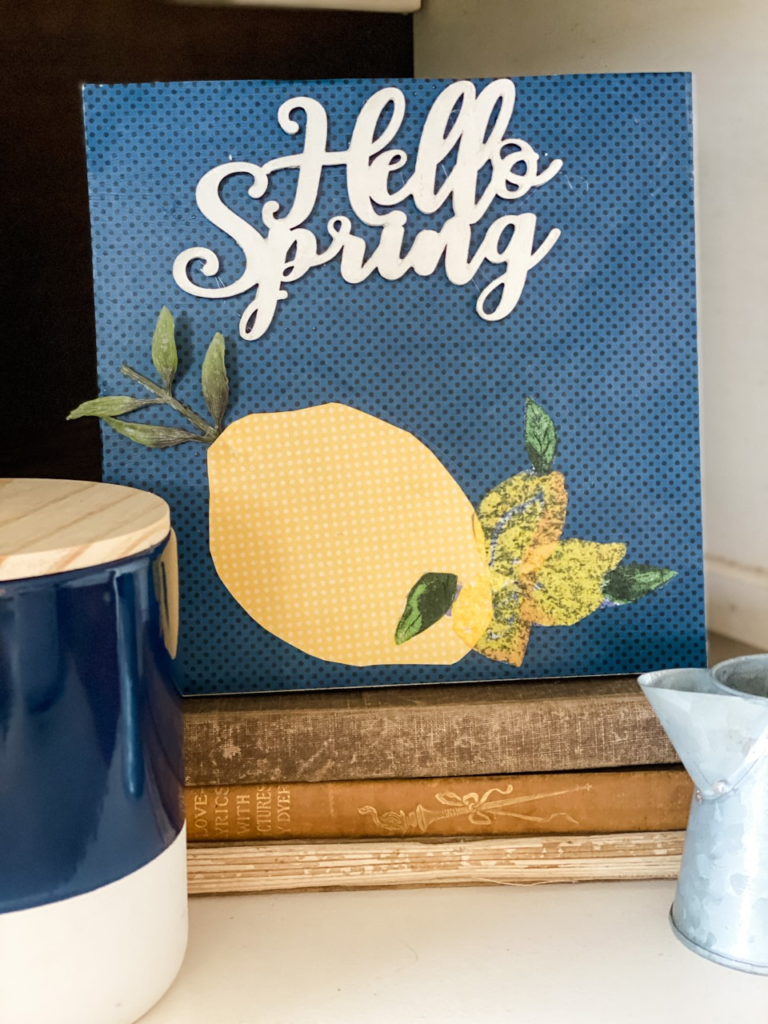
This DIY Lemon Sign was super quick and easy to do, and really added a fun pop to my shelves! Let me show ya how I did it!
Here are the supplies I used for this DIY lemon sign. I will admit, I thought I was going to put an egg on this sign until I got going and had my lemon light bulb moment. haha! I’ll explain…
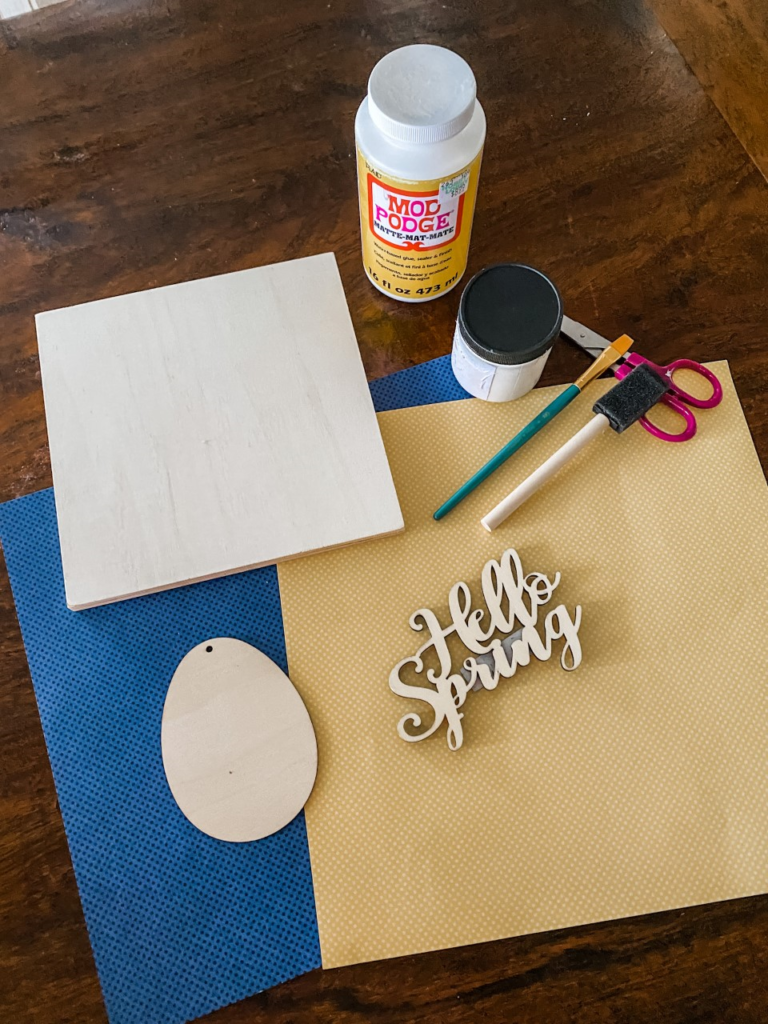
I started with this piece of wood from Hobby Lobby in their woodpile section. I had found this hello spring cutout at Michael’s and knew it would be so cute on there too!
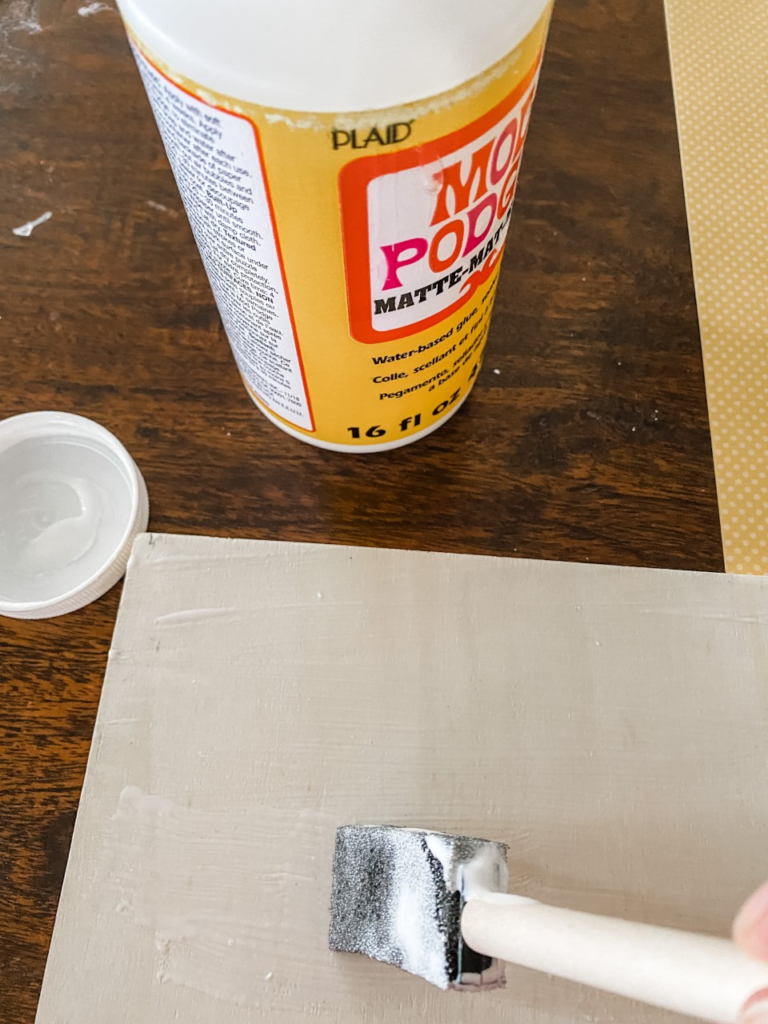
First I cut a piece of Navy scrapbook paper from hobby lobby to the size of the board and mod podged it on.
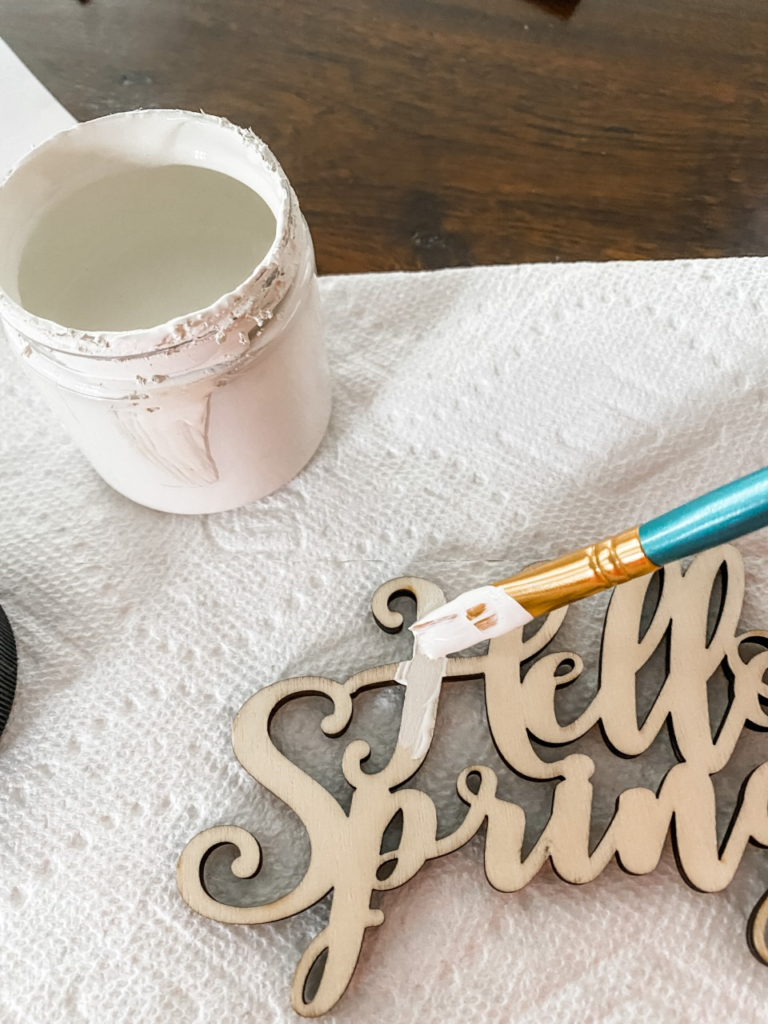
I painted the hello spring white (any craft paint will do) and let it dry.
Once I traced over the wooden egg from dollar tree, I was like “I could keep cutting this to look like a lemon!” So, that’s what I did. I just kind of free handed it and made the ends look lemon like.
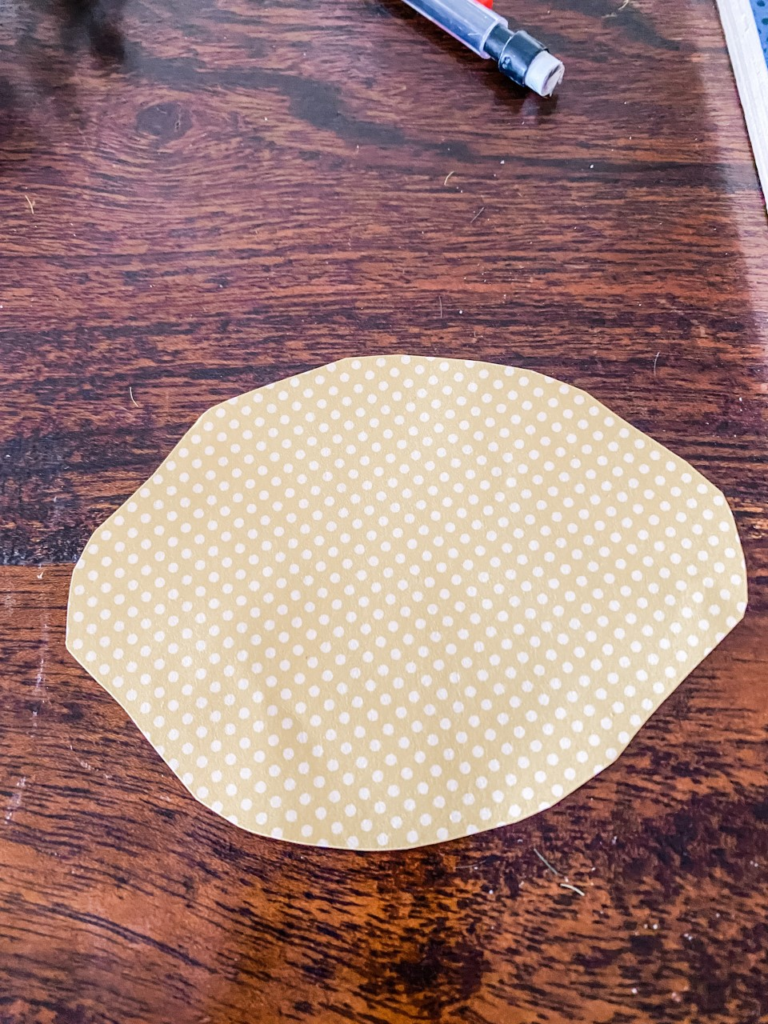
With greenery I had on hand, I used it for the stem and just used mod podge to attach the lemon scrapbook paper. (from hobby lobby also)
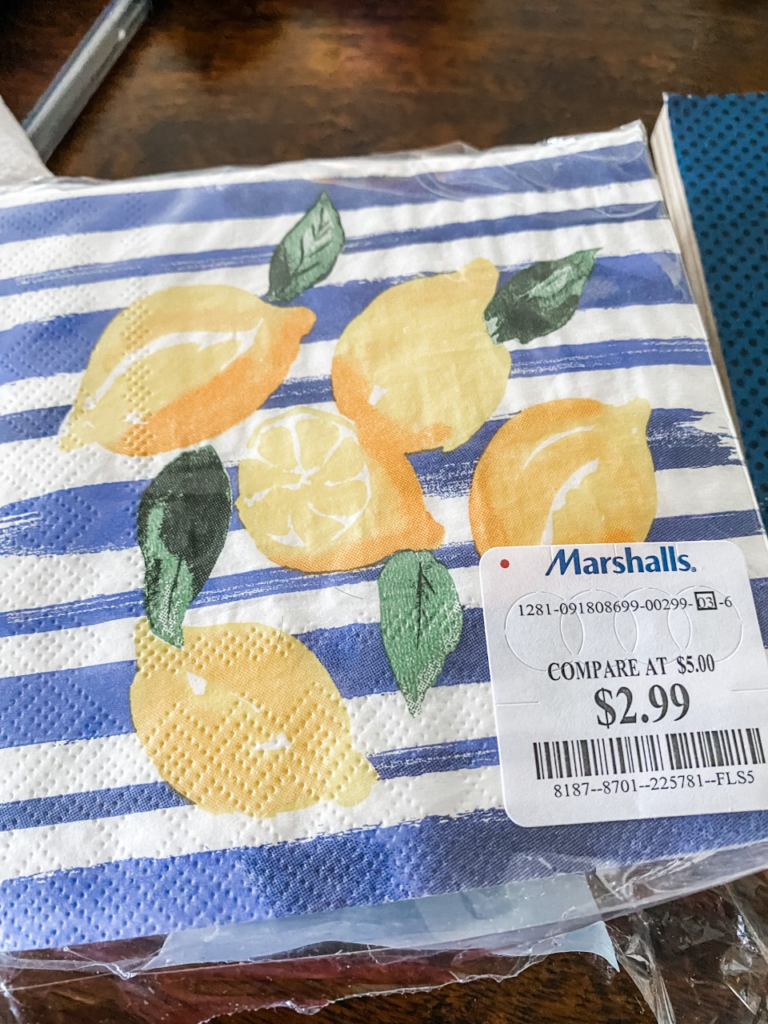
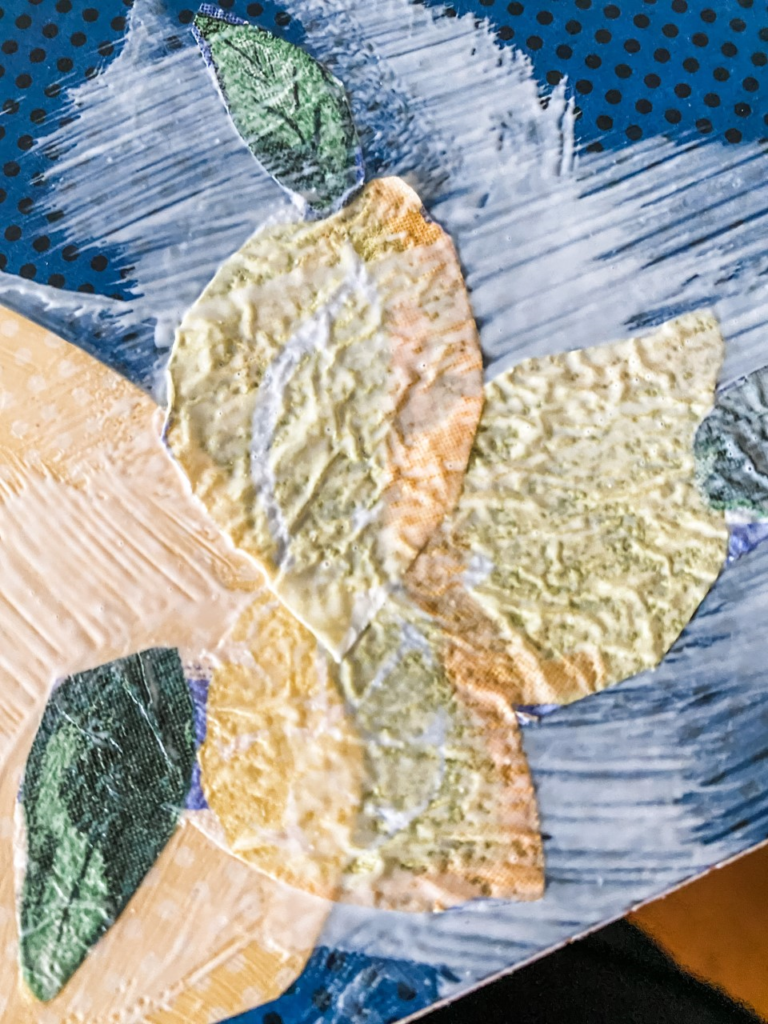
The last lemon thing I did was take these cute napkins I had picked up at Marshall’s and cut out around the lemons. I added those to the board and just mod podged them on too! They were a fun little addition (but you wouldn’t have to do this part if you don’t have the napkins).
Last but not least, I attached my wood words to the DIY lemon sign with hot glue!
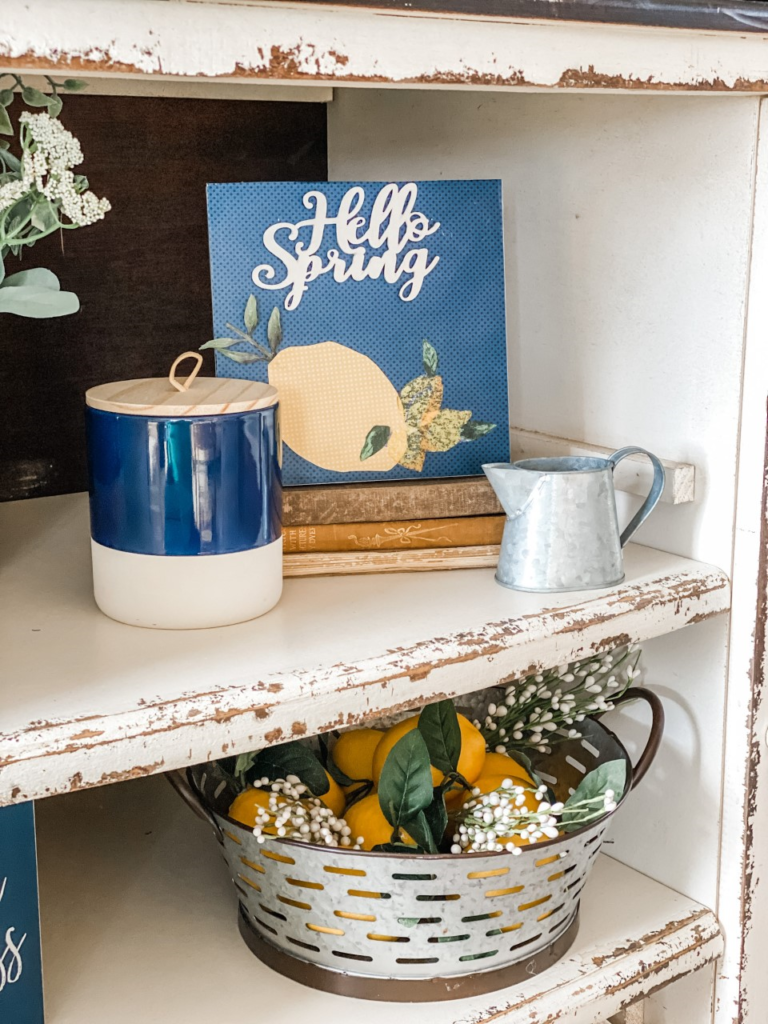
How cute did this little DIY lemon sign turn out?! I’m pretty thrilled with it and love how it took a creative turn and twist once I started. Have you ever had that happen when you are crafting?!
Let me know if you decide to make one like this too!
Until next time…
Stacey
Be sure to see my Spring living room here using Navy and Yellow

0 Comments
Trackbacks/Pingbacks