There’s nothing I love more in the fall than a cute pumpkin craft! Especially one where you can use everyday supplies and get creative to make something cute!
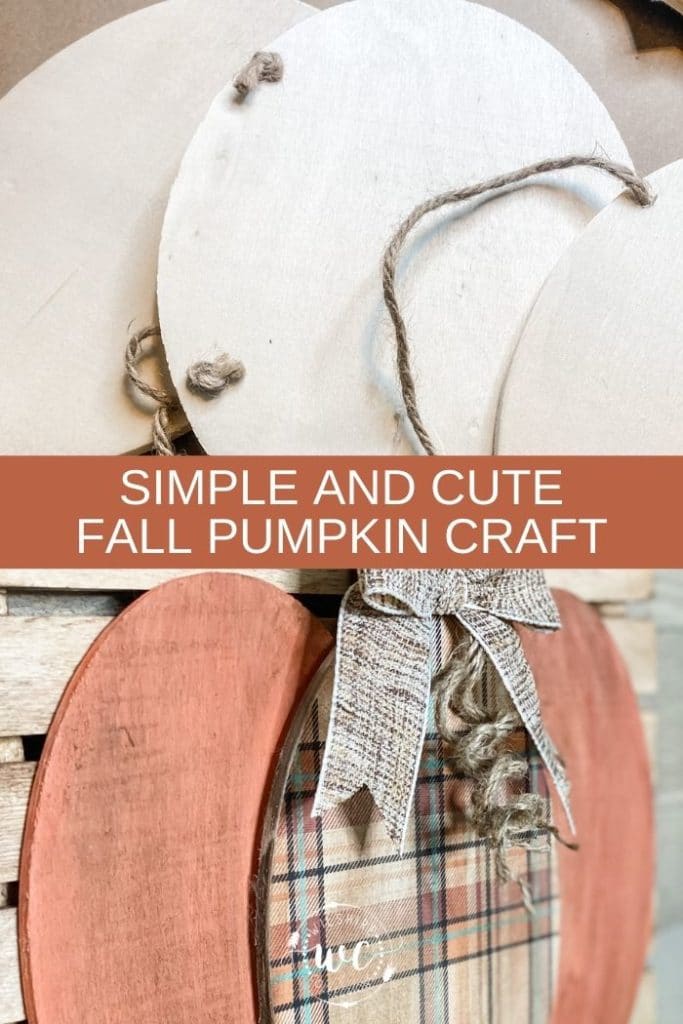
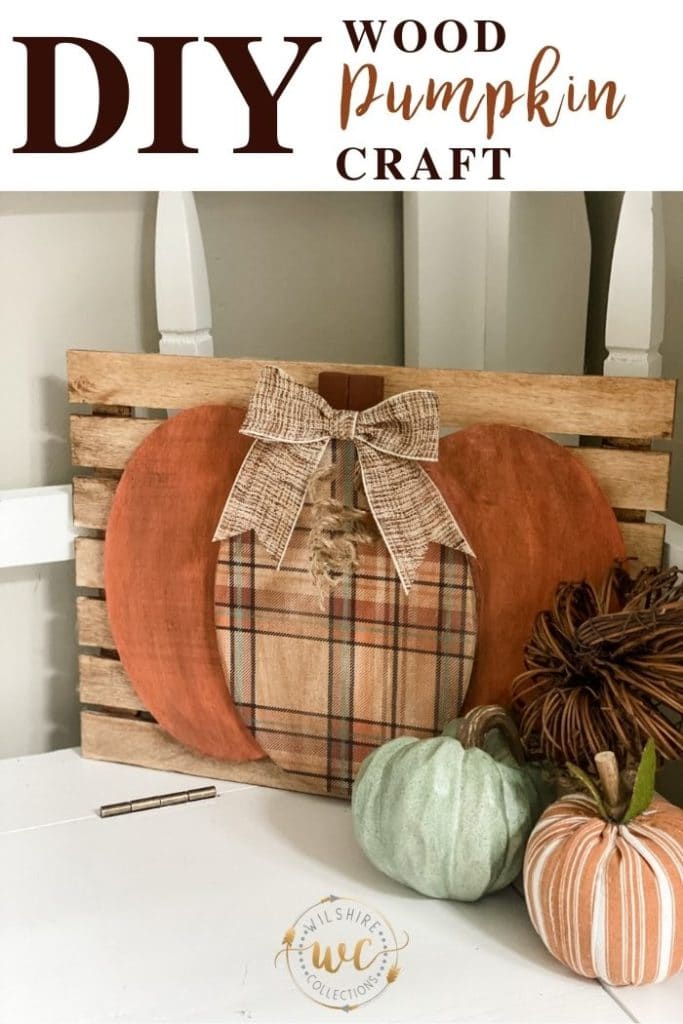
This DIY wood pumpkin is super cute and can be customized to your exact colors and style. It’s made with 3 wood ovals from Dollar Tree!
Here are the supplies I grabbed for this project:
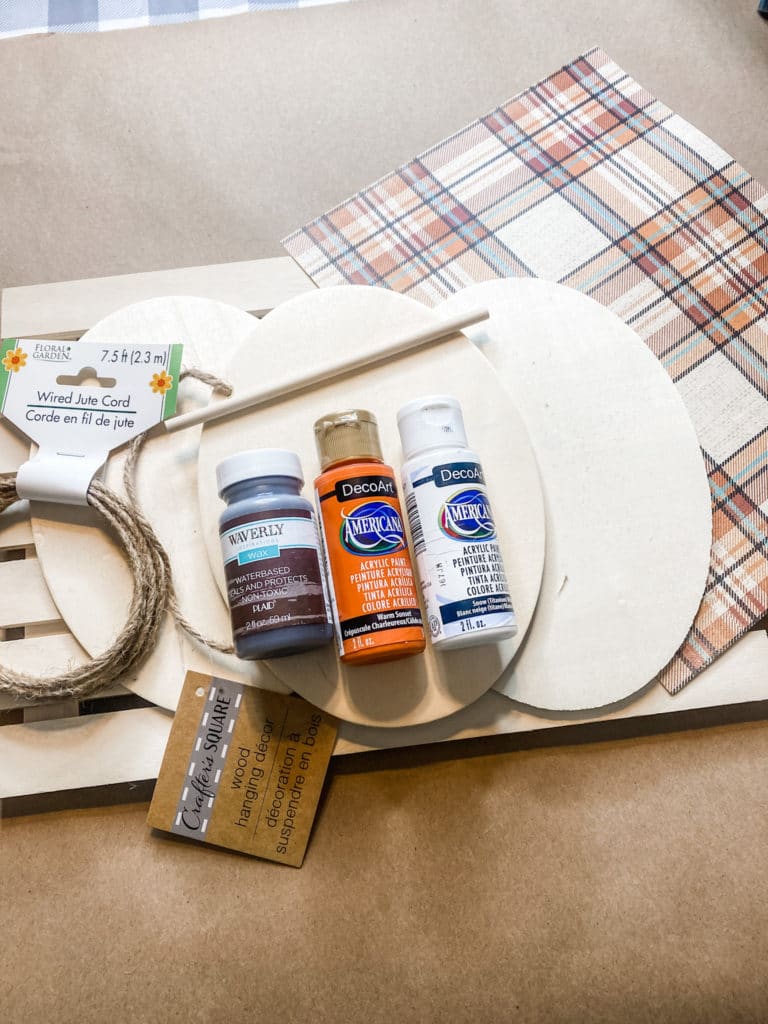
- 3 wood ovals from Dollar Tree
- Wood pallet sign from Walmart
- Scrapbook paper from Hobby Lobby
- Paint (you can use any colors you want for this to make it your own)
So, the first thing I did was just stain the pallet sign with some waverly wax from Walmart. You could also water down brown paint to get the same look!
Next, I went to town and started painting 2 of the ovals. I painted orange first, then did some blending of white on top of that, then some of the waverly wax on top of that. It gave it such a cool look and finish!
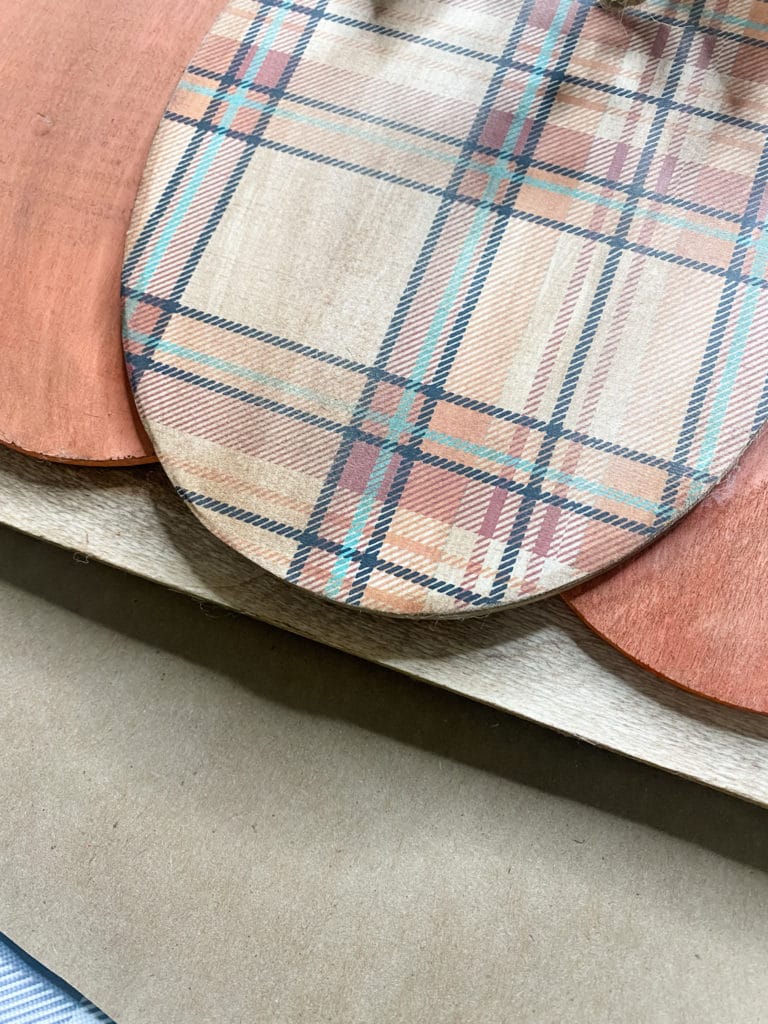
I covered up the 3rd oval with scrapbook paper for some contrast and then I went over it with the waverly wax too. I LOVED the way it turned the paper more vintage looking.
Now it was time to assemble them and glue them together. Put the 2 painted pumpkins right next to each other and glue them down, then the 3rd oval on top to make your pumpkin. How cool is that?!
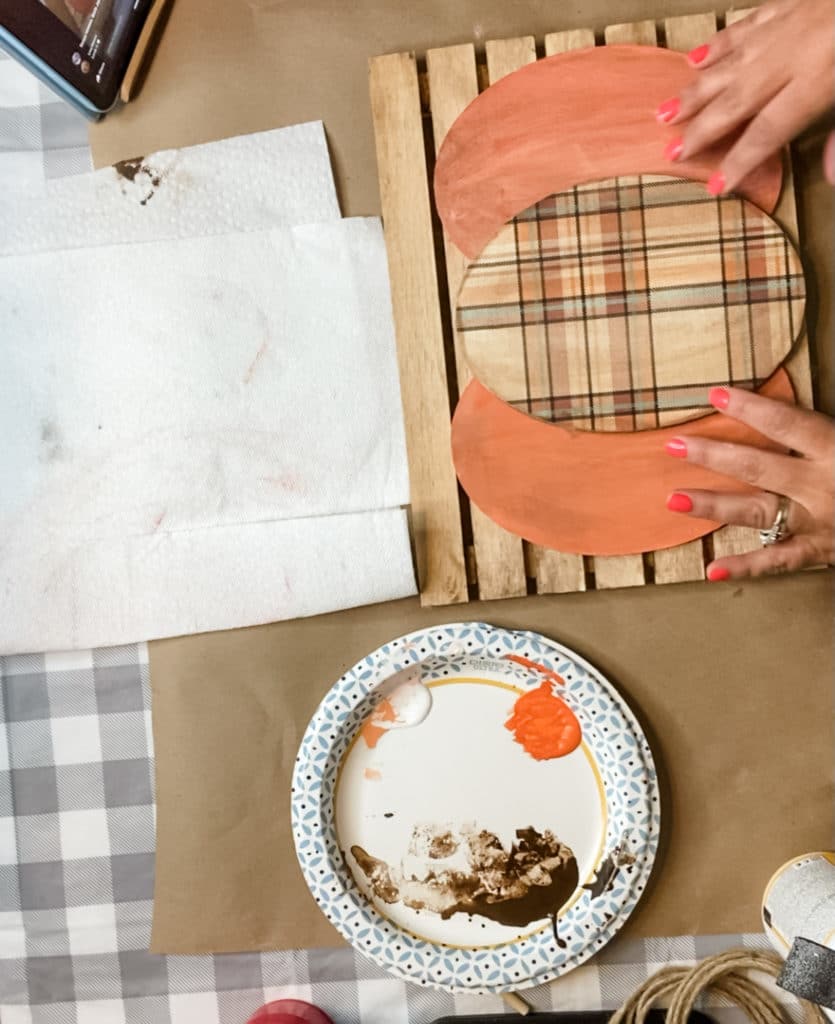
I did this project on a FB Live, so be sure to go watch the full tutorial HERE!
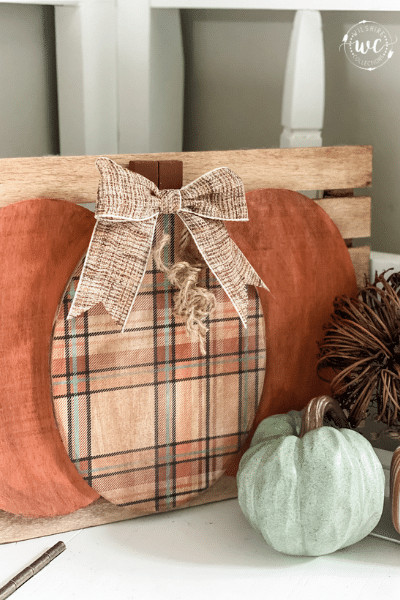
What do you think of how this DIY wood pumpkin turned out? I used jenga blocks for the stem, added a little bow and some jute and now it’s ready to be displayed!
I hope you’ll give this a try too! Be inspired and get crafty!
Until next time…
Stacey

This is awesome. Thanks for sharing.
So cute, Stacey? I will definitely try this project. Thanks for sharing.
Very cool, love the plaid paper …
Thanks for sharing.
You amaze me! This is my favorite!!! I do not know how to craft at all, I would rather just buy it already . Do you sell any of the ones you make?
I ❤️ this!!!
Going to try this. I bought the 3 ovals sometime ago. Now I have to have get the pallet and paper!!
I love how you put them together