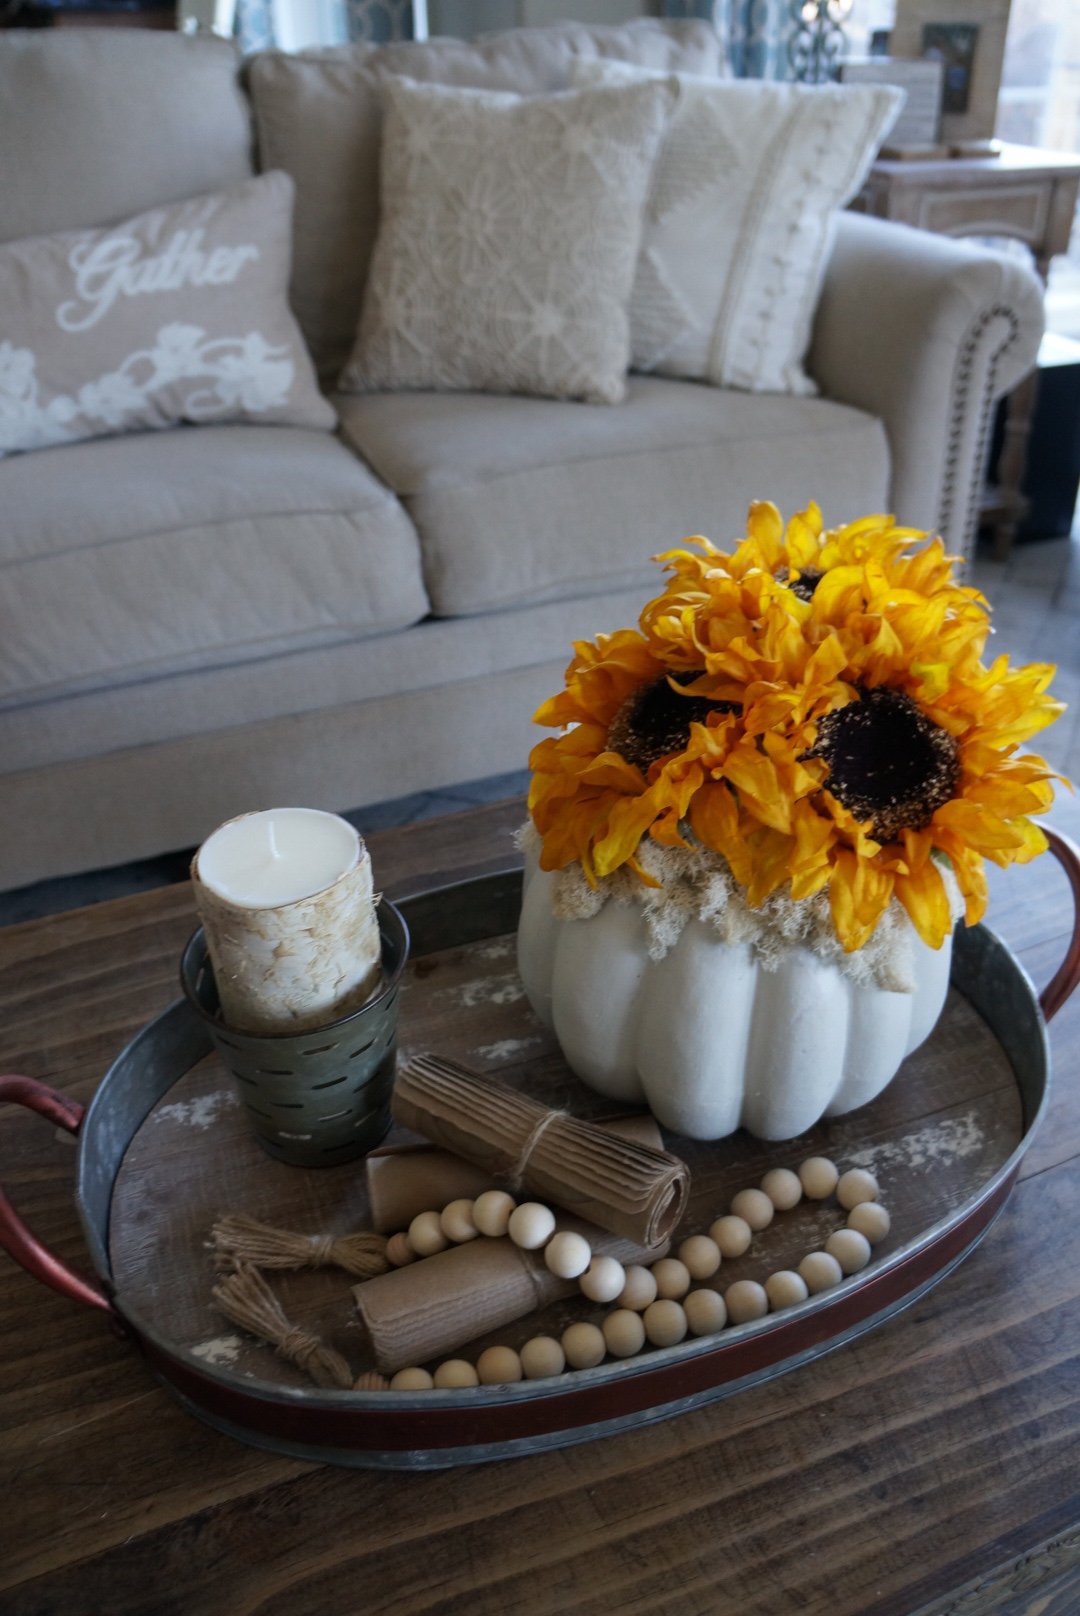
I have always loved Sunflowers. I knew I wanted to bring some sunflowers into my house somewhere this Fall, but just never really found anything I loved when I was out shopping.
SO, I had an idea! I decided to just MAKE me a little something with sunflowers that I would love 🙂
Some of the supplies I had at home and a couple came from Hobby Lobby. I will list them here and I will also include links to similar items (may not be exact) for you.
Supplies needed:
-
-
-
- Styrofoam Pumpkin (can use any size depending on how big your space is you want to use it). This is one similar to what I used from Hobby Lobby!
- X-acto Knife
-
- Faux Sunflowers (You could sub out another fall favorite floral if you would like, even succulents would be so cute!) These are the ones I got from Hobby Lobby!
- Preserved Moss (I used the natural color for this project)
- Hot Glue Gun/Glue
-
- White Paint (I used Blackberry House Paint (Color- Warm Milk-for this project) You could also use chalk paint or possibly even acrylic paints.

Look how easy that list is! Some of those things you may even already have at home! Here is everything all set out. I actually thought I would need a foam insert to put the flowers into, but I did not! It went right down into the foam that was inside the pumpkin! If your pumpkin is hollow, you will need to insert one of those once you cut off the top. 
Here is what I did:
- I took my X-acto knife and cut a circle around the top. This took a few go arounds before I got it deep enough to start removing that top layer. I then removed as much of the top and foam as I could, piece by messy piece 😉


- Once I had that done, it was time to start painting. 2 quick coats of Blackberry House paint and that part was done too!


- Next I took my X-acto knife and dug 3 deep holes into the Styrofoam, since that is how many sunflowers I was using.


- I then took the sunflowers and put them into the holes moving them around until I got them arranged how I wanted.

- You could see some of the gaps and the Styrofoam, so this is where I knew I wanted my moss to come in. I took my hot glue gun and and glued moss around the edges (up top) then applied the moss to the glue.


THAT IS IT!! Easy peasy, DIY breezy!! Now it sits proudly on my coffee table and I really do think its pretty cute! 


What do y’all think? Is anyone going to give this one a try?
Here is a fun little time lapse video that shows me during some of the process. It was fast, but not quite this fast. 😉 Hope you enjoy!
Until next time…
~ Stacey
This post contains affiliate links. Please see my disclosure page for more info.


0 Comments