Need an idea that’s perfect for both Christmas AND all winter long?! I’ve got ya covered and this one is cute and easy!
This snowy yarn tree DIY only requires 3 supplies, but the end result is super adorable! It will be great for Christmas and winter!
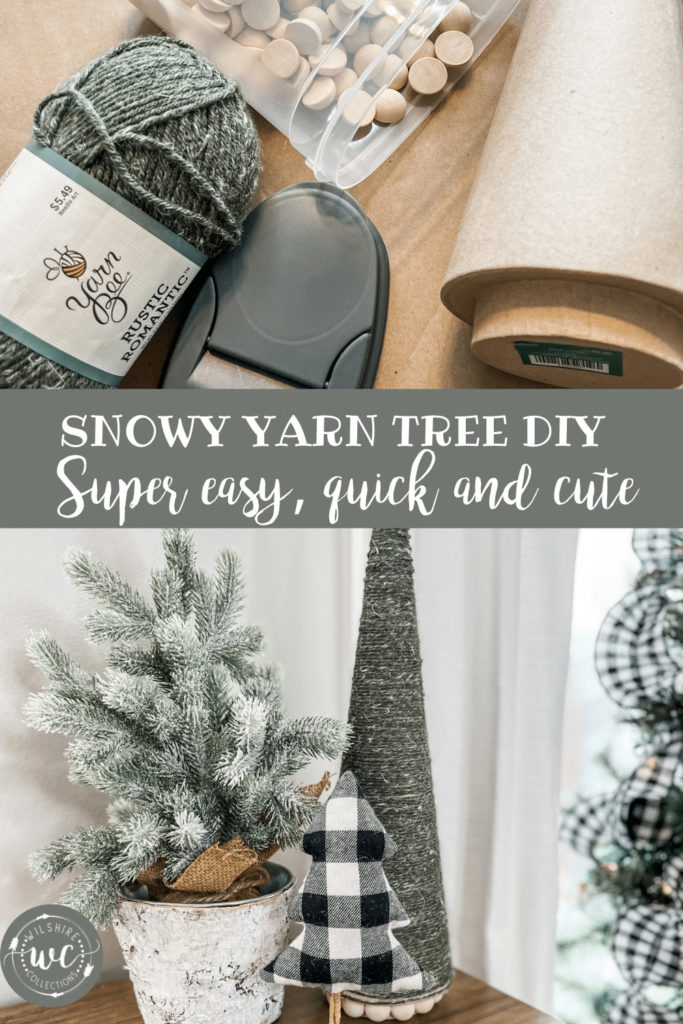
Supplies needed:
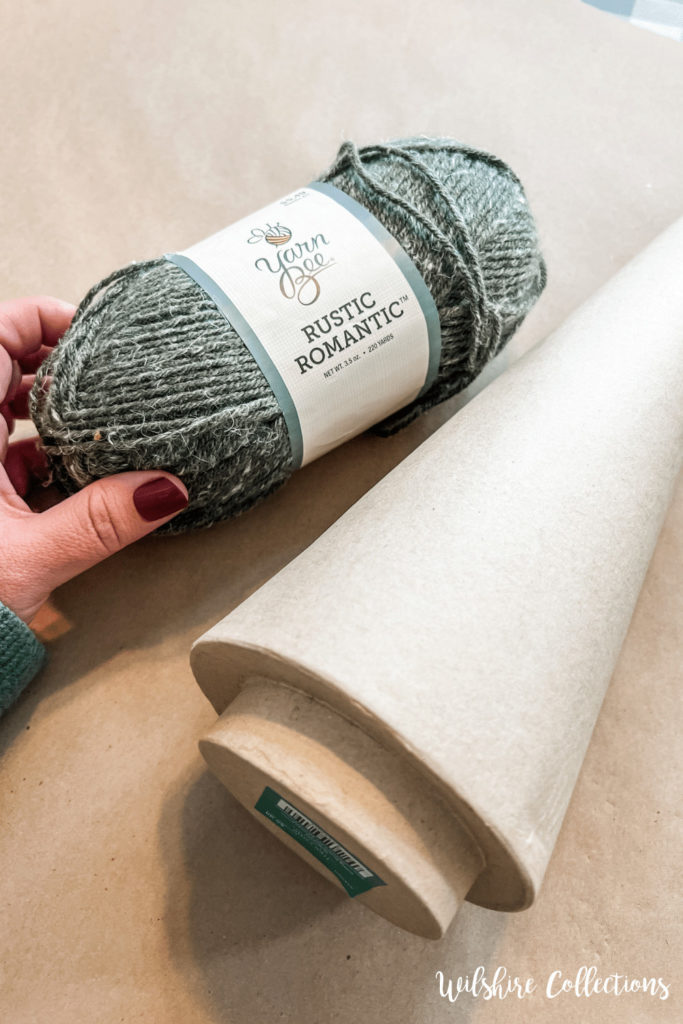
17″ Paper cone from Hobby Lobby (found in Christmas section)
Green Yarn (mine came from Hobby Lobby)
20mm Half wood beads (amazon)
I knew when I grabbed this tree from Hobby Lobby that it had great potential, then when I saw this “snowy yarn” the lightbulb moment happened!
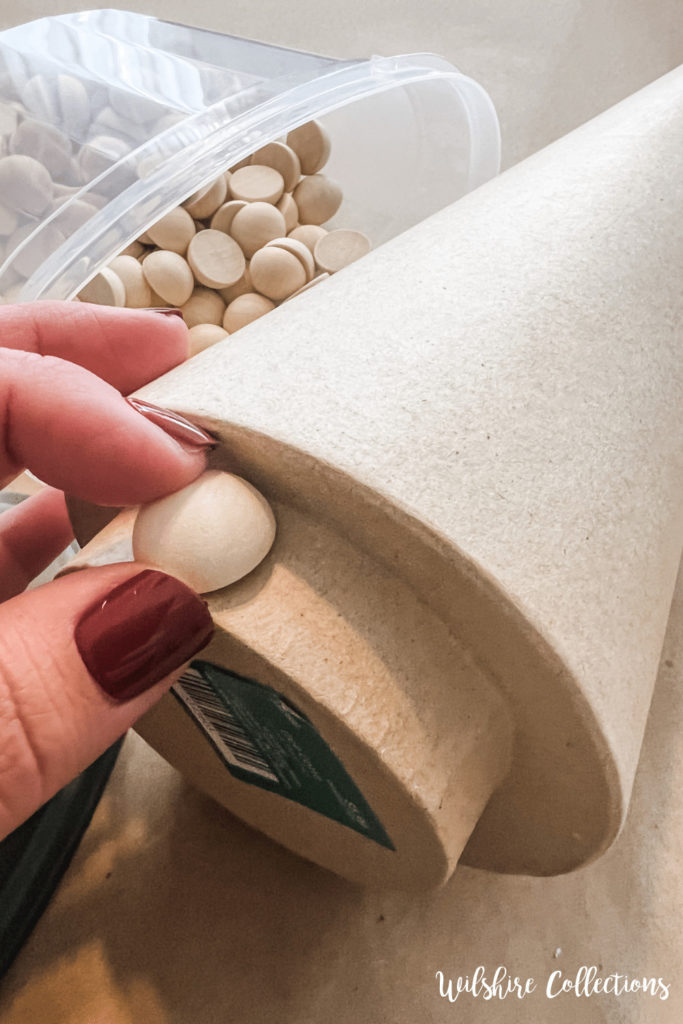
This is truly SO easy! First, I started by gluing my half wood beads all around the bottom portion. I decided to leave mine natural, but you could of course paint them as well.
Next, I grabbed my yarn and got to wrapping. I did glue the first couple of rows at the bottom to help secure it, but after that I just simply wrapped and wrapped.
Just be sure you kind of push the yarn down as you go so you don’t have a lot of big gaps.
When I got to the top, I just cut the yarn and hot glued the end piece to what would be the “back” of the tree.
Didn’t I say this snowy yarn tree DIY would be easy?! I wasn’t kidding!

It’s super cute and I do think you could keep it out all winter long as well!


Until next time…
Stacey

I love it!! I’m going to pick up the supplies this week!! It will look great when I take down my Christmas decorations after Epiphany.
OMG, I used this exact “snowy yarn” for your DIY Christmas Tassel tree sign (https://www.wilshirecollections.com/diy-christmas-tassel-tree-sign/) and it turned out so cute – like it was lightly dusted with snow.
Since I have lots of leftover yarn from that project, I’m looking forward to doing this snowy cone tree project now! Love all your fantastic (easy) craft ideas. Looking forward to seeing what other ideas you bring us in 2022!