If you follow me on IG and FB, you may have read some frightening truth about me. I have what some call a black thumb. As in, I’m a serial plant killer. I kill all the living green things, eventually. I don’t want to kill them, but it usually happens unfortunately 🙁 I’ve always known about the ever so popular succulent, but I have never actually owned a live one. (Because of the killer thing and all)
So, on one wild and crazy Saturday night I decided to venture to Home Depot and be totally brave. I BOUGHT A SUCCULENT! I bought a few actually. I had a plan for these bad boys, and I was determined to do it and to make them live and prosper. If they can survive in the desert, SURELY they can survive in my house, right?!
I just wanted to share with y’all how I took these little green things known as succulents and made them all cute and fun for under $15!! SO, if I do happen to kill them… I’m not out much money and I can replace them with the fake stuff and just accept the fact that my killing streak will never end. Fingers crossed that’s not the case though!
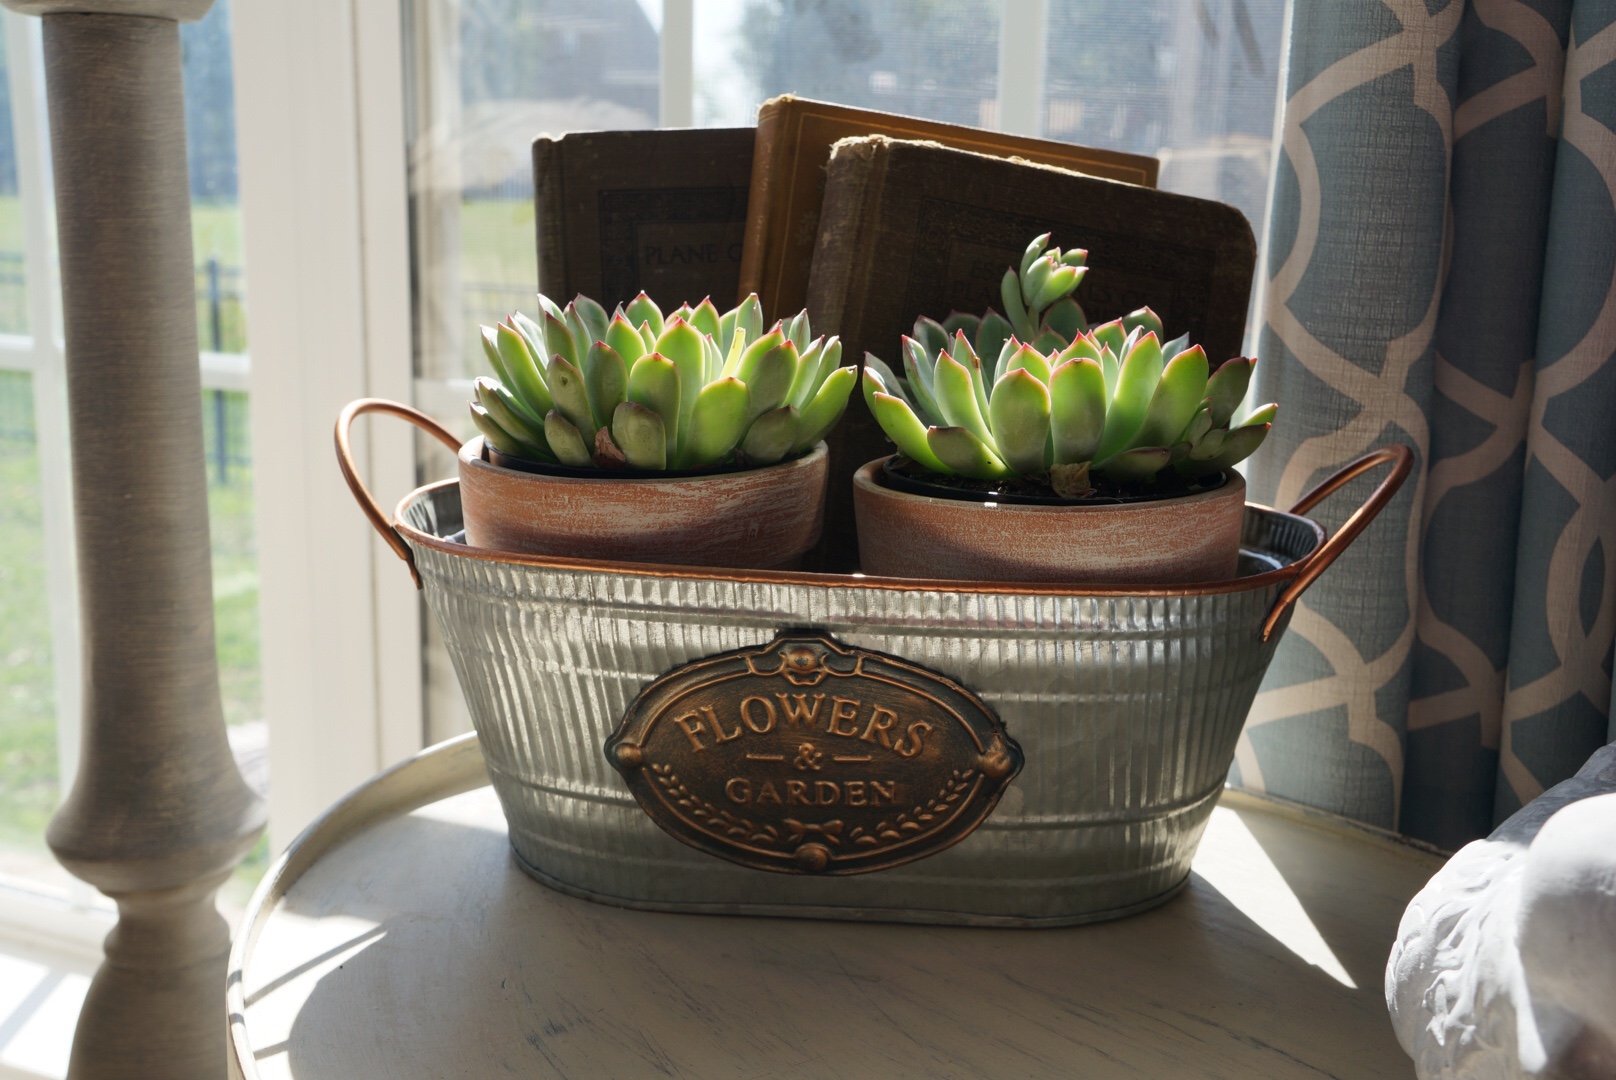
I had bought this adorable little tin bucket at Old Time Pottery this past week for $6.99!! That is what inspired me to get the succulents to put in there. I loved how it had the metal but then the copper accents. So cute!
I headed to my local Home Depot and picked out 2 succulents. I found 2 terracotta pots, and made sure those babies fit right down inside them. Y’all the succulents were $2.98 each and the pots were .78 CENTS each! Talk about a great deal. 
Here are some for an example of what type of pot I’m talking about.
I headed home, set up one of my drop cloths that has seen all kinds of paint love and I went to work on the little pots. I wanted to give them a dry brush look so that you could still see some of the terracotta showing through, versus painting them all white. I used my favorite, Blackberry House Paint! If you do not have access to Blackberry House where you are, any kind of furniture paint would work the same way for this project.
All you do for dry brushing is get a light amount of paint on the tip of your brush. Then dab it off on a paper towel so that it is barely on there. Then, lightly swipe back and forth leaving the finish underneath to show through! It really is an easy and fun technique. 


It took me all of 5 minutes to paint these 2 little pots, and the paint dries so quickly that I was able to put my succulents in there pretty soon after! I then put the succulents down in my cute little basket. I added a few books to the back (which I already had at home) as a filler and to give it some height. 
Today, the sun is shining and I’m loving seeing it come down on my little succulents in their cute painted pots! I love the way this DIY project turned out, and it’s something anyone can do…no matter your level of craftiness! Now, what everyone can not do (I’m referring to myself here) is keep the green things alive. But, I can do hard things y’all. I really think this is my time to turn my black thumb into a green one!


The little table they are sitting on is the VERY first piece I ever painted that GOT ME HOOKED on painting furniture. I can’t part with it because it just means too much! If you have any succulent tips for me, share them in the comments! I am DETERMINED to keep these bad boys alive!! 🙂
Oh, and a good project isn’t fun without some good tunes! Get a free trial membership here!
Until next time…
~Stacey


0 Comments